The Right Way to Clean Your Camera Sensor
Every photographer hits the same wall eventually: dark specks in the sky, blurry smudges on clean white walls, tiny dots that follow you through every shot. That's sensor dust. The good news is that a camera sensor cleaner handles the problem at home with a few simple tools and a steady hand.
You do not need to ship your camera across the country or pay a repair shop every few months.
The technique boils down to two methods: dry cleaning with a blower for light dust, and wet cleaning with a swab and solvent for stubborn spots. Most dust issues, roughly 80 percent based on aggregate user reports, vanish with the dry pass alone. As of 2026, every major camera manufacturer including Canon, Nikon, Sony, and Fujifilm builds a dedicated sensor cleaning mode into their menus.
The process is safe, repeatable, and once you understand the one rule that matters, you will never fear it again.
Quick Answer: What Actually Cleans a Camera Sensor
A camera sensor cleaner is any tool designed to remove dust, debris, or residue from the protective glass layer covering your camera's imaging sensor. The most common types are handheld air blowers, dry sensor brushes, and wet cleaning kits built around a swab and a solvent. Each one serves a different job: blowers handle loose dust, brushes catch fine particles, and swabs tackle sticky residue or oily smudges.
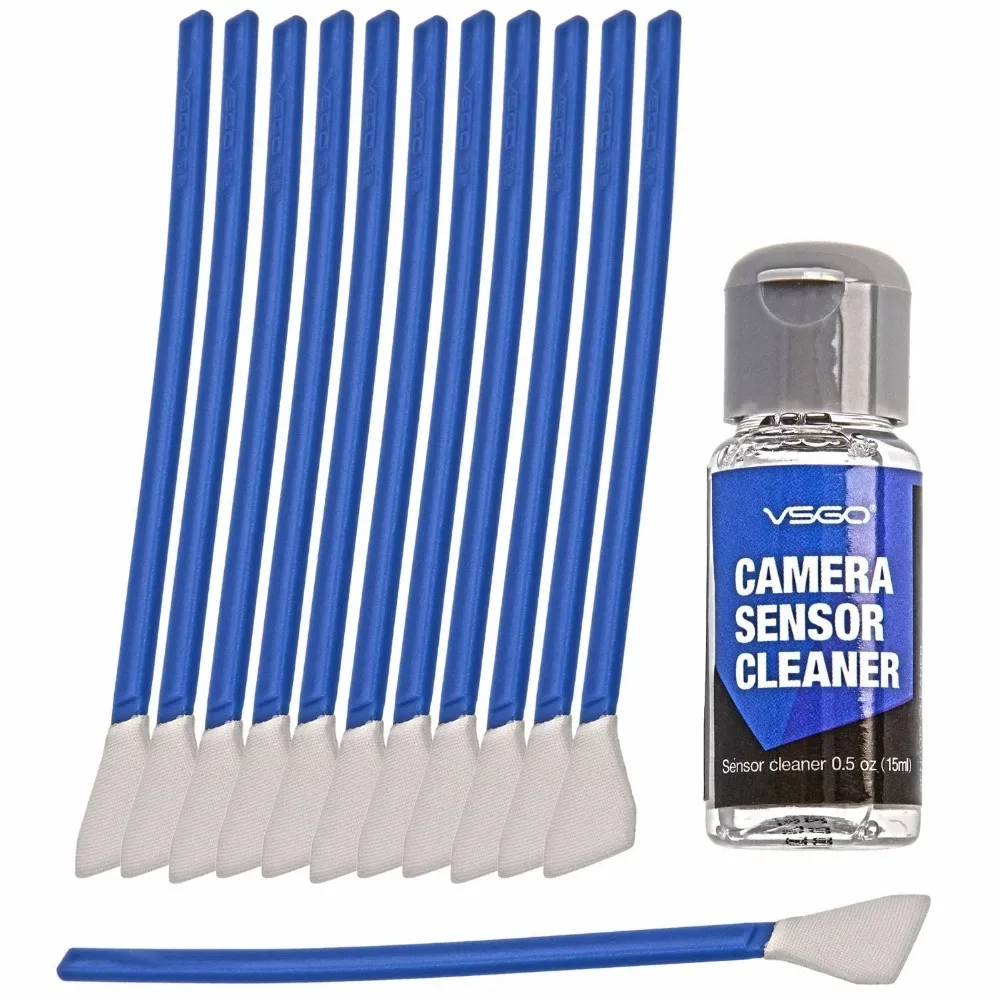
Image source: Web (Bing) / healthycamera.blogspot.com (Web image (fair-use with source credit))
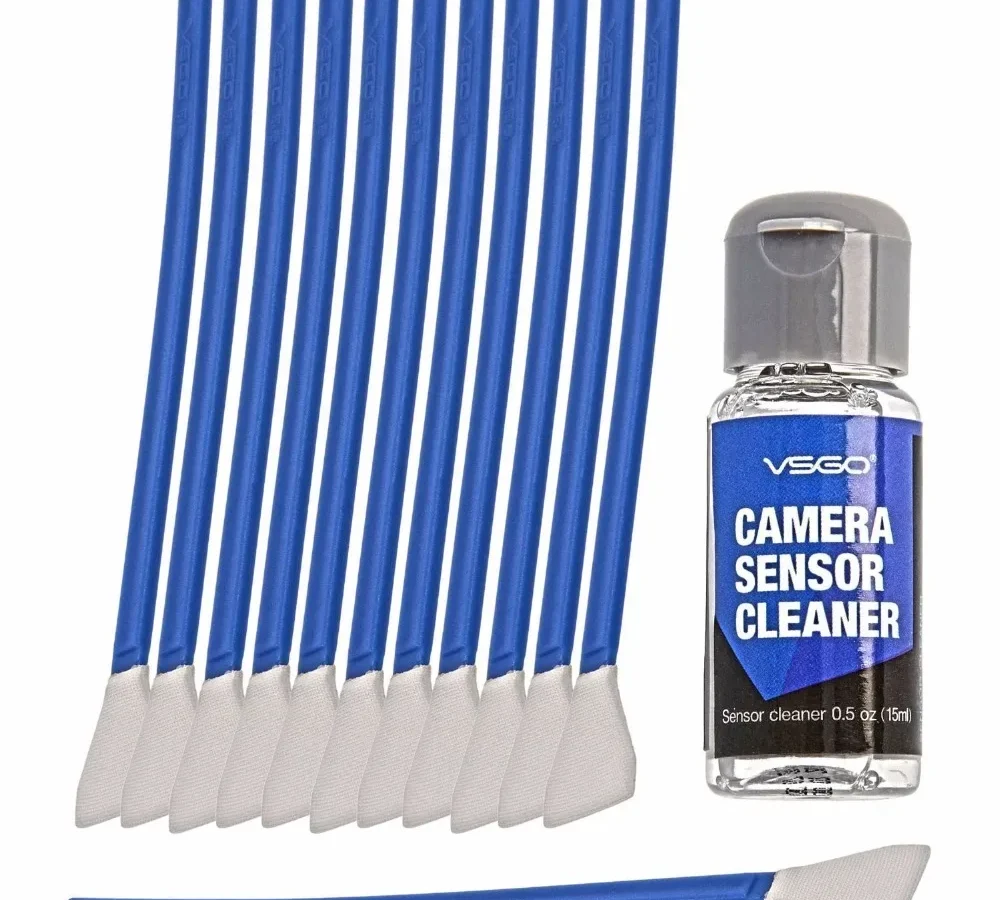
A complete cleaning kit typically includes a rubber blower bulb, a pack of lint-free sensor swabs, a bottle of cleaning fluid, and sometimes a magnifying loupe for inspection. Manufacturers like Photographic Solutions, VisibleDust, and Giotto's provide the bulk of what you'll find on shelves. Prices range from roughly $15 for a basic blower to $50 for a full wet kit with several swabs.
For most shooters, that one-time purchase replaces dozens of paid cleanings over the life of the camera.
Is That a Dust Spot? The f/16 Test and Diagnosing Sensor Spots
Before you touch anything, be certain the spots actually come from the sensor. Lens dust and sensor dust look identical in a raw file, but the diagnostic is simple. Set the lens to a narrow aperture around f/16 or f/22, point the camera at a bright, featureless surface like a white painted wall or an overcast sky, and take a photo.
Review the image by zooming into the corners and edges.
🔍 Spot check: Dark, sharp-edged spots that stay put as you refocus are sensor dust. If the spots blur or change shape when you manually focus, the contamination is on the front or rear lens element.
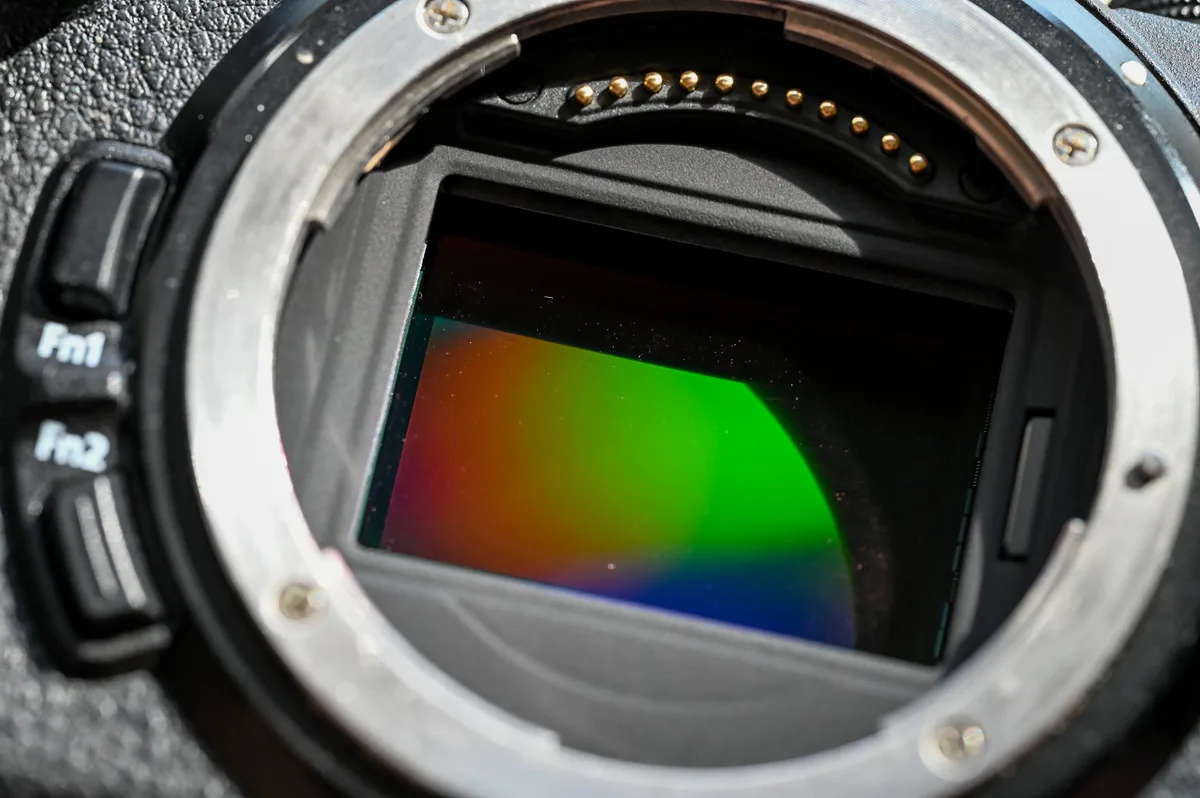
Image source: Web (Bing) / cameraklean.com (Web image (fair-use with source credit))
How to tell sensor dust from image noise
Dust spots appear at the same pixel coordinates in every shot, regardless of ISO or exposure length. Image noise shifts with each frame, and it looks like fine grain rather than defined blobs. Use your camera's lightbox or a monitor at 100 percent zoom.
A single dark spot that stays glued to the same frame position through three different lenses is almost always sensor-level contamination.
First Get This Right: What You're Actually Cleaning — IR-Cut Filter vs. Sensor Chip
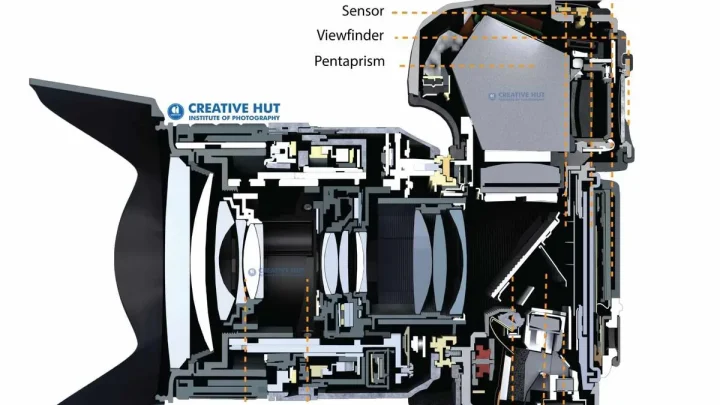
Here's where most beginners panic for no reason. You are not cleaning the actual silicon imaging chip. The sensor is sealed under a thin sheet of glass called the IR-cut filter, sometimes referred to as the low-pass filter.
That glass sits directly in front of the silicon and protects it from dust, moisture, and physical contact. Your swab never touches the chip itself, only this protective layer.
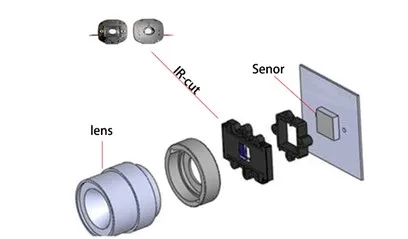
Image source: Web (Bing) / e-consystems.com (Web image (fair-use with source credit))
The distinction matters because the IR-cut filter is replaceable in many service centers, though the cost is significant. Scratches on this glass appear as hazy lines or soft streaks in your images, and they are permanent without a factory repair. The sensor chip beneath it, if ever exposed or scratched, usually spells a full camera replacement.
That is why every manufacturer manual insists on using only gentle, lint-free tools built for this exact surface.
What the mirrorless sensor actually looks like
A mirrorless camera exposes the full sensor surface when the lens comes off, but the glass is a green, magenta, or amber reflective layer. You will not see individual pixels or circuitry with the naked eye. That reflective coating is the AR coating, and it is fragile.
Unlike a DSLR, where a mirror protects the sensor until you press the shutter, a mirrorless body leaves the glass exposed every time you swap lenses.
Sensor Locked On: Preparing the Camera for Cleaning (Menu Mode + IBIS)
Proper preparation prevents 90 percent of cleaning accidents. First, ensure the camera battery is charged above 50 percent. If the power dies mid-cleaning, the shutter may close on your swab, causing expensive damage.
Next, find the dedicated sensor cleaning mode in your camera menu, labeled "Sensor Cleaning," "Manual Cleaning," or "Lock Mirror Up for Cleaning" depending on the brand.
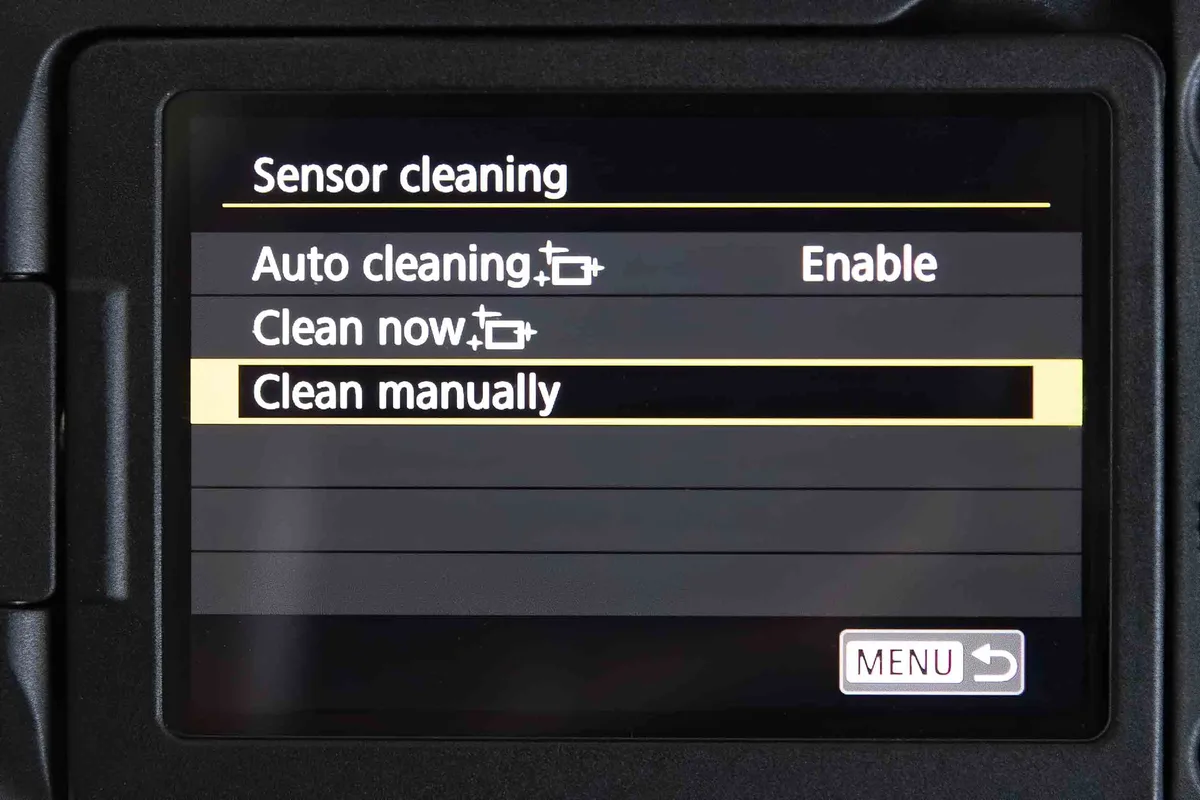
Image source: Web (Bing) / storage.googleapis.com (Web image (fair-use with source credit))
Mounting your sensor cleaning swab
- Set the camera on a clean, stable surface with the lens mount facing up.
- Navigate to the menu and select the cleaning mode. The camera will raise the mirror (DSLR) or open the shutter curtain (mirrorless) and lock it.
- Remove the lens only after the sensor is locked in position. This prevents any dust from being sucked in while the mechanism moves.
- If your camera has In-Body Image Stabilization (IBIS), the sensor may shift slightly. Some models, including many Sony and OM System bodies, let you lock the stabilizer in the menu. If you see that option, activate it before cleaning.
The setup takes under a minute once you know the menu path. Consult your camera manual for the exact location, since every brand nests it in a different spot. After cleaning, simply power off the camera, and the mechanism returns to its resting position automatically.
The Blower First: Dry Cleaning Done Right (Hold It Face-Down, Don't Invert)
For loose dust, the first line of defense is a handheld air blower, commonly called a rocket blower. It costs around $15, needs no chemicals, and poses almost no risk when used correctly. The trick is orientation.
Hold the camera with the sensor facing downward, so gravity works with you and dislodged dust falls out of the body instead of settling back onto the glass.
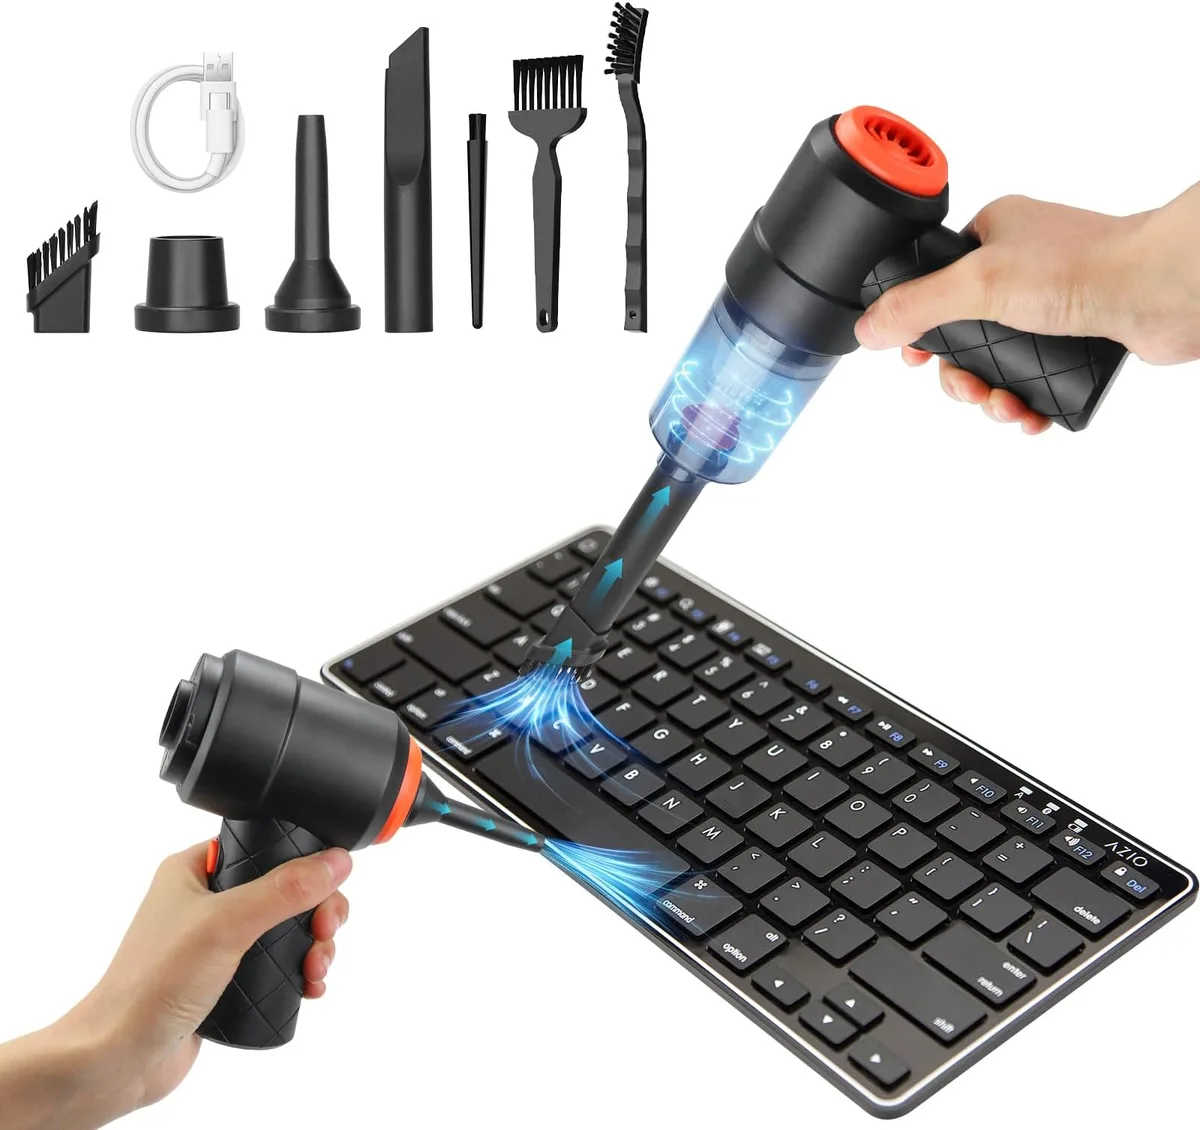
Image source: Web (Bing) / efasolola.edu.gt (Web image (fair-use with source credit))
Squeeze the blower gently, directing a few short bursts toward the sensor surface. Do not touch the glass with the nozzle. A distance of one to two centimeters is plenty.
Never invert the blower while squeezing, because the rubber bulb can spit tiny particles or moisture toward the sensor. If you have not used the blower in a while, pump it a few times pointing away from the camera to clear any residual dust inside.
Why you should not use canned air
Compressed air canisters are a common mistake. They can spray propellant liquid that leaves a sticky film on the sensor, and the high pressure can damage the delicate shutter mechanism. Stick with a manual blower, which produces safe, controlled airflow with zero chemical residue.
If visible spots remain after several blower passes, the contamination is likely sticky, oily, or embedded, and that's when a wet cleaning becomes necessary.
When the Blower Isn't Enough: Wet Cleaning Tools, Swabs, and Solvents
If dust survives multiple blower passes, it's usually stuck by static cling, oil, or moisture residue. A wet clean removes those contaminants with a solvent that dissolves the bond without touching the sensor directly. The process uses two main components: a sensor swab and a cleaning solution.
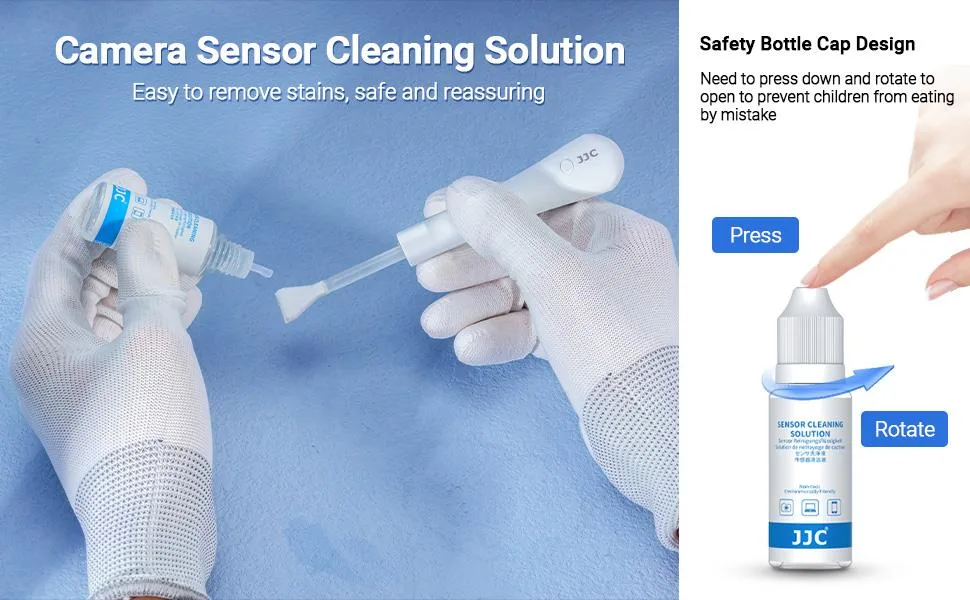
Image source: Bing (Web (fair-use with source credit))
The essential wet cleaning components
| Tool | What it does | Typical price |
|---|---|---|
| Sensor swab | Holds the solvent and slides across the glass in one pass | $10–$20 per pack |
| Cleaning solution | Dissolves oils, fingerprints, and sticky residue | $10–$25 per bottle |
| Loupe or scope | Lets you inspect the sensor after cleaning | $15–$40 |
Most quality swabs use a foam or microfiber head bonded to a flat plastic paddle. Brands like Photographic Solutions, VisibleDust, and VSGO manufacture them in widths that match specific sensor sizes. The solvent is usually a high-purity methanol or ethanol blend.
Per manufacturer specs, you want a solution labeled "sensor safe" with no additives, because anything else can leave a film.
Wet vs. dry cleaning comparison
| Method | Best for | Risk level |
|---|---|---|
| Blower only | Loose dust, light debris | Very low |
| Sensor brush | Fine static dust | Low |
| Wet swab | Oil, smudges, stubborn dust | Moderate if technique is correct |
A wet clean is not the first choice. It's the second step when dry methods genuinely fail. The solvent evaporates within seconds, so you never need to wait before testing the sensor again.
The One-Pass Swipe: Wet Cleaning Step by Step (With Visual Checkpoints)
This is the moment that separates safe cleaning from costly mistakes. The entire technique comes down to one rule: one swab, one direction, one pass across the sensor. Never drag the swab back and forth.
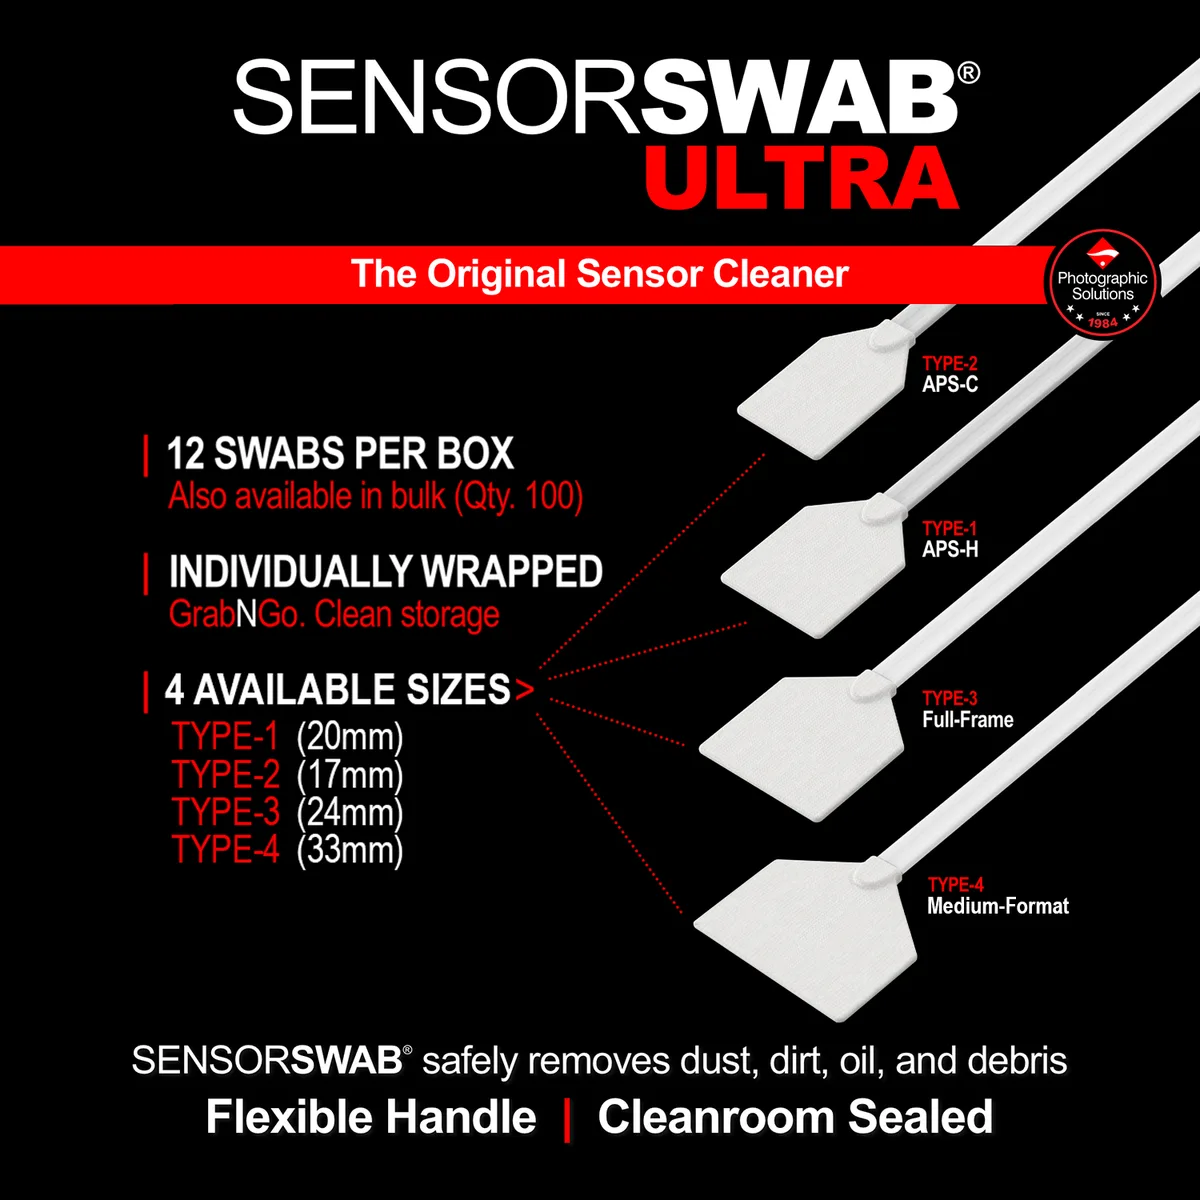
Image source: Web (Bing) / photosol.com (Web image (fair-use with source credit))
The full wet cleaning sequence
- Remove the lens with the sensor locked in cleaning mode.
- Place 1 to 2 drops of cleaning solution on the swab tip. One drop is usually enough.
- Wait 3 seconds for the fluid to spread evenly across the swab head.
- Rest the flat edge of the swab against the bottom edge of the sensor, inside the frame.
- Glide the swab steadily to the opposite edge in one smooth motion. Take about 1 full second for the sweep.
- Release pressure only after the swab has completely cleared the sensor.
- Turn the swab over and use the clean side for a second pass only if the first pass missed an edge.
- Discard the swab after the second pass. Never reuse it.
The swab tip should look evenly moist, not dripping. Excess solvent can pool at the edges and streak. If the swab head is dry, add another drop, but never touch the sensor with a dry swab.
How to check your work
Turn the camera on, set the lens to f/16, and shoot a bright wall or clear sky. Zoom into the corners at 100 percent. A single clean pass removes nearly all dust according to aggregate user reports.
If spots remain, wait 10 minutes for any residual moisture to evaporate, then repeat with a fresh swab.
Swab Sizes and Sensors: A Simple Guide for APS-C, Full-Frame, and M4/3
Using the wrong swab width is one of the most common beginner errors. A swab that's too narrow leaves uncleaned edges, and a swab that's too wide risks pushing against the sensor frame and leaving streaks.
| Sensor format | Correct swab width | Common brands |
|---|---|---|
| Full-frame | 16mm | Photographic Solutions, VisibleDust |
| APS-C | 12mm | VSGO, K&F Concept |
| Micro Four Thirds | 7.5mm to 8.5mm | Photographic Solutions, VSGO |
| Medium format | 24mm | VisibleDust, Sensor Swab |
The number refers to the width of the flat swab head, not the length. Measure it against the sensor frame before starting. If the swab fits snugly between the edges with about a millimeter of clearance on each side, that's the right size.
What happens if you misjudge the size
A too-narrow swab leaves a visible line of residue at the edges, which shows up as a hazy band in photos. A too-wide swab presses into the edges of the frame, which can trap solvent and produce streaks. Both issues are fixable with a correctly sized fresh swab, but they add extra cleaning cycles and increase contact with the sensor.
Common Mistakes That Scratch Sensor Glass (And How to Avoid Them)
Sensor glass is durable but not indestructible. The IR-cut filter can scratch, chip, or develop coating damage from rough handling. Most damage traces back to a handful of avoidable mistakes.
- Using dry swabs: A dry swab drags particles across the glass like sandpaper. Always moisten it first.
- Applying too much pressure: The swab should glide with light, even pressure. Pressing down creates friction that can strip the AR coating.
- Reusing a contaminated swab: A swab that touched the sensor or any surface picks up debris. Use a fresh one for every pass.
- Skipping the blower step: Jumping straight to a wet clean embeds loose dust into the solvent, turning particles into scratches.
- Cleaning too often: Over-cleaning wears the coating. Only clean when the test photo shows visible spots.
How to tell if you've damaged the sensor
Scratches appear as thin, straight lines that stay fixed in the same position across every photo. Coating damage shows up as a soft, cloudy patch that reduces contrast. Both require professional service.
A scratch on the IR-cut filter often costs $150 to $300 to replace, and some cameras need the entire sensor assembly swapped.
Streaks, Haze, and Leftover Lint: Troubleshooting Your Wet Clean Results
Sometimes the cleaning itself leaves residue. Streaks appear as fine parallel lines across the glass, haze dulls a section of the image, and lint becomes visible as fuzzy spots. Each has a different cause.
Why did streaks appear after cleaning?
Streaks usually mean the swab had too much solvent, or you passed over the same area twice. Let the sensor dry for 10 minutes. If streaks persist, run one fresh pass with a barely damp swab, moving in the opposite direction from the original sweep.
What causes that hazy film?
Haze often comes from using a solvent with low purity or from touching the sensor with a finger, which transfers skin oils. Check if the solution is labeled "spectroscopic grade" or "99.9 percent pure." Lower-grade fluids leave a residue after evaporation. To fix haze, apply a fresh drop of clean solvent on a new swab and make one careful pass.
Why is there lint stuck to the sensor?
Lint usually comes from the swab material or from dust in the air during the cleaning. Use a microfiber-headed swab instead of foam if this recurs. Wipe the swab packaging before opening it, and clean in a low-dust environment like a bathroom right after a hot shower, where the humidity settles airborne particles.
When to Stop DIY: Signs It's Actually a Factory-Level Service
Sometimes the contamination isn't on the surface you can reach. If two wet cleaning passes with a fresh swab fail to remove a spot, the dust is likely trapped between the IR-cut filter and the sensor chip itself. No amount of DIY cleaning will fix that, because the filter needs physical removal to access the gap.
Visible scratches or coating damage also demand professional intervention. A scratch shows up as a fixed thin line in every photo. Haze that doesn't respond to solvent indicates the AR coating has worn away.
Both require a repair center with clean-room conditions. Per typical service rates, an IR-cut filter replacement runs $150 to $300 depending on the camera brand.
FAQs: Cost, Sensor Repair, and Auto Cleaning vs. Manual Cleaning
How much does a professional sensor cleaning cost?
Professional cleaning typically runs $50 to $150 per service, depending on the camera and the shop. Many authorized service centers include a full sensor inspection with the clean. For occasional contamination, DIY is cheaper, but for scratch repair or filter replacement, professional service is mandatory.
Does the camera's auto sensor cleaning work?
Auto cleaning uses ultrasonic vibration to shake loose dust from the filter. It works for light, dry dust and is a useful first step. It cannot remove sticky residue, oils, or embedded particles.
Manual cleaning with a blower or wet swab covers what auto cleaning misses.
Is sensor repair worth the cost?
It depends on the camera's value. A $300 filter replacement makes sense on a $2,000 body. On a $400 entry-level camera, the repair cost often exceeds the resale value.
Check the current market value of your camera before committing to repairs.
How often should I clean my sensor?
Most photographers need a blower pass every few months and a wet clean once or twice a year. Frequent lens changes, shooting in dusty environments, or working at small apertures increases the frequency. Clean only when the f/16 test shows visible spots.
Final Verdict: What I'd Do If It Were My Camera
Start with the blower. It handles the vast majority of dust with zero risk. If spots persist after a few passes, move to a wet clean with a correctly sized swab and single directional sweep.
That workflow covers nearly every scenario you'll face.
Buy a quality blower first, add a wet kit only when you need it. Store the swabs and solvent at room temperature, away from direct sunlight. Replace the solution every year or two, because solvents can absorb moisture over time and lose purity.
And remember the golden rule: one swab, one pass, one direction. Get that right, and sensor cleaning becomes a five-minute routine that saves you hundreds of dollars over the life of your camera.

Similar Posts