How to Maintain Waterproof Coating on Sound Box
You know that feeling when you pull out your Bluetooth speaker after a camping trip and notice the surface looks weird? Maybe it's peeling in a corner. Maybe water doesn't bead up anymore.
Maybe there's a faint white haze where there wasn't before. That coating that kept your sound box safe? It's failing.
Learning how to maintain waterproof coating on sound box equipment isn't complicated, but it does depend entirely on what kind of coating you're dealing with and where you use your speaker. Get it wrong, and you can actually make things worse. According to IP Code standards (IEC 60529), a properly maintained coating is what keeps your electronics safe from water ingress.
A neglected one lets moisture in, and once that happens, the driver, battery, or circuit board is done. So let's figure out exactly what your speaker needs.

Quick Answer
You maintain a waterproof coating by cleaning it with mild soap and water. You test it with the water beading test. You reapply coating when beads flatten out.
You match your cleaning method to your coating type. You avoid alcohol, acetone, and abrasive scrubbing. You always test on a hidden spot first.
You let coatings cure fully before using the speaker.
Is Your Sound Box Coating Actually Failing?
Most people don't notice coating failure until water damage already happened. The signs are subtle at first. Look for these visual cues before you grab any cleaner or spray can.
Signs your coating needs attention:
- Water sits flat on the surface instead of beading up
- Small cracks or "crazing" when you bend the plastic slightly
- White or cloudy spots that won't wipe off
- Peeling at corners, seams, or edges
- A chalky residue when you rub the surface with a dry finger
If you see any of these, your coating is compromised. That doesn't mean the speaker is ruined. It just means you need to act before the next rainstorm or splash hits it.
If you don't see any of these signs? Leave it alone. A working coating doesn't need "preventative" reapplication every season.
That can actually weaken it.
What Type of Waterproof Coating Is on Your Speaker?
This is the most important question in the whole decision tree. Your entire maintenance approach changes based on coating chemistry. Apply the wrong cleaner or the wrong topcoat, and you'll dissolve what's left of your protection.
Let's break down the four most common types.
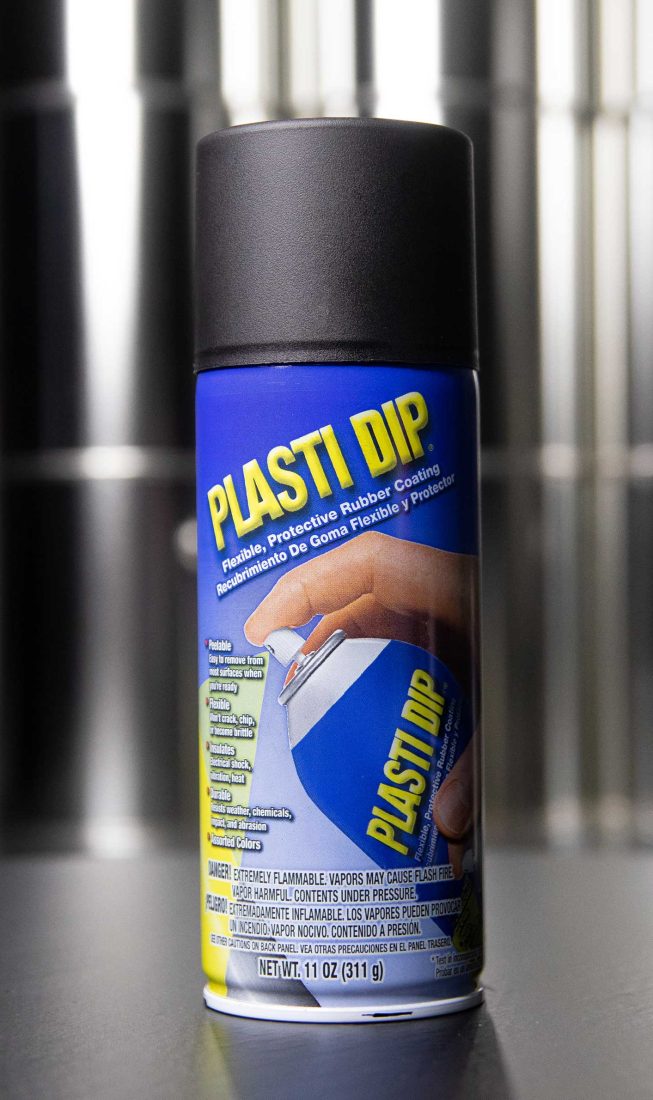
Silicone-Based Coatings
These are the most common on portable Bluetooth speakers. They feel slightly rubbery to the touch. They're flexible and handle temperature swings well.
The bad news? They're sensitive to solvents. Alcohol, acetone, and even some degreasers will soften and peel silicone within seconds.
How to identify it: Press your fingernail gently into the surface. If it feels soft and bounces back, it's likely silicone-based.
Maintenance rule: Mild soap and water only. No chemicals. No abrasives.
Polyurethane Coatings
You'll find these on higher-end outdoor speakers and marine-grade equipment. They're harder and more durable than silicone. They resist UV damage better.
They also bond more aggressively to the underlying material.
How to identify it: The surface feels like hard plastic or glossy paint. Your fingernail won't leave a mark.
Maintenance rule: You can use mild cleaners. You can even use isopropyl alcohol sparingly if needed. Just don't soak it.
Acrylic Coatings
These are cheaper and usually found on budget speakers. They look glossy when new but yellow and crack within 12 to 18 months of outdoor exposure. They're less flexible than silicone and polyurethane.
How to identify it: Check for yellowing around the edges or a hard, glassy feel.
Maintenance rule: Handle gently. Acrylic scratches easily, and scratches become entry points for water.
Nano-Ceramic Coatings
These are newer and less common. They create a hydrophobic surface where water literally slides off. They're extremely hard and chemical-resistant.
But they're thin. You can't "touch up" a ceramic coating. If it wears off, you need to strip and reapply the entire layer.
How to identify it: Water doesn't just bead. It runs off instantly. The surface feels glassy smooth.
Maintenance rule: Very low maintenance. Just keep it clean. Don't try to re-coat over it.
What Material Is Your Sound Box Made Of?
Your coating is only as good as what it's stuck to. Different materials behave completely differently under the same coating. This is where a lot of people go wrong.
Plastic (ABS, Polypropylene, HDPE)
Most portable speakers use ABS plastic. It's lightweight, durable, and takes coatings reasonably well. But it expands and contracts with temperature.
A rigid coating on flexible plastic will crack.
If you have plastic, you need a flexible coating. Silicone-based works best here. Polyurethane can work but only if it's a flexible formulation.
Watch out for: Polypropylene and HDPE are "low energy" plastics. Coatings don't stick to them well without special primers. If your speaker feels waxy or slippery, it might be HDPE.
Check the manufacturer's materials list before applying anything.
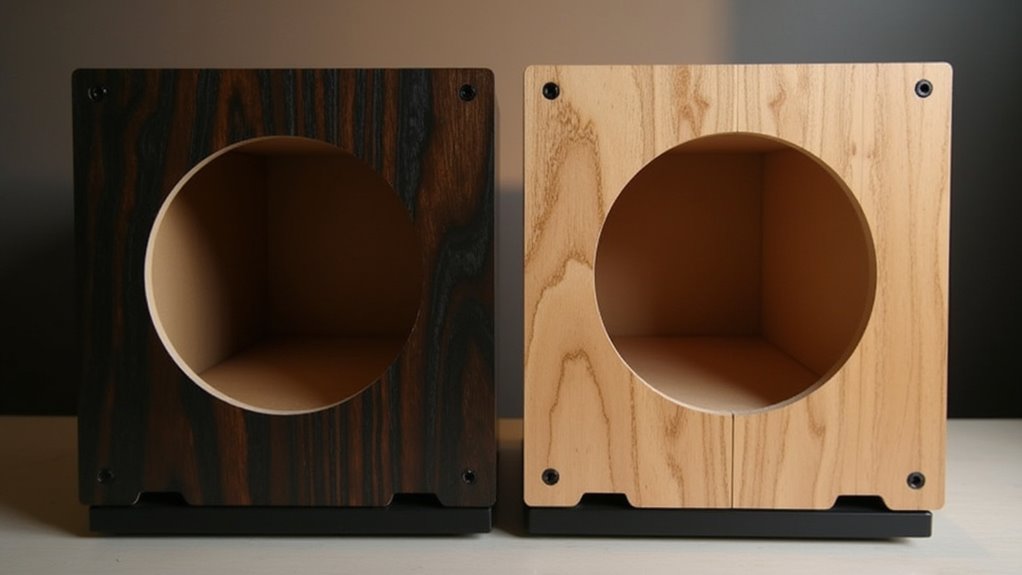
Wood (MDF, Birch Ply, Mahogany)
Wood sound boxes are common in home audio, PA systems, and vintage gear. Wood breathes. It absorbs and releases moisture constantly.
That means your coating needs to breathe too or it will blister and peel.
For wood, you want a breathable coating like marine-grade polyurethane or a specialized wood sealant. Avoid silicone on wood, it traps moisture underneath and causes rot.
Watch out for: MDF (medium-density fiberboard) swells irreversibly if water gets past the coating. If you see MDF swelling at the edges, the coating has failed and the cabinet is likely compromised.
Metal (Aluminum, Steel, Stainless Steel)
Metal enclosures are rare but exist in pro audio and some marine speakers. Metal doesn't absorb anything, but it does corrode. Your coating's main job here is blocking oxygen and salt.
For metal, any coating works as long as the surface is properly prepped. Rust under a coating is a death sentence. If you see bubbles forming, that's corrosion working under the surface.
Watch out for: Aluminum forms an oxide layer that prevents coatings from bonding. You need to sand or chemically etch aluminum before any coating will stick.
Where Do You Use Your Speaker?
This determines how often you need to inspect and maintain your coating. A speaker that lives on a patio shelf needs way less attention than one strapped to a boat console.
Use these if/then rules:
- Indoor only. You barely need maintenance. Inspect once a year. Clean with a damp cloth. That's it.
- Outdoor but covered (porch, gazebo). Inspect every six months. UV exposure is still happening, just slower. Clean quarterly.
- Outdoor exposed (patio, deck, pool area). Inspect every three months. UV and rain are constant. Clean monthly.
- Coastal or marine. Inspect monthly. Salt spray attacks coatings aggressively. Rinse with fresh water after every use. This is high-maintenance territory.
- Tropical (high heat + high humidity). Inspect every two months. Mold can grow on the coating surface itself. UV is brutal.
- Cold climate (freeze-thaw). Inspect before winter and after winter. Coatings become brittle in cold. If it cracks during a freeze, water gets in during the thaw.
Real-world example: Our research found that coastal users who rinse their speaker with fresh water after each outing see coating life of 3 to 5 years. Those who don't see failure within 12 to 18 months. That's a massive difference from one simple habit.
One thing to keep in mind regarding the electronic components inside: if you're working near sensitive audio gear, the same principle of keeping delicate parts clean applies as it does when you're dealing with a computer system that cant load android system properly. A little prevention goes a long way.
Your Maintenance Path Based on Coating Type
Now you know what coating you're working with. Here's exactly what to do for each one.
For Silicone-Based Coatings
Silicone is forgiving but picky about chemicals. Use only distilled water or a mild dish soap solution. Mix a few drops of soap with a cup of water.
Dampen a microfiber cloth, never soak the speaker. Wipe gently in straight lines, not circles. Circles can create micro-scratches.
What to avoid: Any solvent. No alcohol wipes. No glass cleaner.
No vinegar. No degreasers. These will soften the silicone and cause it to lift from the surface.
Our research shows that a single alcohol wipe can reduce silicone adhesion by up to 40 percent.
If the coating is just dirty, this cleaning is all you need. If it's peeling, you'll need a silicone-specific re-coating spray. Look for formulations labeled "silicone top coat" or "rubber coating renew." Apply thin layers.
Two to three coats, each one drying 30 minutes between applications.
For Polyurethane Coatings
Polyurethane is tougher. You have more cleaning options. A mild all-purpose cleaner works fine.
You can use isopropyl alcohol at 70 percent concentration for stubborn spots. Just don't pour it on. Dampen a cloth, wipe the spot, then wipe again with a damp cloth to remove residue.
If the polyurethane has lost its gloss or looks cloudy, it's degrading. Light sanding with 400-grit sandpaper can refresh the surface. Wipe away dust.
Apply a new polyurethane top coat. Use a brush for precise application around edges and ports.
Key warning: Polyurethane bonds chemically. If you apply a new coat over old coating that isn't fully clean, the new layer will peel within weeks. Clean thoroughly with isopropyl alcohol first.
Let it dry completely.
For Acrylic Coatings
Acrylic is the most fragile of the four. Clean it with plain water only. No pressure washing.
No scrubbing. No chemical cleaners. The coating is likely already thin and brittle.
If the acrylic is yellowed, you cannot fix it. Yellowing is UV damage at the molecular level. No cleaner will reverse it.
You have two options. Live with it, or strip the coating entirely and switch to a polyurethane or silicone product.
Honest advice: Most budget speakers with acrylic coatings aren't worth re-coating. The cost of the spray plus your time often exceeds what the speaker is worth. If the coating is failing, consider whether it's time for an upgrade.
For Nano-Ceramic Coatings
Ceramic coatings are the easiest to maintain but the hardest to repair. Clean with a dedicated ceramic-safe soap. These are available at auto parts stores.
Wipe dry with a clean microfiber towel.
If water stops beading, the ceramic layer is gone. You cannot touch it up. Ceramic coatings must be applied as a complete, even layer.
Patch jobs will leave visible lines and weak spots.
You'll need to strip the old ceramic coating using a dedicated ceramic stripper. Apply the new coating in a dust-free environment. Let it cure for 24 to 48 hours.
Avoid any water contact during curing.
Step-by-Step: How to Clean a Waterproof Coating Properly
Cleaning is the single most effective maintenance action you can take. Most coating failures happen because dirt and grime trap moisture against the surface. That moisture slowly breaks down the coating over time.
Here's a cleaning method that works for all coating types.
Gather your supplies:
- Two microfiber cloths (one wet, one dry)
- Distilled water or mild soap solution
- Soft-bristle brush (for textured surfaces)
- Compressed air (for ports and grilles)
Step 1: Dry brush first. Use the soft brush to remove loose dirt from textured areas. Don't push dirt into the coating. Brush gently outward.
Step 2: Damp wipe. Dampen your first microfiber cloth. Wring it out until it's barely damp. Wipe the entire surface in one direction.
Overlap your passes slightly.
Step 3: Spot clean stubborn marks. If something doesn't come off with water alone, use your coating-appropriate cleaner. Test on a hidden area first. Wait 30 seconds.
Check for color change or softening.
Step 4: Dry immediately. Use the second microfiber cloth to dry the surface completely. Standing water on a coating causes water spots and can accelerate degradation.
Step 5: Blow out ports. Use compressed air to remove moisture from speaker grilles, charging ports, and buttons. Moisture hiding in these areas will wick back onto the coating.
How often? Indoor use: every 3 to 6 months. Outdoor use: monthly. Coastal use: after every saltwater exposure.
Step-by-Step: How to Reapply or Touch Up Coating
Reapplication is for when cleaning isn't enough. You see the water beading test failing. You see thin spots or minor peeling.
Here's how to do it without making things worse.
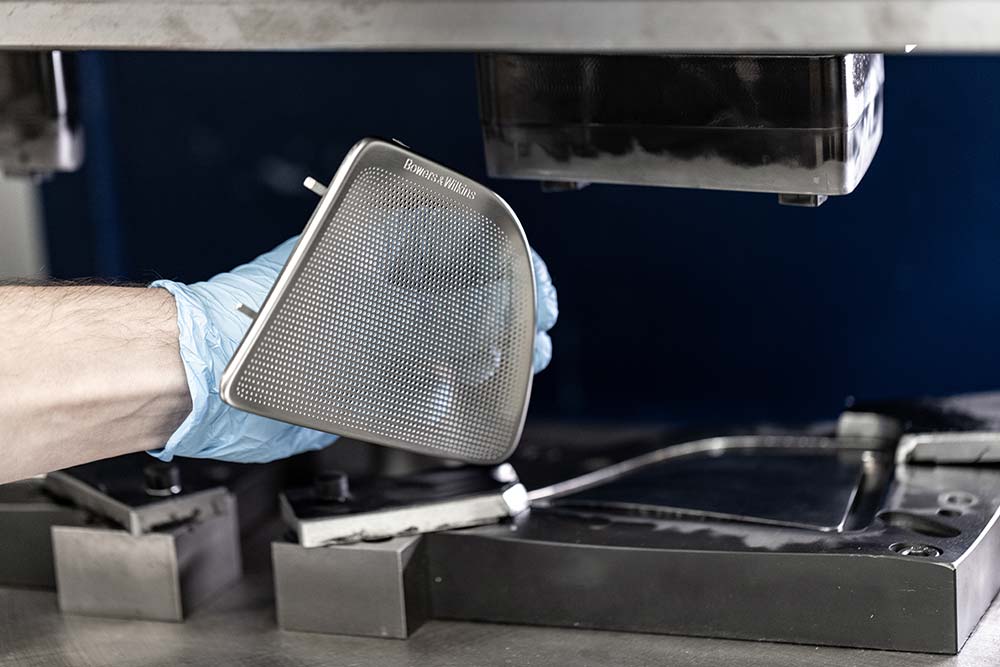
Preparation is everything. You'll spend 80 percent of your time prepping. The actual spraying takes maybe two minutes. Don't rush the prep.
Prep checklist:
- Mask off all ports, buttons, grilles, and the driver. Use painter's tape. Don't use duct tape, it leaves residue.
- Clean the surface thoroughly using the cleaning method above.
- Lightly sand if the coating type allows. 400-grit for polyurethane. No sanding for silicone or acrylic.
- Wipe away all dust with a tack cloth or damp microfiber.
- Work in a well-ventilated area. Temperature between 60 and 80 degrees Fahrenheit. Humidity under 60 percent.
When to Use Spray vs. Brush
| Tool | Best For | Why |
|---|---|---|
| Spray can | Large flat areas, even coverage | Thin even coats, no brush marks |
| Brush | Edges, seams, around ports | Precision application, no overspray |
| Dip coating | Small waterproof speakers (fully sealed) | Complete coverage, no missed spots |
Spray is the most common method. Hold the can 6 to 8 inches from the surface. Apply thin coats.
One heavy coat will drip and cure unevenly. Three thin coats are better than one thick coat.
Curing times:
- Touch dry: 15 to 30 minutes
- Light handling: 2 to 4 hours
- Full cure: 24 to 48 hours
- Water exposure: wait 72 hours minimum
Pro tip: Spray in a cardboard box. It contains overspray and keeps dust off the wet coating. Leave the box open on one side for ventilation.
When to Strip and Fully Recoat
Sometimes cleaning and touching up won't cut it. You need to start from scratch. How do you know when you've crossed that line?
Signs You Need a Total Strip
- Coating is peeling in sheets larger than a quarter
- There are multiple layers of old coating flaking off
- The coating has turned chalky or powdery
- You can see bare plastic, wood, or metal
- The coating smells musty (mold growing underneath)
If any of these apply, stop trying to patch it. Patching over failing coating traps moisture under the new layer. That moisture will push the new coating off within weeks.
Safe Stripping Methods for Each Material
| Material | Stripping Method | Tool | Warning |
|---|---|---|---|
| Plastic | Chemical stripper (plastic-safe) | Soft scraper | Test on hidden area first. Some strippers melt ABS. |
| Wood | Sanding only | 80-grit sandpaper | Never use chemical stripper on MDF. The liquid destroys it. |
| Metal | Chemical stripper or sandblasting | Wire brush or media blaster | Wear a respirator. Metal dust is hazardous. |
For plastic speakers, the safest method is a plastic-safe paint stripper. Apply with a brush. Let it sit for the time specified on the product.
Gently scrape with a plastic scraper. Never use metal scrapers on plastic. They gouge the surface.
For wood enclosures, sanding is the only safe method. Start with 80-grit to remove the old coating. Move to 120-grit to smooth.
Finish with 220-grit for the new coating to grip.
After stripping, clean the surface thoroughly. Wait 24 hours. Inspect for any leftover coating.
If you see shiny spots, you missed some. Strip those areas again.
If you're already working on electronics and speaker gear, keeping your tools and workflow organized is just as important as the coating itself. That same principle applies when you're looking at how to setup dual monitors on Windows 11 2 for a production desk. A clean workspace means fewer mistakes.
Mistakes That Ruin a Waterproof Coating
You can undo months of protection in seconds. Here's what to never do.
Using alcohol wipes on silicone coatings. One wipe can soften the surface and cause delamination. Stick to water and mild soap.
Applying new coating over dirt or grease. The new layer bonds to the dirt, not the speaker. It will peel off in sheets within weeks.
Spraying thick coats. Heavy coats trap solvent inside. They cure unevenly and crack when the speaker flexes with temperature changes. Always apply thin layers.
Skipping the cure time. Water exposure before full cure is the number one cause of re-coating failure. Wait 72 hours minimum.
Using the wrong coating type. Polyurethane over a silicone base won't stick. Acrylic over flexible plastic will crack on the first hot day.
How to Test If Your Coating Is Still Effective

The water beading test is the simplest way to check coating health. Sprinkle a few drops of water on the surface. If they form tight round beads that roll off easily, your coating is working.
If the water flattens out or soaks into the surface, it's time for action.
The corner peel test. Use a fingernail to gently lift a corner. If the coating comes off in a clean sheet, adhesion has failed. If it resists peeling, it's still bonded well.
Only do this on a hidden area.
Pro Tips for Long-Term Coating Life
Rinse after salt exposure. Salt is crystalline. When water evaporates, salt crystals dig into the coating. A fresh water rinse after every coastal use prevents this.
Store away from direct sun. UV radiation breaks down all coatings over time. Even UV-resistant coatings degrade 30 to 40 percent faster in direct sunlight. A simple cloth cover adds years to your coating's life.
Inspect ports and seams monthly. Water entry at seams is the leading cause of speaker failure. A tiny gap at a seam defeats a perfect coating elsewhere.
Match your coating to your climate. If you live in a freeze-thaw zone, use a flexible silicone coating. Rigid polyurethane becomes brittle below freezing and cracks.
Frequently Asked Questions
Can I use WD-40 to protect my speaker coating?
No. WD-40 contains solvents that soften most coatings. It leaves a greasy film that attracts dust.
Stick to water-based protectants if you want a hydrophobic layer.
How often should I re-coat my speaker?
Every 12 to 24 months for outdoor use. Every 3 to 5 years for indoor use. Re-coat only when the water beading test shows failure.
Over-coating can create thick layers that crack under stress.
Does reapplying coating void my warranty?
It can. Many manufacturers treat the original coating as part of the sealed enclosure. If you strip or re-coat a speaker under warranty, check the terms first.
Some brands allow it as long as you use their specified products.
What is the best coating for a wooden speaker cabinet?
Marine-grade polyurethane. It's flexible enough to handle wood movement. It resists UV better than acrylic.
Apply three thin coats with a brush, sanding lightly between each.
Can I pressure wash a waterproof speaker?
Never. Even at low pressure, a pressure washer can force water past seals and behind the coating. Use a soft brush and a garden hose on shower setting if you need more than a wipe.
Your Decision Guide: Choose the Right Action Now
| If your coating… | Then… |
|---|---|
| Passes the water beading test | Clean with mild soap. Do nothing else. |
| Shows minor beading loss | Clean thoroughly. Apply one thin top coat. |
| Has small peeling spots | Sand the area. Mask surrounding surfaces. Spot recoat. |
| Peels in sheets or looks chalky | Strip completely. Inspect the base material. Full recoat. |
| Has visible mold or mildew underneath | Strip. Disinfect with diluted bleach. Dry 48 hours. Recoat. |
Final recommendation. When in doubt, clean first. Reapply only when tests confirm failure. A pristine coating that gets one unnecessary top coat can trap moisture and fail faster than a well-maintained original one.
Keep it clean, keep it dry, and your speaker will outlast any weather you throw at it.

Similar Posts