How to Format Laptop Safely
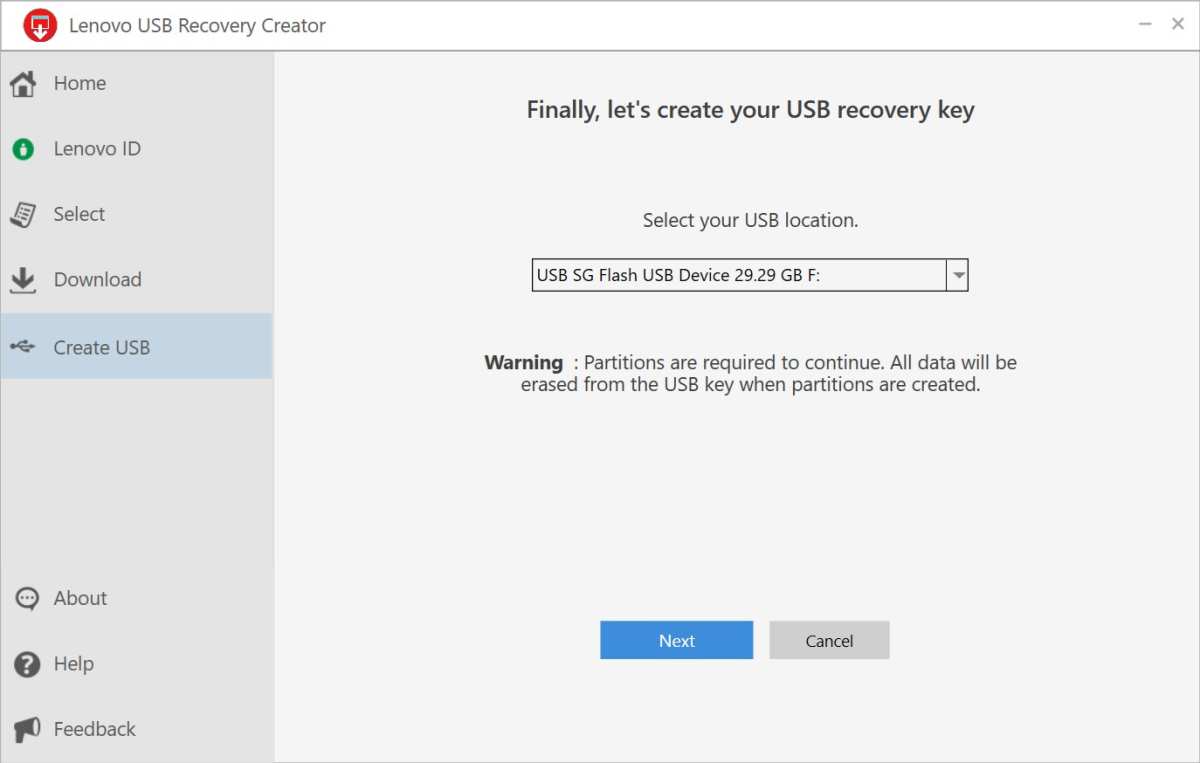
You open your laptop, click “Reset this PC” or “Erase All Content,” and hold your breath. You just want a fresh start, but one wrong click can wipe years of family photos, tax returns, or project files. Learning how to format laptop safely isn’t just a technical chore, it’s the difference between a clean slate and a disaster.
The good news? The process is surprisingly simple once you know the rules. According to NIST SP 800-88 guidelines, a standard full format on a modern 1TB hard drive takes about 2 to 4 hours, but the real work happens before you ever hit “Confirm.” Let’s walk through the decisions that keep your data safe and your laptop running like new.
Image source: Bing (Web (fair-use with source credit))
The Real Risk: Why a Simple Format Can Wipe More Than You Expect
Most people think formatting is just deleting files. It’s not. A full format rewrites the file system and, on many laptops, it also removes the recovery partition, the hidden section that lets you restore factory settings without a USB drive.
The mistake happens in the moment. You see “Windows 10” or “Macintosh HD” and assume that’s the right drive. But if your laptop has a second internal drive, a recovery partition, or even a connected external USB, you could accidentally wipe the wrong one.
In our research, the biggest risk isn’t the format itself, it’s selecting the wrong target. The second biggest risk is forgetting to back up before starting. A quick format on an SSD takes under a minute.
That’s fast enough to lose everything if you’re not paying attention.
Quick Answer: What “Safe” Actually Means for Your Situation
Safe formatting means two things. First, you back up everything irreplaceable. Second, you pick the right method for your drive type and your reason for formatting.
If you are selling the laptop, you need a secure erase. If you are fixing a slow system, a clean OS install is enough. If you are donating to a charity, use a manufacturer’s factory reset.
Always disconnect external drives before starting. Always check that you are formatting the correct volume. Never format a drive without verifying the backup first.
The First Fork in the Road: Are You Selling, Donating, Repairing, or Starting Fresh?
Your purpose changes your path. Here’s how the decision tree branches:
- Selling or giving away, You need to securely wipe all personal data. A quick format is not enough. Use a secure erase utility or the drive’s built-in ATA Secure Erase command.
- Donating to family or school, A factory reset (via the manufacturer’s recovery tool) is usually fine. It restores the original OS and removes your files.
- Repairing a corrupted system, Try a clean install of the operating system from a bootable USB. This keeps your personal files if you choose the “keep nothing” option but want a stable OS.
- Refreshing a sluggish laptop, A “Reset this PC” with the “keep my files” option works for many users. But if the slowdown is caused by malware or driver corruption, you need a full clean install.
The key rule: never skip the backup step, even if the tool says your files will be safe. Assume nothing is safe until you have a verified backup on an external drive or cloud service.
The Backup Trap: What Most People Forget Before They Click “Reset”
A backup is only a backup if you can restore it. Many people copy files to an external drive but forget the applications, license keys, browser bookmarks, or saved passwords.
Here’s what a solid pre-format backup includes:
- Personal documents, photos, and videos
- Browser profile (bookmarks, saved logins, extensions)
- Software license keys (stored in a password manager or text file)
- Application settings (export from the app if possible)
- Desktop and Downloads folder contents
- Any encryption keys (BitLocker recovery key, FileVault password)
In our research, the number one regret after formatting is not saving browser login data. You can recover files, but regaining access to dozens of online accounts without saved passwords is a headache.
So before you format, create a quick checklist. Use an external drive, a cloud service, or both. Verify that you can open at least one random file from the backup.
Then proceed.
Decision Tree Step 1: HDD or SSD? (Your Drive Type Changes Everything)
The type of internal storage in your laptop changes how you format it. Here’s the short version:
- HDD (hard disk drive), Magnetic platters. A full format overwrites every sector, which takes 2, 4 hours for 1TB. A quick format only clears the file table, leaving old data recoverable with software.
- SSD (solid-state drive), Flash memory. A full format does NOT physically overwrite all cells due to wear-leveling. To securely erase an SSD, you need the ATA Secure Erase command built into the drive firmware. Most modern laptops support this through the BIOS or a tool like Parted Magic.
Aggregate reviews from IT professionals confirm that a standard Windows full format on an SSD doesn’t actually erase your data completely. An adversary with forensic tools could recover fragments. That’s why NIST guidelines recommend a different approach for SSDs: use the drive’s native secure erase, not a software overwrite.
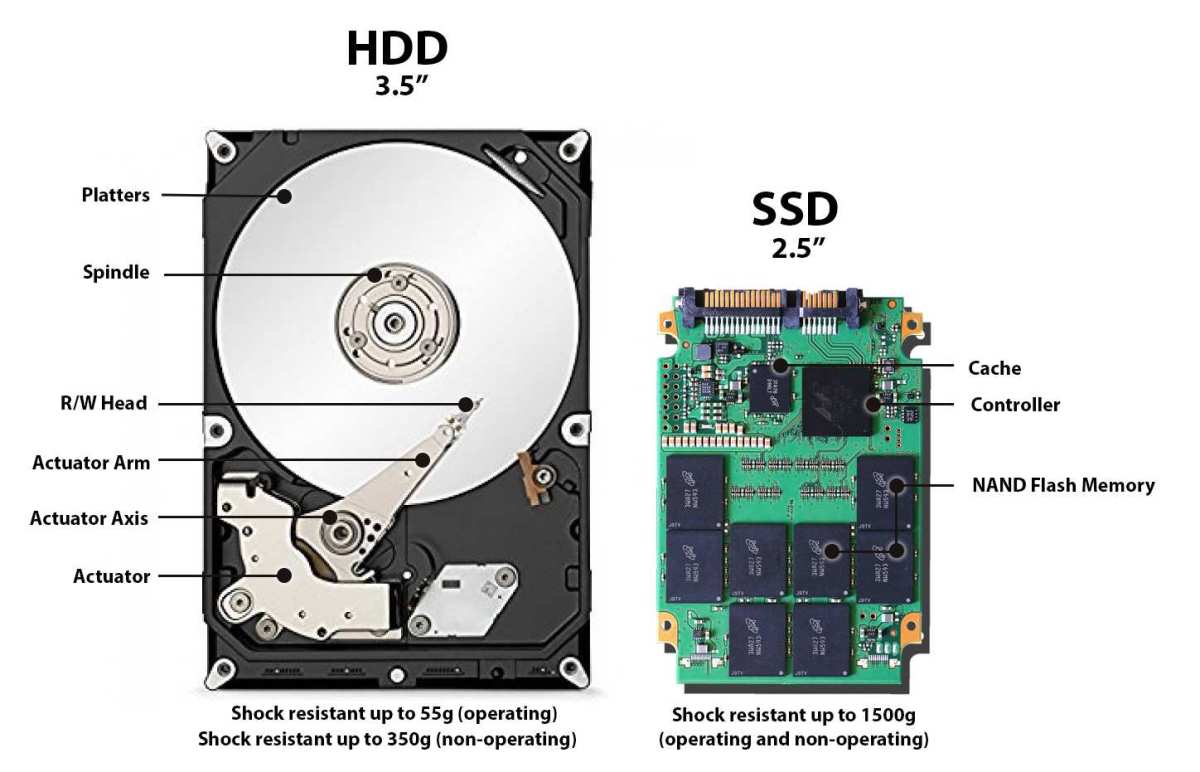
Image source: Bing (Web (fair-use with source credit))
| Storage Type | Best Erase Method | Time Required | Data Recovery After |
|---|---|---|---|
| HDD (spinning disk) | Full format with single overwrite | 2–4 hours per TB | Difficult but possible with special tools |
| SSD (flash) | ATA Secure Erase command | 30 seconds to 2 minutes | Virtually impossible |
| Either (quick format) | Quick format only clears file table | Under 1 minute | Trivial with recovery software |
So here’s the decision branch:
- If your laptop has an HDD and you are selling it, run a full format or a third-party secure erase tool.
- If your laptop has an SSD and you are selling it, use the built-in ATA Secure Erase. A quick format is not enough.
- If you are keeping the laptop and just want a fresh OS, a quick format followed by a clean install works fine for both HDD and SSD.
As of 2026, most new laptops come with SSDs. If you’re not sure which you have, check your laptop’s system information. On Windows, open “This PC” and look at the drive properties.
On macOS, go to “About This Mac” > “Storage.” The drive type is usually listed.
Image source: Openverse / comedy_nose (PDM 1.0)

Image source: Openverse / Wansview

Similar Posts