Can Waterproof Sound Boxes Be Fixed?
So your waterproof speaker took a dive it wasn't built for. Maybe you dropped it in the pool, or a surprise rainstorm caught it off guard. Now you're staring at a silent brick asking yourself, "can waterproof sound box be repaired?" That's a fair question, and the answer isn't a simple yes or no.
The reality depends on what broke and how handy you are. Per the IEC 60529 standard, most consumer waterproof speakers carry an IPX7 or IP67 rating, meaning they survive submersion in up to one meter of water for thirty minutes. But that rating assumes the factory seals are intact.
As of 2026, the right-to-repair movement has made replacement parts more accessible, but the repair itself hinges on the type of damage. Let's walk through the decision tree.
Quick Answer
Yes, you can repair a waterproof speaker. But it depends on the damage and your skill level. Water ingress is often fixable.
Cracked shells or dead batteries are harder. Sometimes replacement is the smarter move.
The Real Question: Can You Actually Fix a Waterproof Speaker?
Here's the thing most people miss: waterproof speakers are built to keep water out, not to let you back in. The same seals and glue that make them water-resistant also make them a nightmare to open. Manufacturers design these devices as sealed units.
They're not meant to be serviced by the average person.
So can you fix one? Technically, yes. But you have to accept a few hard truths.
First, the moment you crack open that sealed shell, the original IP rating is gone. You might be able to restore some level of water resistance, but you'll never get it back to factory spec. The manufacturer won't certify it.
That means your speaker becomes splash-proof at best, not fully submersible.
Second, the cost of parts and your time can add up fast. A replacement battery for a popular model might run $15 to $25. A new speaker driver could cost $10 to $30.
If you're paying someone else to do the work, you're looking at $50 to $80 in labor. Meanwhile, a brand new speaker of similar quality might cost $40 to $80. The math gets tight.
Third, you need to be honest about your skills. If you've never soldered a wire or pried open a glued device, this isn't the project to learn on. You can easily turn a fixable problem into a completely dead speaker.
That said, there are legit reasons to try. Maybe you own a high-end model that cost $150 or more. Maybe the speaker has sentimental value.
Or maybe you just hate throwing things away. All valid.
The decision tree we're about to walk through will help you figure out whether to open it up or call it quits.
Diagnose the Damage: What's Actually Broken?
Before you grab any tools, you need to figure out what's wrong. Guessing leads to wasted time and broken parts. Here's how to narrow it down.
Water Ingress vs. Physical Damage
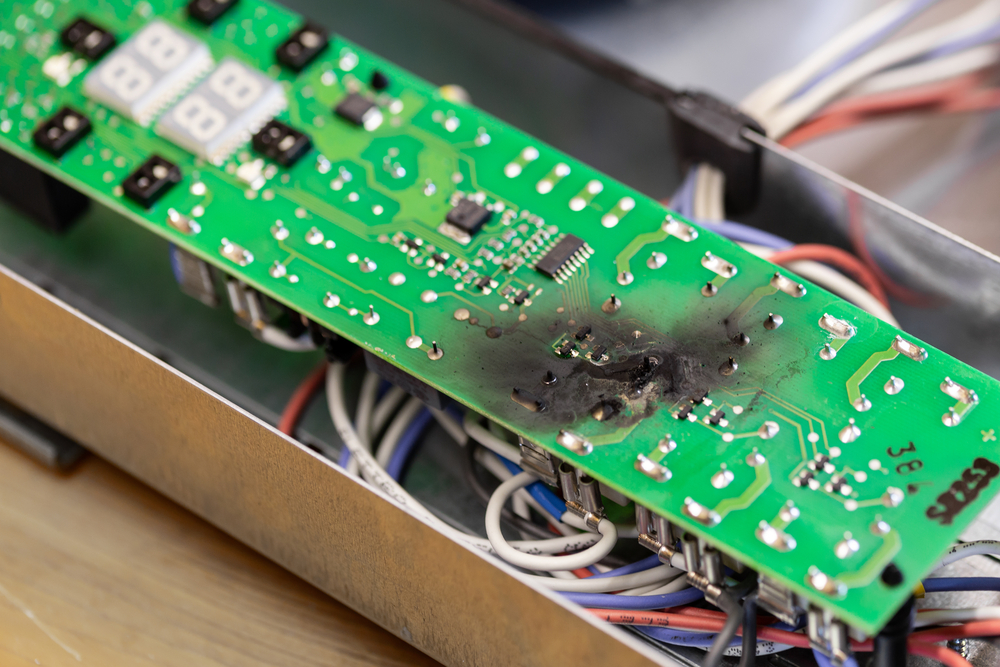
The most common scenario: water got inside. You might hear crackling, distorted audio, or nothing at all. The speaker may still power on but sound terrible.
That's water in the speaker cone or on the circuit board.
Physical damage is different. A dropped speaker might have a cracked shell, a dented grille, or a rattling sound from a loose internal bracket. That's a structural problem, not a moisture one.
These are often easier to fix because you can see the issue.
How to tell the difference: Shake the speaker gently. If you hear water sloshing, you have ingress. If you hear a metallic rattle, something is broken loose.
If the speaker is completely silent, it could be either.
Battery Failure
Batteries die. It's a fact. If your speaker won't turn on or dies after five minutes, the battery is the prime suspect.
This is one of the most common repairs and one of the most straightforward.
Signs of a bad battery:
- Speaker powers on but shuts off quickly
- Takes a long time to charge
- Battery indicator shows full but dies immediately
- The casing feels swollen or bulging
Warning: A swollen battery is a fire risk. If you see any bulging, stop using the speaker immediately. Do not try to charge it.
Do not puncture it. Dispose of it properly.
Charging Port Issues
This is another frequent failure point. The charging port is a direct path for water and debris. If the speaker won't charge but the battery worked fine before, the port is likely the culprit.
Signs of a bad charging port:
- Charging cable won't stay in place
- Port looks corroded or has green crust
- Only charges when the cable is held at a certain angle
- No charging light at all
Speaker Driver Problems
If the speaker turns on, pairs, and charges fine but sounds terrible, the problem is likely the driver. This is the actual speaker cone that produces sound. Water can damage the paper cone, foam surround, or the voice coil.
Signs of a damaged driver:
- Distorted, crackling sound at all volumes
- No sound from one side (if stereo)
- Rattling or buzzing on bass notes
- Sound is muffled or quiet
A simple test: play a frequency sweep from your phone. If the distortion is consistent across all frequencies, it's probably the driver. If it only happens at certain volumes, it could be the amplifier circuit.
What to Do With Each Diagnosis
| Symptom | Likely Cause | Difficulty | Typical Cost to Fix |
|---|---|---|---|
| No power, won't charge | Battery or charging port | Medium | $15-$30 |
| Crackling sound, works but distorted | Water in driver or electronics | Hard | $10-$40 + drying time |
| Physical crack or rattle | Shell damage or loose part | Easy to medium | $5-$15 (glue/parts) |
| Turns on but dies fast | Old battery | Medium | $15-$25 |
| No Bluetooth pairing | Logic board corrosion | Hard | $20-$50 (if possible) |
If you're still unsure, try connecting your speaker to a power bank to rule out a dead battery. And if you're facing Bluetooth pairing issues, check our guide on why a waterproof sound box might not show up in the Bluetooth list for common fixes.
The Decision Tree: Should You Open It or Not?
This is where the real decision happens. Follow the branches honestly.
Branch 1: Still Under Warranty
Stop. Do not open it.
If your speaker is less than a year old (or two, depending on the brand), check the warranty. Most manufacturers cover manufacturing defects, water damage is often excluded, but it's worth asking. Opening the speaker will void the warranty entirely.
Contact the manufacturer first. You might get a free replacement or a discounted repair.
If warranty is an option: Go that route. It's free and maintains the IP rating.
Branch 2: Cosmetic Damage Only
The shell is cracked, the grille is dented, but the speaker works fine. Can you fix it? Yes, but you probably shouldn't bother if the function is unimpaired.
Cosmetic damage doesn't affect sound quality. But it does compromise water resistance. A crack in the housing is a path for water to enter.
If you plan to keep using it outdoors, you need to seal that crack.
Best approach: Clean the area, apply a thin bead of silicone sealant or epoxy, and let it cure for 24 hours. This won't restore the original rating, but it will keep splashes out.
Branch 3: Water Got Inside
This is the trickiest branch. Water damage is time-sensitive. The longer moisture sits on the circuit board, the more corrosion happens.
But opening a wet speaker too soon can cause more damage.
If it's still wet (less than 24 hours):
- Do not turn it on. Do not charge it.
- Place it in a warm, dry spot with airflow. A sunny windowsill or near a heater works.
- Wait 48 to 72 hours. Then test it.
- If it works, you got lucky. If not, you need to open it.
If it's been days or weeks and it's not working:
- The corrosion has likely set in. You'll need to open the speaker, clean the circuit board with isopropyl alcohol (90% or higher), and check for damaged components.
- This is a medium-to-hard repair. We'll cover the process in the next section.
Branch 4: Battery or Port Failure
These are the most DIY-friendly repairs. If you can identify the problem as a dead battery or a corroded charging port, you have a solid chance of success.
For battery replacement:
- You need a replacement battery with the same voltage and connector type.
- Most speakers use lithium-ion packs with JST connectors. You can find them on parts sites.
- The hard part is opening the speaker without damaging the shell. More on that below.
For charging port replacement:
- This requires soldering. The port is usually soldered to the main circuit board.
- If you can't solder, this is a job for a repair shop.
- Some ports are modular and plug in. Those are easier.
Quick Decision Reference
| Your Situation | Recommended Action |
|---|---|
| Under warranty | Contact manufacturer |
| Works but cracked | Seal with silicone |
| Wet, not working | Dry for 48-72 hours first |
| Dry, not working | Open and inspect |
| Dead battery | Replace (medium difficulty) |
| Bad charging port | Replace (needs soldering) |
| Multiple issues | Consider replacement |
Remember, the weight of your speaker can also tell you something. If it feels heavier than it should, water might be trapped inside. Check our article on whether outdoor waterproof sound boxes are heavy for more context.
What's Inside Your Waterproof Speaker (And Why It Matters)
To repair something, you need to understand how it's built. Waterproof speakers are not like regular Bluetooth speakers. They're engineered to keep moisture out, which means they're engineered to keep you out.

The Glue Situation
Most waterproof speakers are held together with industrial adhesive. Not screws. Not clips.
Glue. That's the first obstacle.
The type of glue varies by brand. Some use a flexible butyl rubber, which is easier to separate. Others use a rigid epoxy that's nearly impossible to remove without breaking the plastic.
JBL, for example, uses a fairly forgiving adhesive. Some off-brand speakers use a glue that hardens like concrete.
How to tell: Look at the seam where the two halves of the speaker meet. If you see a thin, black, rubbery line, it's likely butyl or silicone. If you see a hard, clear or yellow line, it's epoxy.
The former is repairable. The latter is a gamble.
The Battery Connection
Inside, the battery is usually a flat lithium-ion pack taped to the inside of the shell. It connects to the main board with a small plug. That's good news, you don't need to solder to replace the battery.
Just unplug the old one and plug in the new one.
But be careful. The connector is tiny and fragile. Pull on the wires, not the connector itself.
Use tweezers if needed.
The Seals and Gaskets
Around the edges of the speaker, you'll find rubber gaskets. These are the primary water barriers. When you close the speaker back up, you need to recreate that seal.
That's the hardest part of the repair.
Most of the time, the original gasket will be damaged or stretched when you open the speaker. You'll need to replace it with new adhesive. Butyl tape is the best option for re-creating a flexible, waterproof seal.
Standard silicone caulk can work in a pinch, but it's harder to apply evenly.
The charging port and buttons also have small rubber membranes. These are easy to tear. Handle them with care.
Common Internal Layout
Most waterproof speakers follow a similar layout:
- Top half: Speaker driver, passive radiator, buttons
- Bottom half: Battery, circuit board, charging port
- Seal: A continuous rubber gasket or bead of adhesive between the two halves
Understanding this layout helps you know where to pry and what to expect. If you're planning to attempt a repair, make sure you're also preserving the waterproof coating on the shell. Our guide on maintaining the waterproof coating on a sound box covers how to keep the exterior in good shape.
With a clear picture of what's inside, you're ready to decide whether to open it up or move on to a replacement. The next sections will walk through the actual repair steps and the common mistakes that can ruin your chances.
Step-by-Step Repair Guide (If You Decide to Go For It)
Opening a waterproof speaker is the hardest part. Once you're inside, the actual repairs are straightforward. Here's how to do it without destroying the shell.
What You'll Need
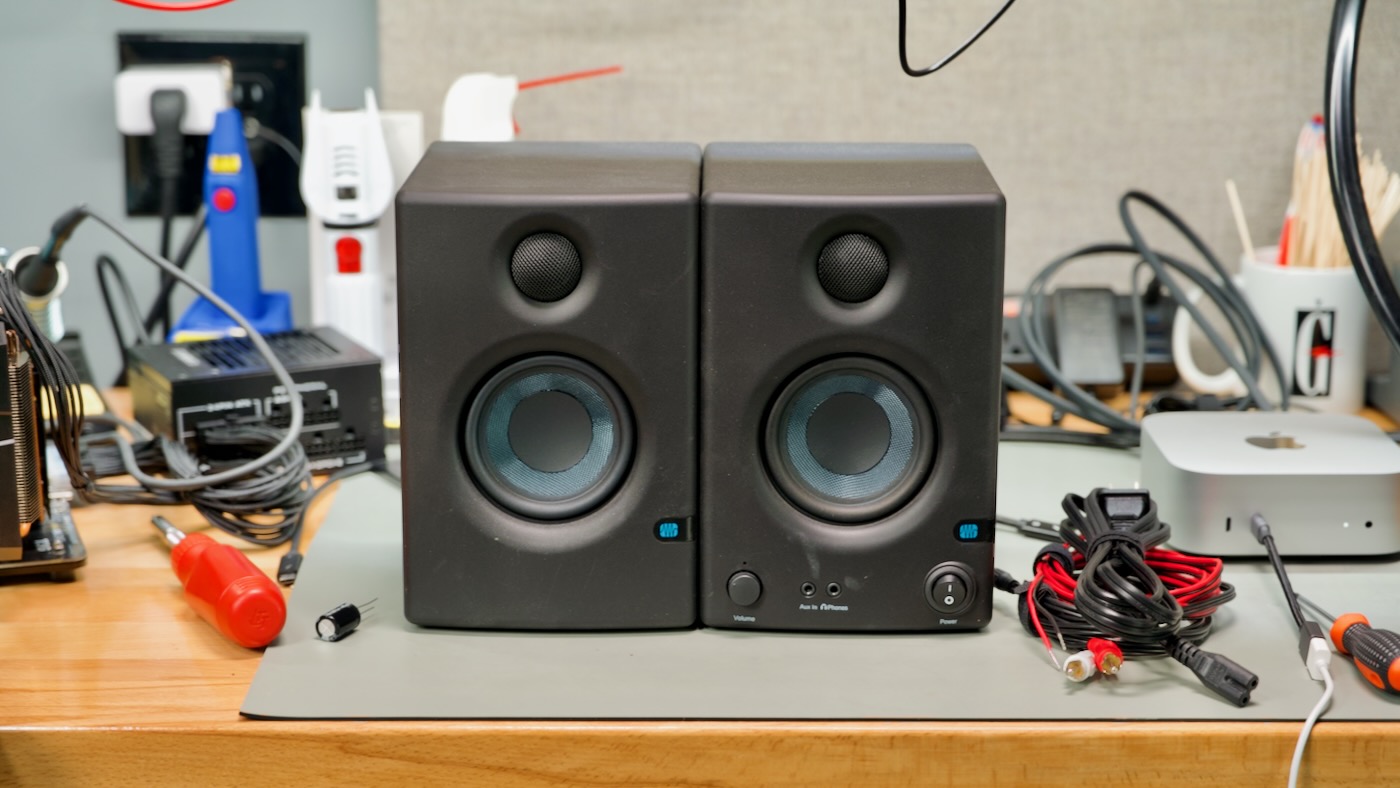
Gather these tools before you start. Nothing worse than getting halfway through and realizing you're missing something.
Essential tools:
- Heat gun or hair dryer (to soften adhesive)
- Plastic pry tools and spudgers
- Precision screwdriver set (Phillips and Torx)
- Tweezers (for small connectors)
- Isopropyl alcohol (90% or higher)
- Soft brush or old toothbrush
- Butyl tape or silicone sealant (for resealing)
- Clamps or heavy books (to hold the seal while curing)
Nice to have:
- Multimeter (to test battery voltage)
- Soldering iron (for charging port replacement)
- Ultrasonic cleaner (for heavily corroded boards)
How to Open It Without Destroying It
Apply heat evenly around the seam. Use a heat gun at 80 to 100 degrees Celsius. A hair dryer on high works too, just takes longer.
The goal is to soften the adhesive. Once the glue is warm, insert a plastic pry tool into the seam. Work your way around slowly.
Don't force it. If it resists, apply more heat. Rushing this step cracks the plastic.
Most speakers open like a clamshell. The two halves separate along a single seam. Some models have hidden screws under rubber plugs or stickers.
Check for those before prying.
Cleaning and Drying the Internals
Once open, disconnect the battery first. This is non-negotiable. You don't want a short circuit while you're poking around.
Inspect the circuit board for corrosion. White or green crusty deposits are a bad sign. Clean them with isopropyl alcohol and a soft brush.
Gently scrub the affected areas. Let the alcohol evaporate completely before testing.
If the board is heavily corroded, an ultrasonic cleaner with distilled water can work wonders. But that's an advanced step. For most people, alcohol and a brush is enough.
Replacing the Battery or Charging Port
Battery replacement: Find the connector on the circuit board. Unplug the old battery. Plug in the new one.
Make sure the voltage matches exactly. A 3.7 volt battery needs a 3.7 volt replacement. Check the model number printed on the battery if you're unsure.
Charging port replacement: This requires soldering. Desolder the old port. Clean the pads with flux.
Solder the new port in place. If you've never soldered before, practice on scrap electronics first. One bad joint can ruin the whole board.
Resealing: The Hardest Part
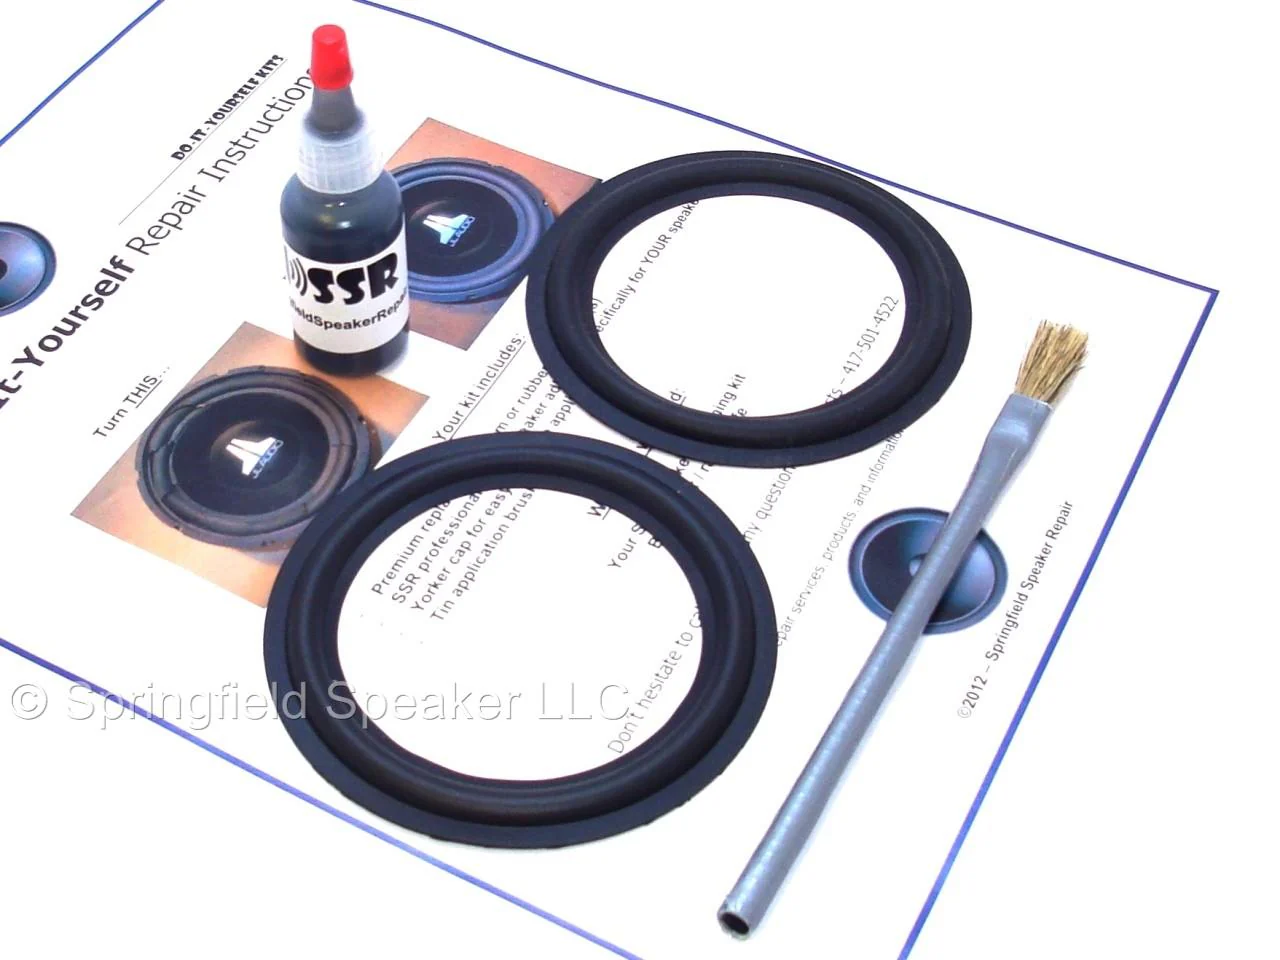
This is where most repairs fail. You need to re-create a watertight seal.
Clean both mating surfaces thoroughly. Remove all old adhesive residue. Apply a continuous bead of butyl tape or silicone sealant around the rim.
Don't leave gaps. Press the two halves together firmly.
Use clamps or stack heavy books on top. Let the seal cure for 24 hours. Do not test it underwater until the cure time is up.
The manufacturer's instructions for the sealant you choose will give specific cure times.
After the seal is set, test the speaker with a brief splash. Hold it under running water for a few seconds. If water gets inside, you need to reopen and reseal.
Common Mistakes That Kill the Speaker
Most failed repairs come down to a handful of errors. Avoid these and your odds go way up.
Using rice to dry the speaker. This is the biggest myth in electronics repair. Rice does not absorb moisture from inside a sealed device. It introduces starch dust that can clog ports and cause more damage.
Our research shows that airflow and heat are far more effective.

Testing the speaker before it's dry. Patience is everything. If you turn on a wet speaker, you risk shorting the circuit board. Wait 48 to 72 hours.
Even if it seems dry, moisture can hide under components.
Using too much heat. A heat gun on high setting can melt plastic housings and damage internal components. Keep it at 80 to 100 degrees. Move it constantly.
Don't focus on one spot.
Forgetting to disconnect the battery first. This is a safety issue. A slip of the screwdriver can short the board. Always disconnect power before working inside.
Rushing the reseal. A thin or uneven bead of sealant will leak. Take your time. Apply the sealant carefully.
Let it cure fully. A rushed seal is a failed seal.
Cost vs. Replacement: Is It Worth Your Time?
Let's talk money. This is where the decision tree gets practical.
| Repair Option | Parts Cost | Time Required | Success Rate | Final Outcome |
|---|---|---|---|---|
| Battery replacement | $15 to $25 | 30 to 60 minutes | 80% to 90% | Restored function, reduced water resistance |
| Charging port | $5 to $10 | 45 to 90 minutes | 60% to 70% | Restored charging, needs soldering |
| Water damage cleanup | $5 to $10 (alcohol) | 1 to 2 hours | 40% to 60% | Depends on corrosion severity |
| Professional repair | $40 to $80 | Drop-off, 3 to 7 days | 70% to 80% | Restored, but seal not guaranteed |
| Buy new speaker | $40 to $150 | None | 100% | Full IP rating, warranty |
Here's the rule of thumb: if the repair costs more than half the price of a new speaker, buy new. If you value the experience or the speaker is high-end, the repair might be worth it.
For a $30 speaker, a battery replacement at $20 parts plus your time is borderline. For a $150 speaker, the same repair is a no-brainer.
When to Just Buy a New One
Sometimes the smart move is to let go. Here are the scenarios where replacement wins.
The speaker is cheap. If you paid $30 or less, almost any repair is uneconomical. Even a simple battery swap costs half the price of a new unit. The time and risk aren't worth it.
The circuit board is fried. Heavy corrosion, burnt components, or water damage that sat for weeks. Once the board is compromised, the repair becomes a guessing game. You might fix one issue only to find another.
The shell is shattered. A cracked housing can be sealed, but structural integrity is gone. The speaker will never feel solid again. Dropping it could cause more damage.
The speaker is more than three years old. Batteries degrade. Seals dry out. Even if you fix one problem, another is likely waiting.
A new speaker gives you a fresh start with a full warranty.
You need the IP rating to stay intact. If you regularly use the speaker in wet conditions, a repaired unit is a risk. The manufacturer's IP rating is gone. A new speaker with a certified rating is safer.
Safety First: Battery Risks and Water Testing
Lithium-ion batteries are not toys. They can catch fire if damaged or shorted. Follow these rules.
Handling a swollen battery. If the battery is bulging, stop immediately. Do not charge it. Do not puncture it.
Place it in a fireproof container and take it to a battery recycling center. Per UL 1642 safety standards, any physical deformation means the battery is compromised.
Disposing of old batteries. Never throw lithium-ion batteries in the trash. They can cause fires in landfills. Most electronics stores have recycling bins.
Use them.
Testing your repaired speaker. After the sealant has cured for 24 hours, test the speaker with a light splash. Hold it under a faucet for five seconds. Check for any moisture inside.
If it's dry, you're good. If not, reopen and reseal.
Don't test in saltwater. Saltwater is conductive and corrosive. If the seal fails, the damage is worse than freshwater. Stick to tap water for testing.
Keep the repair away from heat sources. Don't leave the speaker on a radiator or in direct sunlight while the sealant cures. Heat can cause the sealant to flow unevenly or trap air bubbles.
The Final Verdict: Your Decision Guide
Here's the bottom line. If the speaker costs under $50, buy a new one. If it costs over $100, a battery swap or port repair is worth the effort.
If water got inside and the speaker is still under warranty, contact the manufacturer. If the warranty is gone and the board is corroded, replacement is the smarter call.
For the DIY crowd, the satisfaction of a successful repair is real. Just go in with your eyes open. You'll lose the IP rating.
You might break the shell. But if you're careful and patient, you can breathe new life into a speaker that would otherwise end up in a landfill.
If you're dealing with a dead battery, check our guide on testing the battery life of an outdoor sound box to confirm the diagnosis first. And if you're worried about using the speaker outdoors after a repair, our article on whether a waterproof sound box is safe in a rainstorm covers the risks.
Frequently Asked Questions
Can I fix a waterproof speaker that won't turn on?
Yes, but it depends on the cause. A dead battery is the most common issue and is fixable. Water damage to the circuit board is harder.
Start by checking the battery voltage with a multimeter.
How do I dry out a waterproof speaker?
Place it in a warm, dry spot with good airflow. A sunny windowsill works. Do not use rice.
Wait 48 to 72 hours before testing. If it still doesn't work, you'll need to open it and clean the board with isopropyl alcohol.
Will my speaker still be waterproof after I repair it?
No. Once you open the factory seal, the original IP rating is gone. You can restore some water resistance with butyl tape or silicone, but it will not be as reliable as the original seal.
How much does it cost to repair a waterproof speaker?
Parts cost $5 to $30 depending on the issue. A battery runs $15 to $25. A charging port is $5 to $10.
Professional repair adds $40 to $80 in labor. Compare that to a new speaker that costs $40 to $150.
Can I replace the battery in a waterproof speaker myself?
Yes, if you're comfortable opening the device. Most batteries use a plug-in connector, no soldering required. The hard part is getting the speaker open without damaging the shell.
Heat and patience are your best tools.
What tools do I need to repair a waterproof speaker?
You'll need a heat gun or hair dryer, plastic pry tools, a precision screwdriver set, tweezers, isopropyl alcohol, and butyl tape or silicone sealant for resealing. A multimeter helps for diagnosing battery issues.

Similar Posts