How To Take An Iphone Setting Screenshot For Easy Sharing

Everything You Need to Know About iPhone Setting Screenshot
Understanding how to take a screenshot of your iPhone settings can seem tricky at first, but once you learn the steps, it becomes second nature. Whether you want to save your current Wi-Fi network details, show someone your screen setup, or keep a record of your privacy settings, knowing how to take a screenshot of your iPhone settings is a useful skill. In this guide, we’ll walk you through everything in detail, so you can confidently capture your iPhone screen whenever you need.Why Would You Want to Take a Screenshot of Your iPhone Settings?
There are many reasons why capturing an image of your iPhone settings can be helpful:- Sharing Troubleshooting Information: If you’re encountering issues, you might need to send a screenshot of your settings to Apple Support or a tech friend.
- Keeping Records: Save settings like Wi-Fi passwords or device configurations for future reference.
- Learning and Troubleshooting: Review previous settings or compare changes after updates or adjustments.
- Sharing Configuration with Family or Colleagues: Show your preferred settings or setup for assistance or collaboration.
Understanding Your iPhone’s Settings Screen
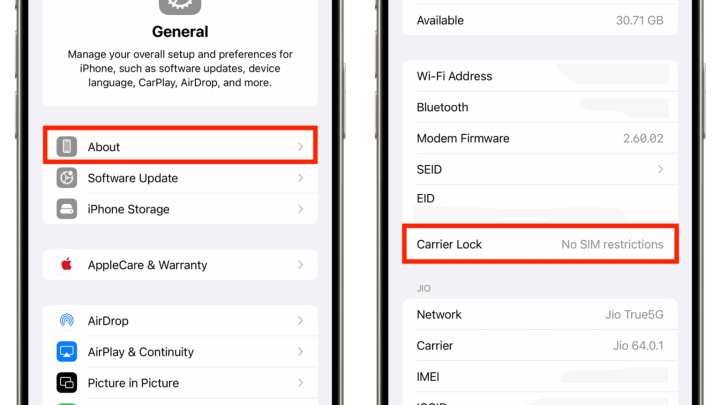
Before diving into how to take a screenshot, it’s helpful to understand what your settings screen consists of. When you open the Settings app, you’ll see a variety of options organized into categories, such as:- Wi-Fi & Network: Manage Wi-Fi networks, cellular data, VPNs, and more.
- Display & Brightness: Adjust brightness, font size, and screen timeout.
- Privacy & Security: Control app permissions, location services, and security features.
- Battery & Power: Check battery usage and enable power-saving modes.
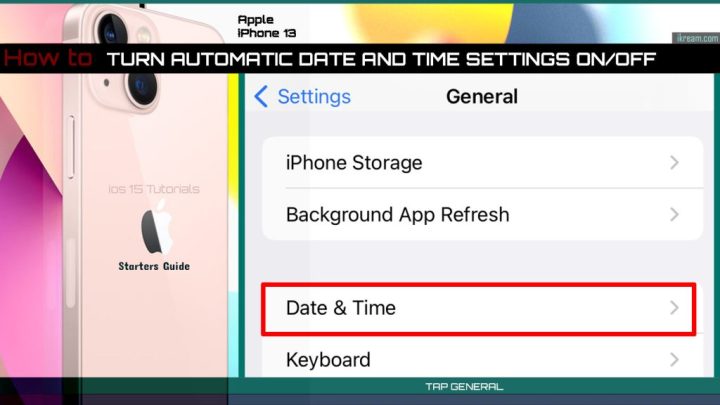
- General Settings: Software updates, storage management, date & time, and more.
How to Take a Screenshot of Your iPhone Settings
Now, let’s explore the step-by-step methods to capture your iPhone’s settings screen. The process differs slightly depending on your iPhone model—whether you have Face ID or Touch ID.For iPhones with Face ID (iPhone X and later)
Follow these steps:- Navigate to the Settings screen or specific setting you want to capture.
- Press the Side Button (located on the right side of your iPhone) simultaneously with the Volume Up button (located on the left side).
- Release both buttons quickly. The screen will flash white, indicating the screenshot was taken.
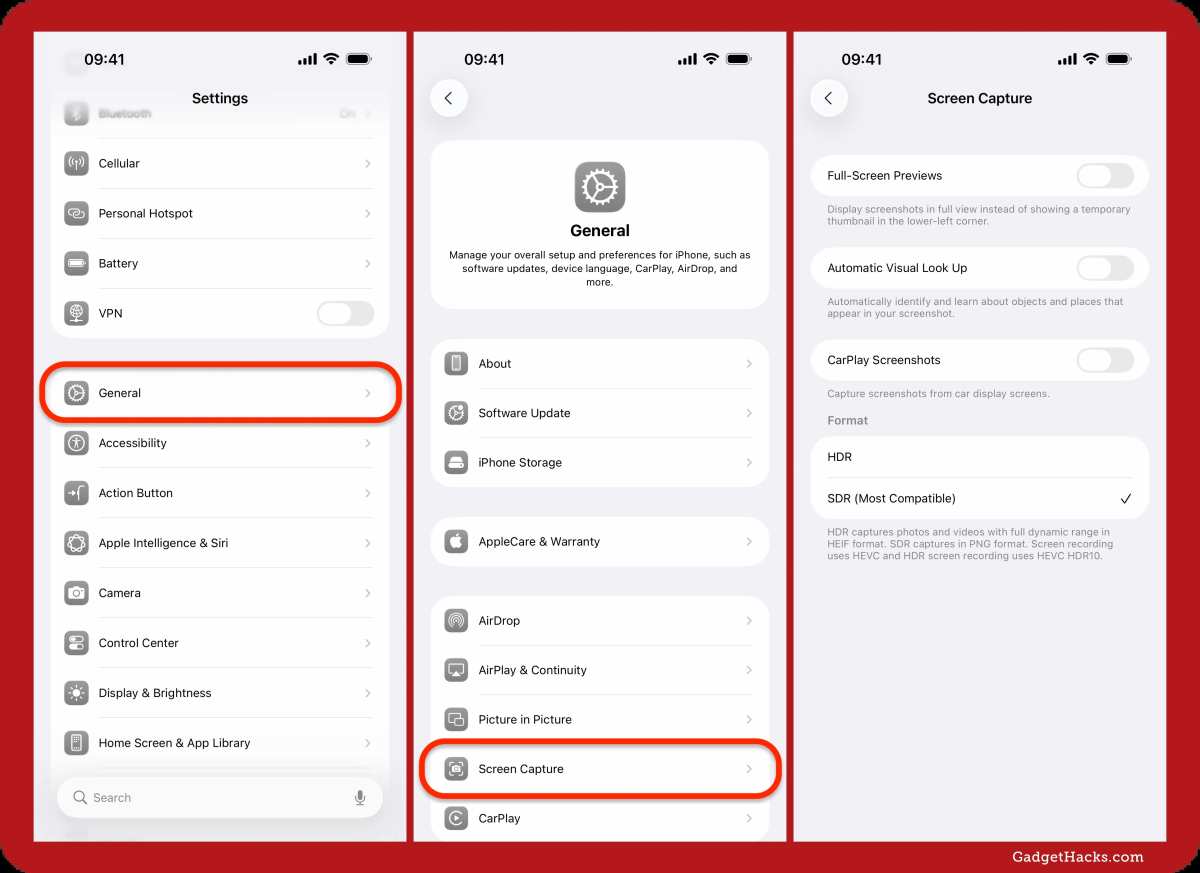
- A thumbnail preview appears temporarily in the lower-left corner of your screen. Tap it to edit or swipe left to dismiss it.
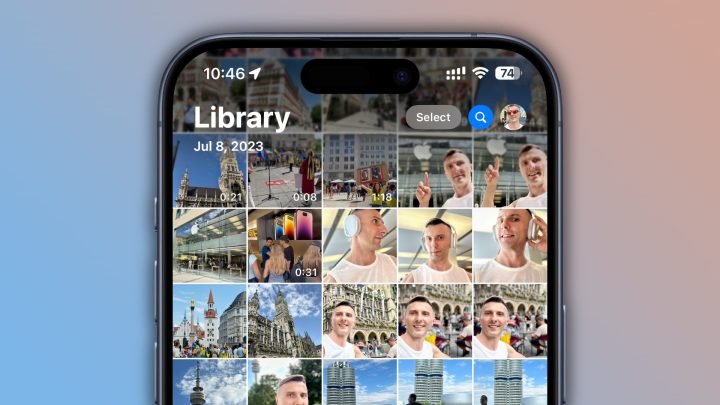
- The screenshot is saved automatically to your Photos app under “Screenshots.”
For iPhones with Touch ID and Side Button (iPhone 8 and earlier)
Here’s how to take a screenshot:- Open the Settings menu and navigate to the specific settings you want to capture.
- Press the Home Button (center button on the front) and the Side Button at the same time.
- Release both buttons quickly—the screen will flash, confirming the screenshot.
- The screenshot appears as a thumbnail in the corner, which you can tap to edit or swipe away.
- The image is stored in your Photos app under “Screenshots.”
Special Tips for Taking Better Screenhots of Settings
While capturing your settings, consider these tips for better results:- Ensure the screen is well-lit: Bright lighting reduces reflections and enhances clarity.
- Clean your screen: Remove fingerprints or smudges before capturing, so text and icons are clear.
- Focus on the specific section: Navigate straight to the relevant settings to avoid unnecessary clutter in your screenshot.
- Use editing tools: After capturing, edit your screenshot to crop or highlight important sections.
Managing and Editing Your iPhone Screenshots
Once you take a screenshot, you may want to edit or organize it. Here are some tips:Editing Screenshots
After capturing, a small preview appears in the corner. Tap it to enter editing mode:- Cropping: Remove unnecessary parts of the image, focusing on the settings you want to highlight.
- Adding Annotations: Use the markup tools to draw, circle, or add text to clarify specific details.
- Adjusting: Rotate or resize parts of your screenshot if needed.
Organizing Screenshots
To keep your screenshots easy to find:- Create Albums: Make a dedicated folder in Photos for your settings screenshots.
- Name Your Files: When sharing or saving, rename your images with descriptive titles.
- Backup: Save copies to iCloud or other cloud services for safekeeping.
Sharing Your iPhone Settings Screenshot
You might want to send your screenshot to someone else or upload it somewhere. Here’s how:- Via Messages or Email: Tap the share icon in Photos or the screenshot preview to choose your sharing method.
- Upload to Cloud Services: Use iCloud, Google Drive, or Dropbox to upload your images for access anywhere.
- Social Media: Share your screenshot directly through platforms like WhatsApp, Facebook, or Twitter.
Common Issues When Taking iPhone Screenshots and How to Fix Them
Sometimes, taking a screenshot might not go as planned. Here are typical problems and solutions:- The screenshot doesn’t save: Check your Photos app storage; ensure you have enough space.
- The buttons don’t respond: Try restarting your iPhone or use assistive touch as an alternative.
- The screenshot is blurry or unclear: Clean your screen and ensure good lighting before capturing.
- Accidental screenshots: Be cautious when pressing buttons. Use the AssistiveTouch feature if pressing hardware buttons is difficult.
Alternative Methods for Capturing Screens of Settings
For users who find hardware button combinations challenging, alternative methods include:- Use AssistiveTouch: Turn on this feature in Accessibility settings. It provides a virtual button to take screenshots with a tap.
- Siri Command: Say “Hey Siri, take a screenshot” to capture the current screen without pressing any buttons.
Tips for Better Screenshots in the Future
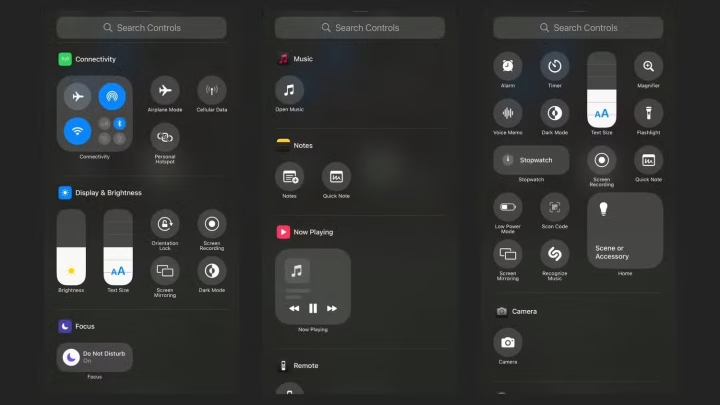
To make screenshots even easier:- Customize Controls: Add screenshot options to your Control Center for quick access.
- Set up Accessibility Features: Use features like AssistiveTouch for more comfortable screenshot options.
- Practice: Get familiar with your device’s hardware buttons and gestures to streamline the process.
Frequently Asked Questions
How can I take a screenshot of my iPhone settings?
To capture a screenshot of your iPhone settings, press the side button and the volume up button simultaneously. Quickly release both buttons, and the screenshot will appear briefly in the lower-left corner of the screen. You can tap on the preview to edit or share it immediately, or it will save automatically to your Photos app.
Is there a way to edit or annotate my iPhone setting screenshots directly?
Yes, after taking a screenshot, tap the preview that appears in the corner. The editing interface opens up, allowing you to draw, add text, or crop your screenshot. Once you finish editing, tap ‘Done’ to save it to your Photos, or you can share it directly from this menu.
Can I capture a screenshot of a long settings page on my iPhone?
While iPhones do not have a built-in feature for scrolling screenshots, you can take multiple screenshots of different sections and use third-party apps to stitch them together into a single long image. Several apps available on the App Store facilitate this process and help you save comprehensive views of lengthy settings pages.
How do I access my saved setting screenshots on my iPhone?
All screenshots, including those of your settings, automatically save to the Photos app under the ‘Recents’ album. Open the Photos app, navigate to the ‘Albums’ tab, and select ‘Recents’ or ‘Screenshots’ to view your saved images. From there, you can share or edit your screenshots as needed.
Can I change the default location where my iPhone saves screenshots?
By default, iPhones save screenshots directly to the Photos app in the ‘Recents’ album. You cannot change this default location. However, you can organize your screenshots into different albums or move them to other locations within the Files app or third-party cloud services for better management.
Final Thoughts
In conclusion, the process of taking an iPhone setting screenshot is simple and effective. It allows users to capture important configuration details quickly. Whether for troubleshooting or sharing settings, this feature proves handy. The ‘iphone setting screenshot’ feature saves time and effort, making device management easier. Keep this method in mind to enhance your iPhone experience effortlessly.
Similar Posts