How to Fix Sticky Rubberized Plastic in Minutes
How to fix sticky rubberized plastic? The honest answer depends on why it turned tacky. Surface grime wipes away in minutes.
A dying rubberized coating needs a different plan entirely. Here is how to tell them apart.
Soft-touch coatings are ultra-thin films, often just 50 to 150 microns thick per manufacturer specifications. The wrong solvent can destroy one in seconds. Our research breaks the problem into three causes and four matching fixes.
Start with the quick fix below, then find your cause.
How to Fix Sticky Rubberized Plastic?
Test a hidden spot with 91% isopropyl alcohol on a cotton swab. If tackiness lifts, clean with soap and water first. If the coating feels soft or gummy, it's failing.
Strip it, then seal or re-coat the surface. Powders and dressings only hide the problem.
Why Rubberized Plastic Turns Sticky (and Why That Decides Your Fix)
What actually makes the surface tacky
Three causes sit behind every sticky grip, and they need opposite treatments. Contamination sits on top of the part. Think skin oils, adhesive goo, silicone spray, grease, or old protectant buildup.
Bloom is next. Plasticizers migrate out of the material and leave a gummy film behind.
Hydrolysis is the worst one. It breaks down ester-based soft-touch coatings from the inside. Heat, humidity, and UV speed it up.
As of 2026, most budget retro controllers still use those coatings, which is why they go tacky in five to ten years.
The 60-second diagnosis
Run these checks on a hidden spot before you touch anything visible.
- Swab test: dab a cotton swab dampened with 91% IPA. Dirty swab plus smooth surface means grime.
- Thumbprint test: press hard, then release. Smearing or a glossy smear means the coating is failing.
- Tape pull test: press clear tape down, pull fast. Coating lifting off means a dead layer.
- Gloss check: shine a light across the surface. Shiny patches on matte plastic mean damage.
If the swab picks up color, stop. You are dissolving the coating, not the dirt. Hydrolyzed coating feels evenly tacky and smells slightly sour.
Contamination feels patchy and moves under a fingernail. Write down which test failed. That result picks your branch in the next section.
Clean It, Seal It, Strip It, or Replace It
Match your diagnosis to a branch. Each path assumes you ran the swab test first.
| What you saw | Branch | Action |
|---|---|---|
| Dirty swab, smooth surface | Clean | Soap wash, then escalate solvents only if needed |
| Tack returns in two to four weeks | Bloom | Degrease, then seal with a matte clear coat |
| Coating smears, glosses, or lifts | Strip | Remove the layer, scuff, re-coat |
| Cracked base or bare spots | Replace | New grips, sleeves, or a wrap |
Cleaning fixes most cases and costs almost nothing. Sealing locks down remaining bloom for a season. Stripping is permanent.
There is no undo once the soft-touch film is gone.
Branch details matter here. A clean-only fix means the coating is intact and the stickiness was never in the plastic. A bloom fix means oils inside the part keep bleeding out, so sealing buys time, not a cure.
A strip job means the coating is already dead, and only removal plus a new finish will hold.
Replacement wins on cheap parts or cracked substrate. Talcum powder and cornstarch only mask tackiness for days. Our full breakdown of stripping a gummy finish covers that removal stage in depth.
When you are unsure, pick the gentlest branch and wait 24 hours before escalating. Patience here saves grips that impatient solvent ruins.
What You'll Need: The Solvent and Abrasion Ladder
Start weak and climb only when the weaker option fails. Every rung up carries more finish risk.
| Rung | Agent | Best for | Risk |
|---|---|---|---|
| 1 | Dish soap and warm water | Oils, dust | Safe everywhere |
| 2 | 70% isopropyl alcohol | Light residue | Low |
| 3 | 91% to 99% IPA | Adhesive, grease | Dulls matte coatings |
| 4 | Denatured alcohol | Stubborn bloom | Softens soft-touch film |
| 5 | Mineral spirits | Wax, silicone | Hazes clear coats |
| 6 | Acetone | Bare plastic only | Melts coating, crazes polycarbonate |
Abrasion follows the same ladder. Microfiber first, then a non-scratch white pad. Melamine foam and detail brushes belong on the strip path only.
Save 400 to 1000 grit wet sanding for after the coating is gone.
Wear nitrile gloves and ventilate the room. OSHA's flammable-liquid guidance covers storage and sparks, and the NIOSH pocket guide lists vapor limits. For rubber seals and boots, stick with boot and seal cleaners instead of alcohol.
Skip two household names entirely. Bleach and ammonia mixes create gases, and silicone dressings attract dust while making tackiness worse later. WD-40 leaves an oily film that ruins adhesion for any later coating.
Oily rags can self-ignite. Lay them flat to dry outdoors, or seal them in a metal can with a tight lid. Keep solvents away from pilot lights and water heaters.
The same caution applies to moisture inside audio gear, where liquid damage beats stickiness as the bigger threat.
Step-by-Step: Fix Sticky Rubberized Plastic Without Destroying the Coating
Prep before any solvent touches the part
Unplug the device and pull the batteries. Tape off adjacent paint, screens, and clear coats. Mask seams and button gaps, because liquid wicks inward and kills switches.
Slim devices with gummy grips need every opening taped twice. The same power-off discipline protects a wireless speaker housing, so treat every gadget as live.
The cleaning sequence
- Dry dust with a clean microfiber cloth.
- Wash with mild soap and warm water, then dry fully.
- Re-check tackiness. Still tacky? Dampen a swab with 70% IPA.
- Wipe one small area. Dwell 15 to 30 seconds. Never soak.
- Stop when the swab comes away clean.
- Escalate one rung only if tackiness stays.
- Wipe with clean water, dry 24 hours, then re-test.
Stop signs mean stop now: gloss loss, color lift, or a coating that turns tack as you wipe. That is not dirt. That is the coating dissolving under your hand.
Tacky again after two to four weeks? That is coating failure, not grime. Move to the strip branch and plan a re-coat.
Work in daylight or under a bright lamp. You need to see gloss changes the moment they start. One area at a time keeps mistakes small and reversible.
When Cleaning Fails: Strip, Seal, or Re-Coat
Sometimes the swab test already answered this. The coating is dead, and no cleaner brings it back. Your real choices are seal, strip, or replace.
Sealing suits mild bloom. Wipe the part with denatured alcohol, let it flash off, then spray two light coats of matte clear. That hides tackiness for a season, not forever.
Stripping suits full failure. Work outside or in a vented booth, and follow this order.
- Soak a rag in denatured alcohol or citrus remover.
- Hold it on the coating for 30 seconds, then wipe.
- Repeat until the gummy layer lifts off.
- Scuff bare plastic with 800-grit sandpaper.
- Clean, dry fully, then re-coat.
Expect a gloss shift after stripping. Bare plastic reads shinier than the old matte coat, so re-coat the whole surface. Spot patches show their edges.
Re-coat options split by part. Plasti Dip grips tool handles well. Rubberized spray matches the factory look on controllers.
A wrap or sleeve beats chemistry on parts that flex.
Cure runs 24 to 72 hours per manufacturer data sheets. Three to five light passes beat one heavy pass. If goo hides inside buttons or ports, call a pro, and read our notes on gummy internals in old electronics.
Mistakes That Ruin the Finish (Plus Safety and Real Costs)
Bad fixes cost more than the part. Skip these five.
- Acetone on coated plastic eats soft-touch film fast.
- Heat guns near coating warp parts and lift adhesive.
- Melamine foam on matte finishes leaves shiny patches.
- Silicone dressing feels slick, then turns tacky again.
- Soaking seams lets liquid creep into switches.
Safety runs hot here too. IPA, denatured alcohol, and mineral spirits catch fire easily. Follow federal flammable-liquid rules, vent the room, and kill pilot lights.
Nitrile gloves and eye protection are the minimum. Add a respirator for spray work. Oily rags self-ignite, so lay them flat to dry or seal them in a metal can.
Costs stay small. A quart of 91% IPA runs about $8. Denatured alcohol about $12 a gallon.
Plasti Dip about $7 a can.
Matte clear runs about $9. The full sticky-coating removal walkthrough lists that same basket.
For rubber seals, grab a safe cleaner for rubber seals instead of alcohol. Skip bleach and ammonia mixes. If a part touches food, use only cleaners rated for food contact.
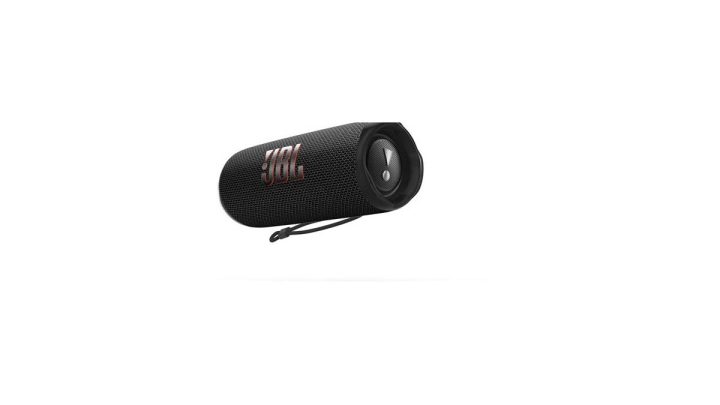
Speaker grilles need the same care, so follow our routine for cleaning a portable sound box. Store solvents in original cans, never food jars. Budget $10 extra for gloves, swabs, tape, and a respirator.
FAQs
Will isopropyl alcohol fix sticky rubber?
It fixes stickiness from grime and skin oils, not a dying coating. Dab 91% IPA on a swab and work one small area. Stop fast if the surface turns glossy or gummy.
That gloss means you are dissolving the finish.
Can sticky soft-touch coating be restored?
No. Once hydrolysis sets in, the coating stays tacky forever. Seal it under matte clear, strip it fully, or replace the part.
Powders mask symptoms for days. Re-coating after stripping is the only true fix.
Why does my controller get sticky again after cleaning?
Because the tack came from inside, not dirt. Oils keep bleeding through the film. If stickiness returns within two to four weeks, call it coating failure and switch to the strip branch.
Real dirt stays gone.
Can I wash sticky buttons on electronics?
Only with power off and openings masked. Damp swabs beat spray cans. Never spray liquid straight into ports.
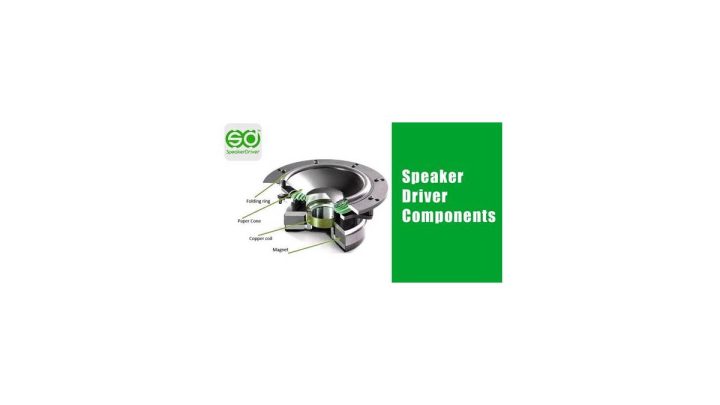
Trapped moisture causes separate damage, which our notes on moisture and speaker drivers show clearly. Dry 24 hours before power returns.
Is sticky rubber safe to touch?
Usually yes. The tack itself is harmless. Older soft-touch parts may hold phthalates restricted under REACH, so wash hands after handling.
Keep gummy parts away from kids, pets, and food. Food-contact parts need a food-safe cleaner.
Similar Posts