How to Calibrate Curved Gaming Monitor
Learning how to calibrate curved gaming monitor properly makes a bigger difference than most people realize. The curve itself changes how light hits your eyes across the screen, which means flat-panel calibration advice doesn't always apply. Get it right and you'll see better colors, deeper contrast, and a more immersive image.
Get it wrong and you're basically running a $500+ display on factory guesswork.
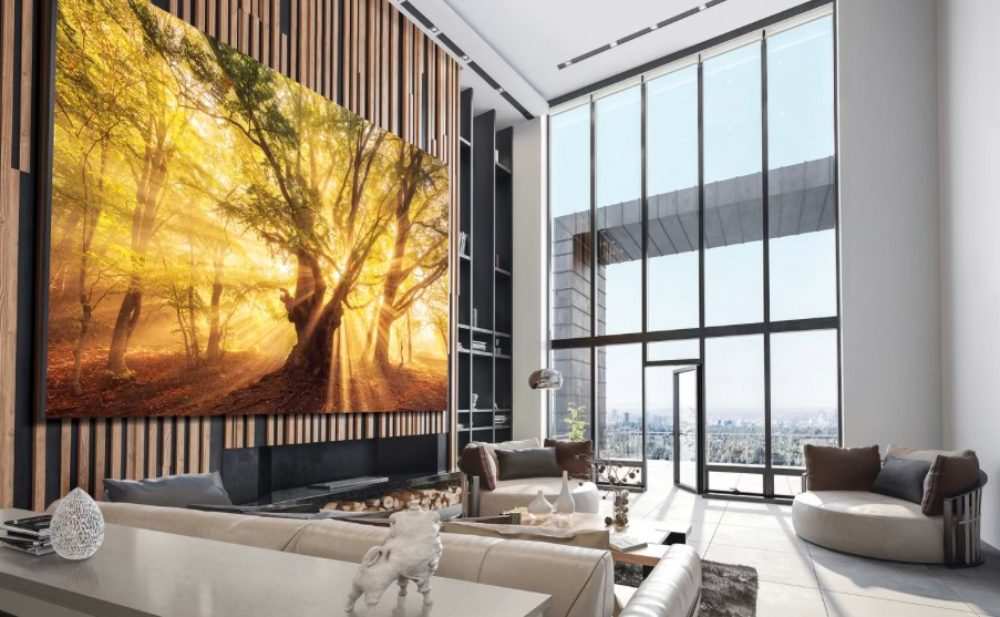
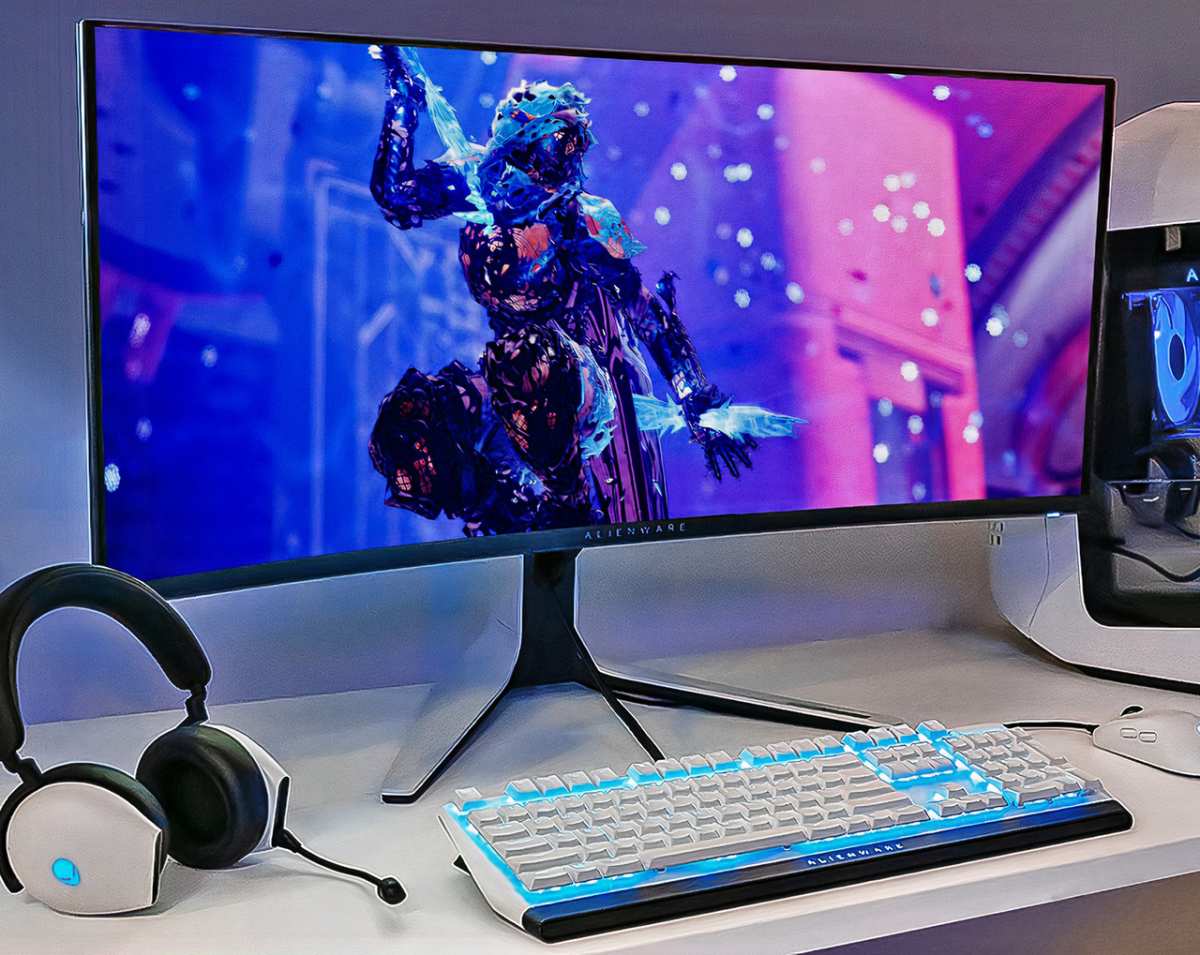
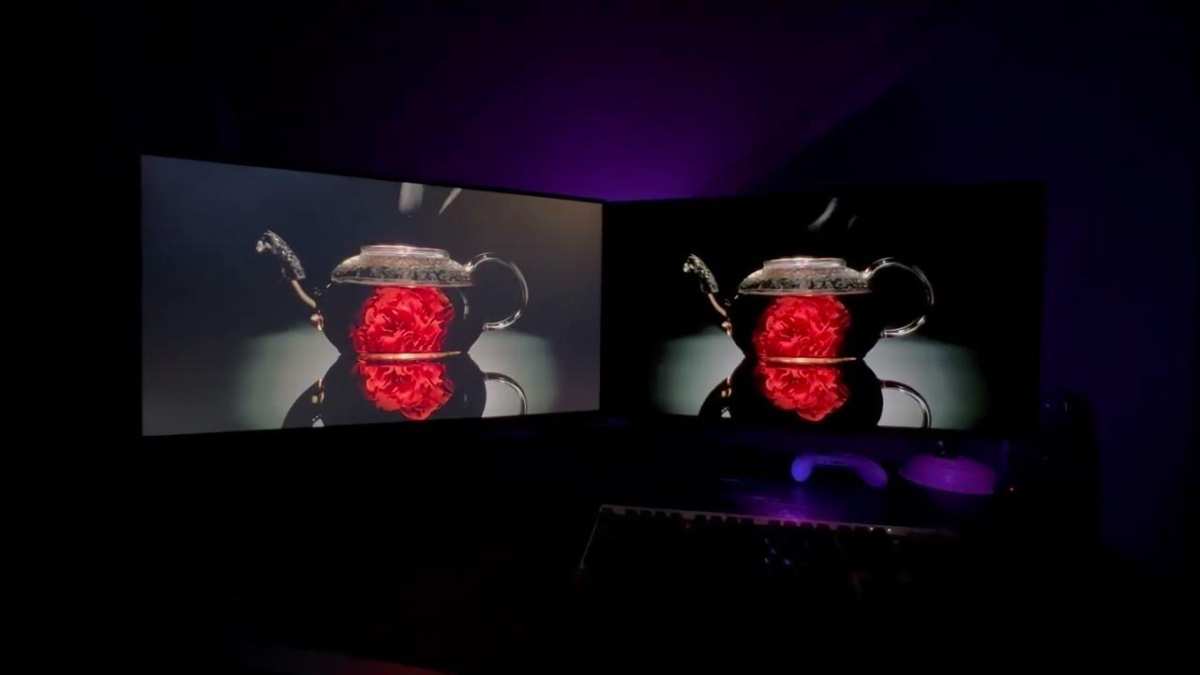
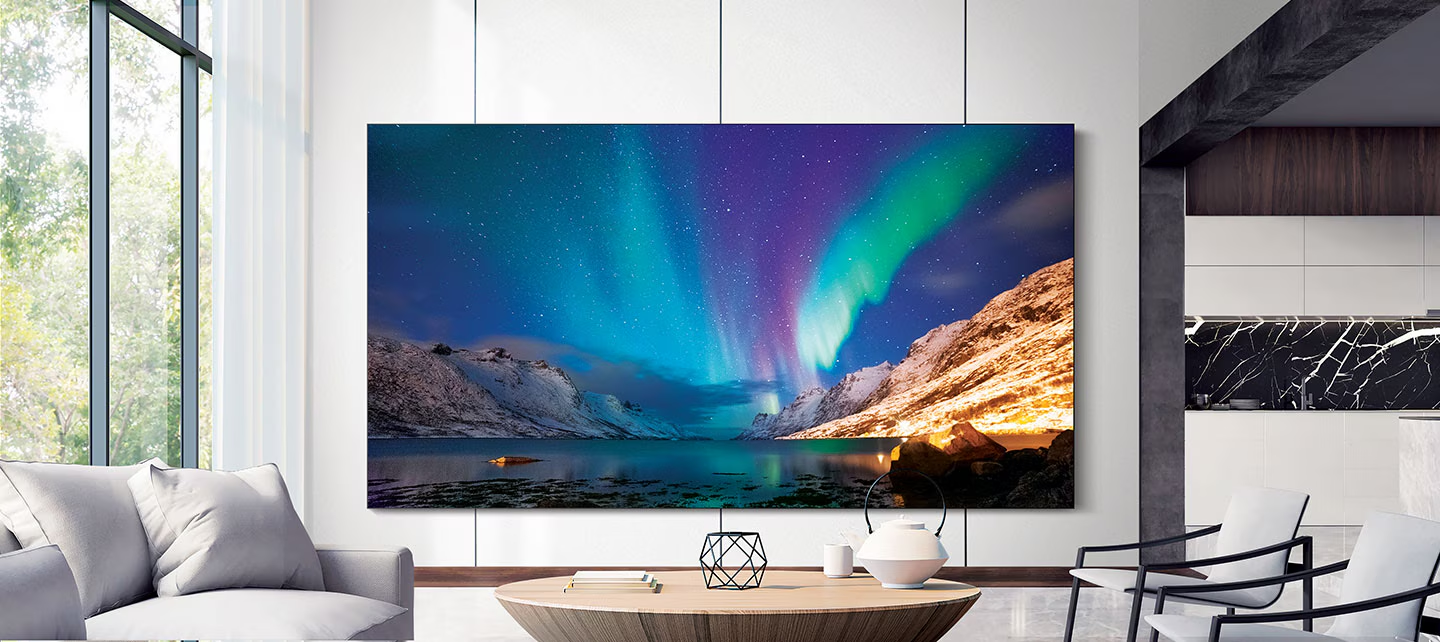
The tricky part is that curved monitors introduce variables flat screens don't have. Edge color shift, gamma inconsistency across the curve, and viewing distance all play a role. This guide walks you through the full process with the visual context you actually need to get it done right.
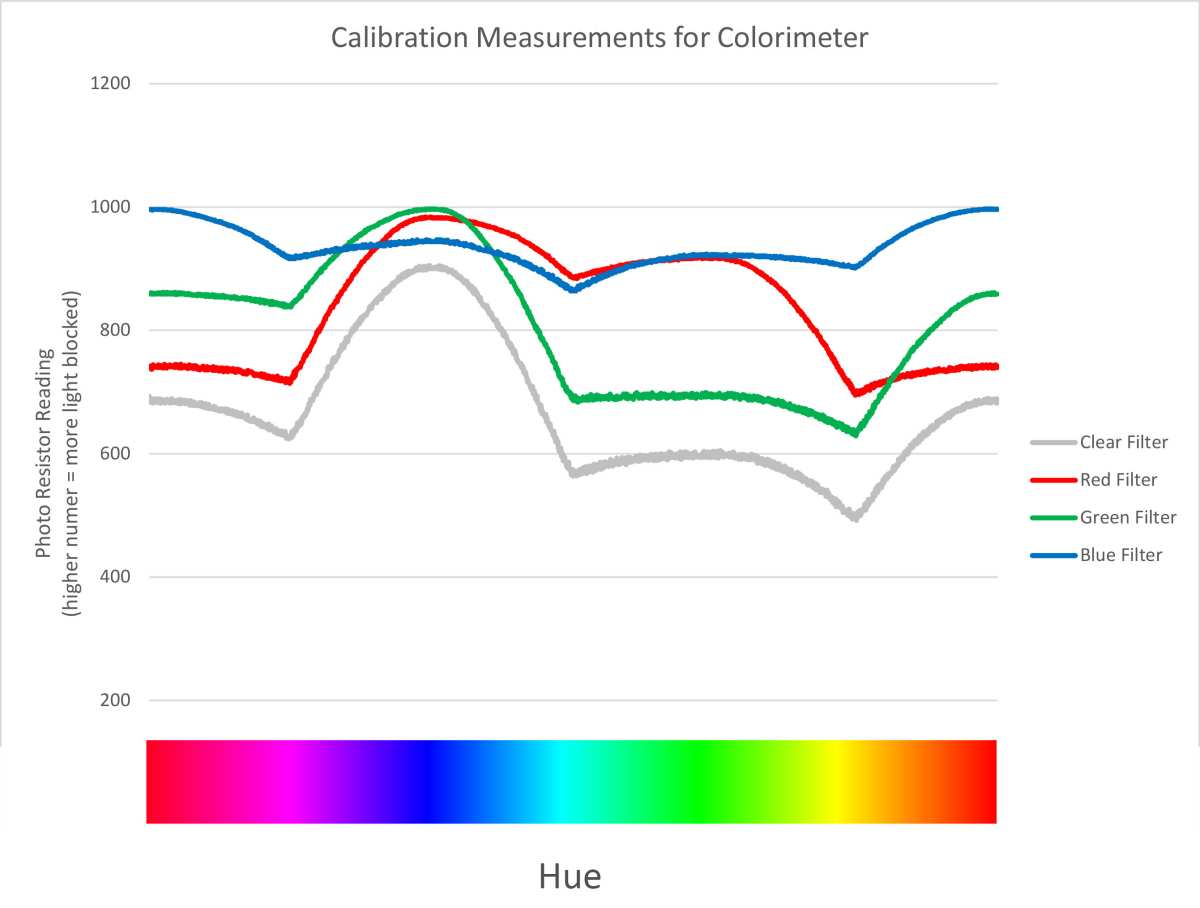
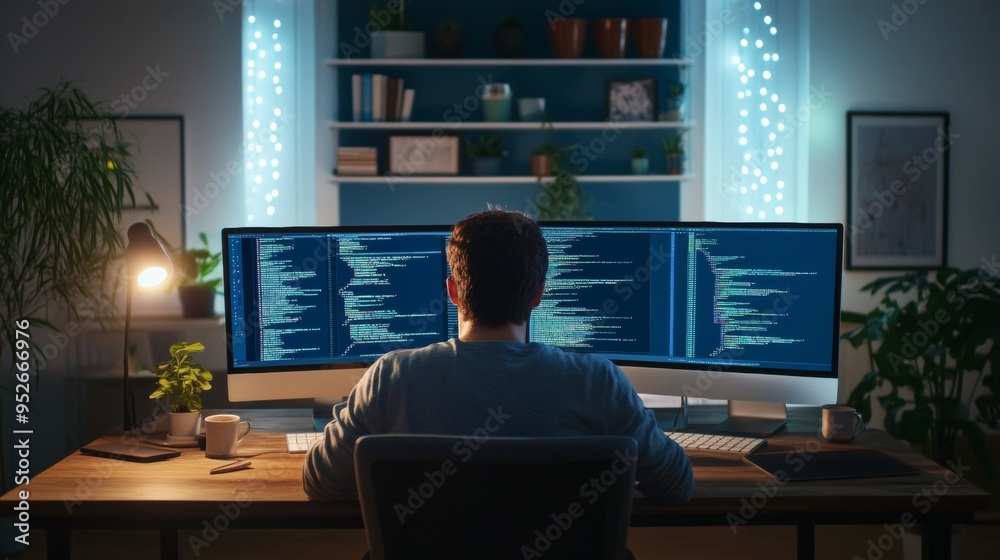
Image source: Bing (Web (fair-use with source credit))
Quick Answer
Calibrate a curved gaming monitor by positioning yourself at the correct viewing distance for your curve radius. Adjust OSD settings for brightness, contrast, gamma, and color temperature. Use a colorimeter with calibration software to generate an ICC profile.
Verify results with test patterns and real content. Re-calibrate monthly for consistent accuracy.
Why Curved Monitor Calibration Is Different From Flat
Here's the thing most calibration guides skip. A curved screen bends the viewing surface toward you, which means light from the edges reaches your eyes at a different angle than light from the center. On a flat panel, the entire surface is equidistant from your eyes.
On a curved panel, the center sits farther away and the edges curve closer. This creates unique calibration challenges that flat-panel guides simply don't address.
The curvature radius determines how aggressive this effect is. A 1000R curve is tighter and more immersive, but it also means more pronounced edge behavior. A 3800R curve is gentler, closer to flat, and easier to calibrate.
Samsung's Odyssey line popularized the 1000R spec, while many ultrawides ship at 1500R or 1800R. Knowing your radius helps you set the right viewing distance and understand what to expect from edge uniformity.
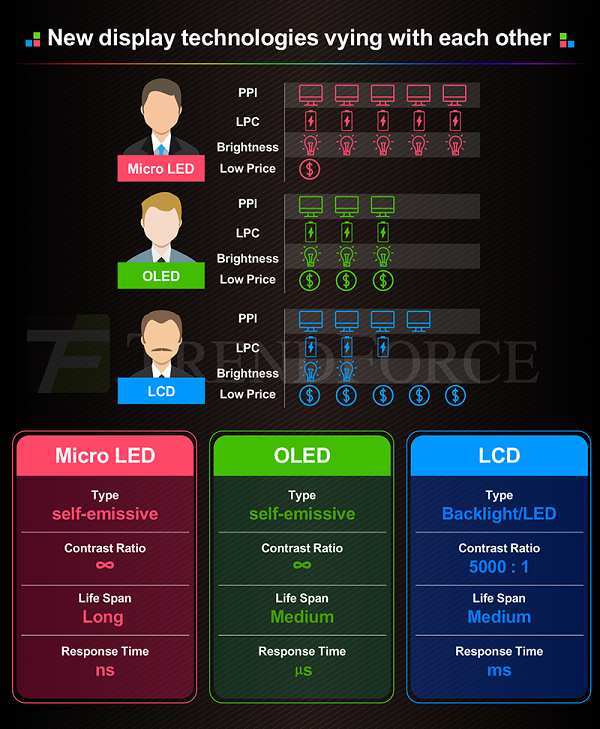
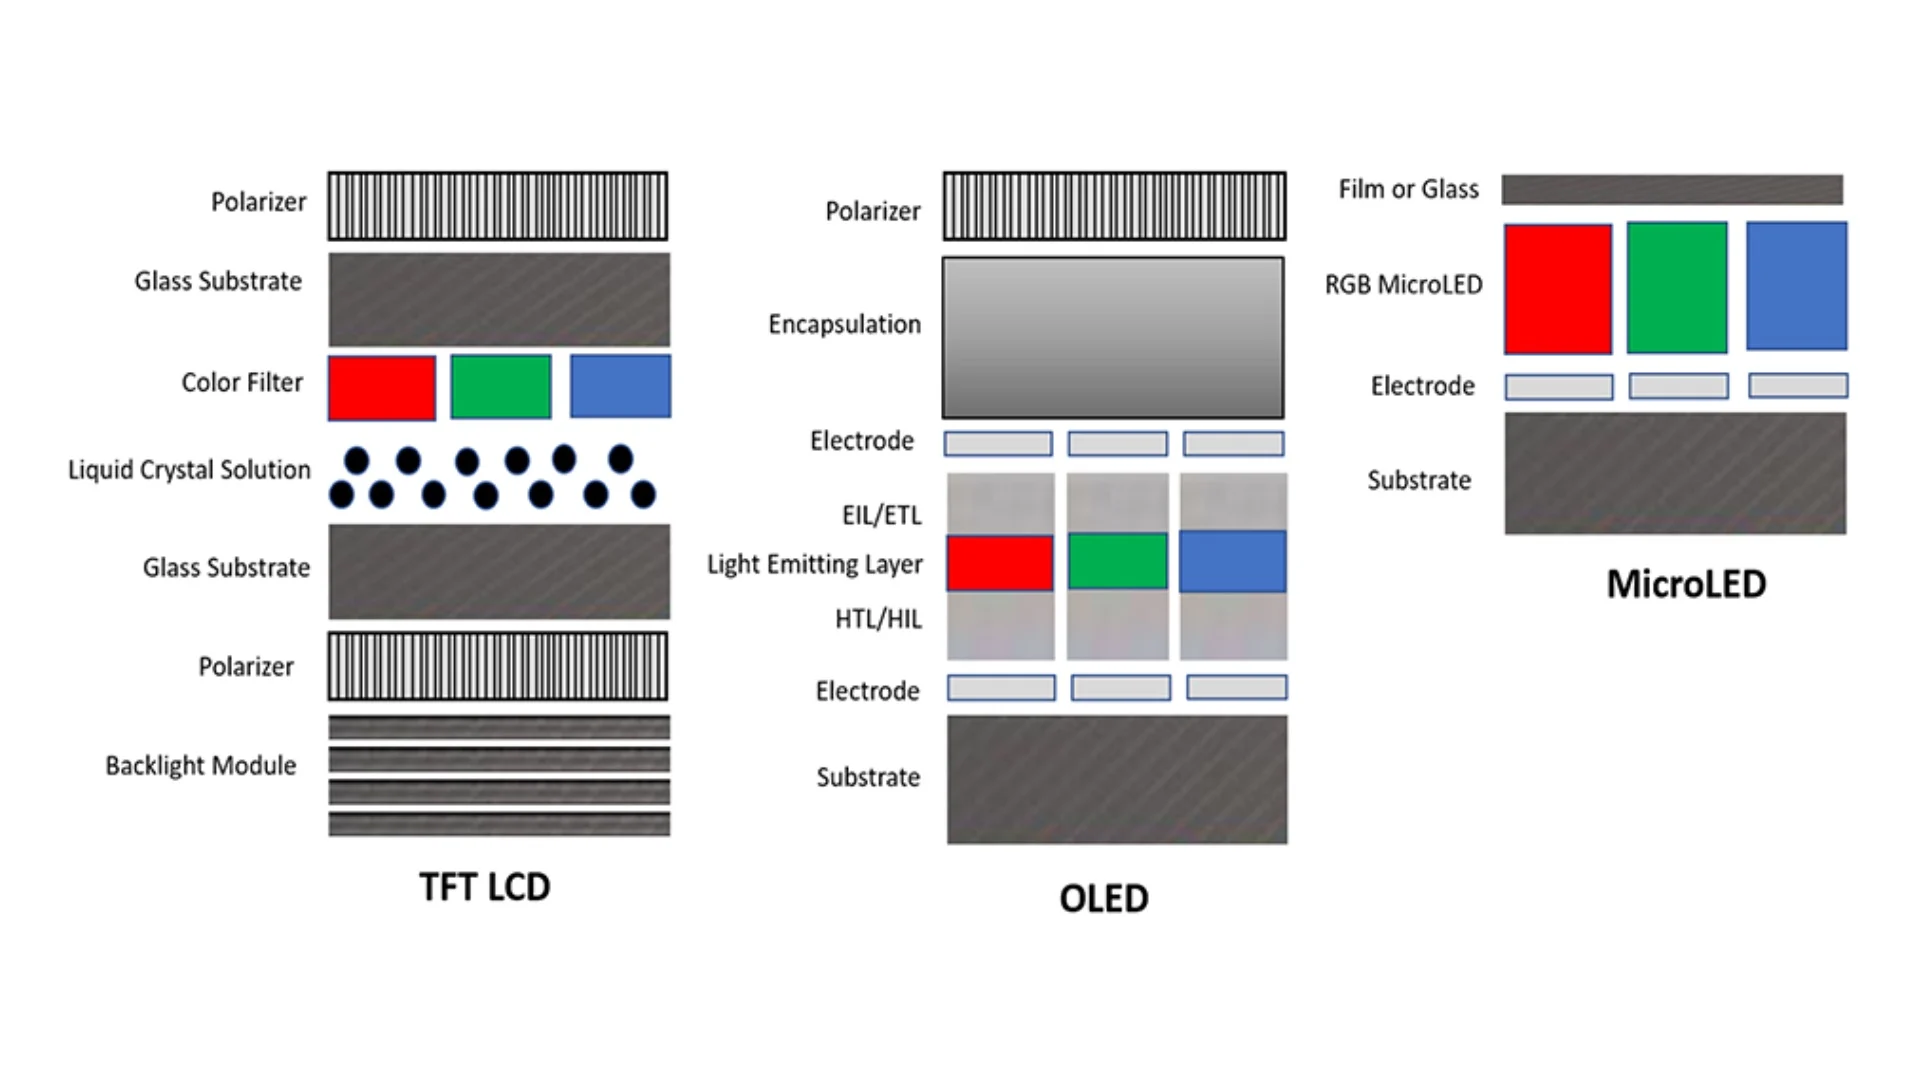
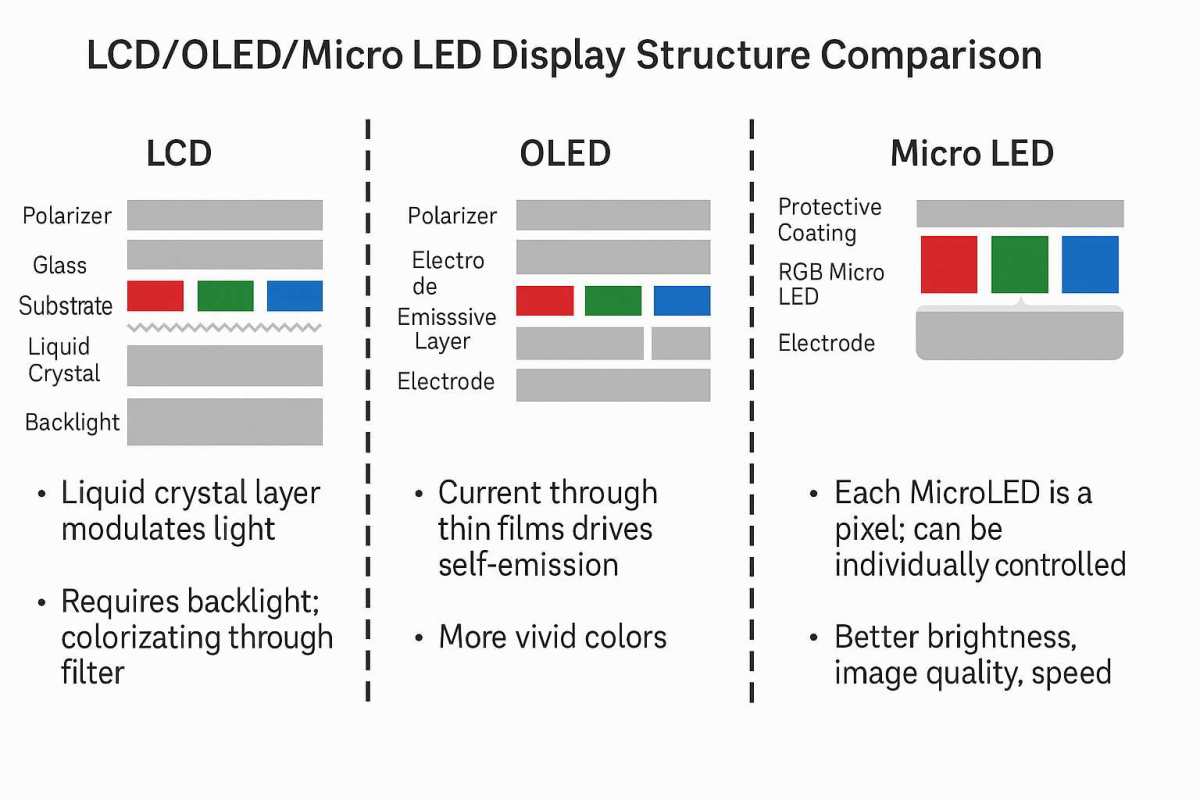
Panel type compounds this further. VA panels, common in curved gaming monitors, offer strong contrast but show more color shift at viewing angles. IPS panels handle angles better but may have lower native contrast.
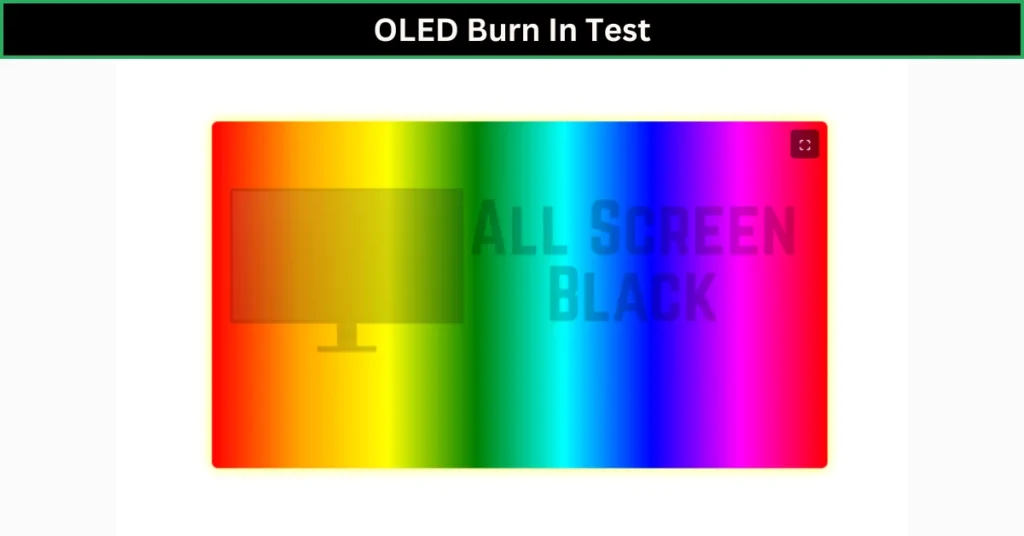
OLED curved monitors deliver excellent uniformity but introduce their own calibration considerations around brightness limiting and burn-in prevention. Each panel type needs a slightly different approach.
Understanding Your Curve: Radius, Panel Type, and What Changes
How curvature radius affects calibration approach
Your monitor's curvature radius is the radius of the circle the screen would form if it continued all the way around. A 1000R monitor forms a circle with a 1-meter radius. Tighter curves mean more immersion but also more edge behavior to manage.
You'll want to sit at roughly the same distance as the radius for the best experience. That means a 1000R monitor wants you about 1 meter away, while a 1800R monitor works best at 1.5 to 1.8 meters.
This matters for calibration because the colorimeter sits at screen center, but your eyes perceive the edges differently. If you calibrate from the wrong distance, the center might look perfect while the edges show visible color shift. Manufacturer specifications indicate that sitting within the designed radius range reduces perceived gamma shift by a measurable margin.
VA vs. IPS vs. OLED: panel-specific calibration challenges
VA panels dominate the curved gaming monitor market. They deliver excellent contrast ratios, often 3000:1 or higher, but they're more prone to color shift when viewed off-center. On a curved VA monitor, you may notice the edges appearing slightly warmer or cooler than the center.
This is normal. Calibration can minimize it, but it won't eliminate it entirely.
IPS curved monitors offer better color consistency across viewing angles. They're less common in aggressive curves but available in ultrawide formats. The tradeoff is lower native contrast, typically 1000:1, and potential IPS glow in dark scenes.
OLED curved panels are rare as of 2026 but deliver perfect blacks and excellent uniformity. Their calibration process focuses more on brightness limiting and pixel longevity than on geometry compensation.
Why your viewing distance matters more on a curved screen
On a flat monitor, you can sit pretty much anywhere in a reasonable range and the image looks consistent. Curved monitors have a sweet spot. Sit too close and the curve feels overwhelming, with edge distortion becoming obvious.
Sit too far and you lose the immersive benefit entirely. The sweet spot typically falls between 1 and 1.5 times the screen width for most curved gaming monitors.
This sweet spot is also where your calibration will look most accurate. If you calibrate while sitting at the wrong distance, the profile won't match your actual viewing position. Set up your seating first.
Then calibrate. This is one step people skip constantly, and it undermines everything else.
What You Need Before You Start
Hardware: colorimeter options and placement on curved surfaces
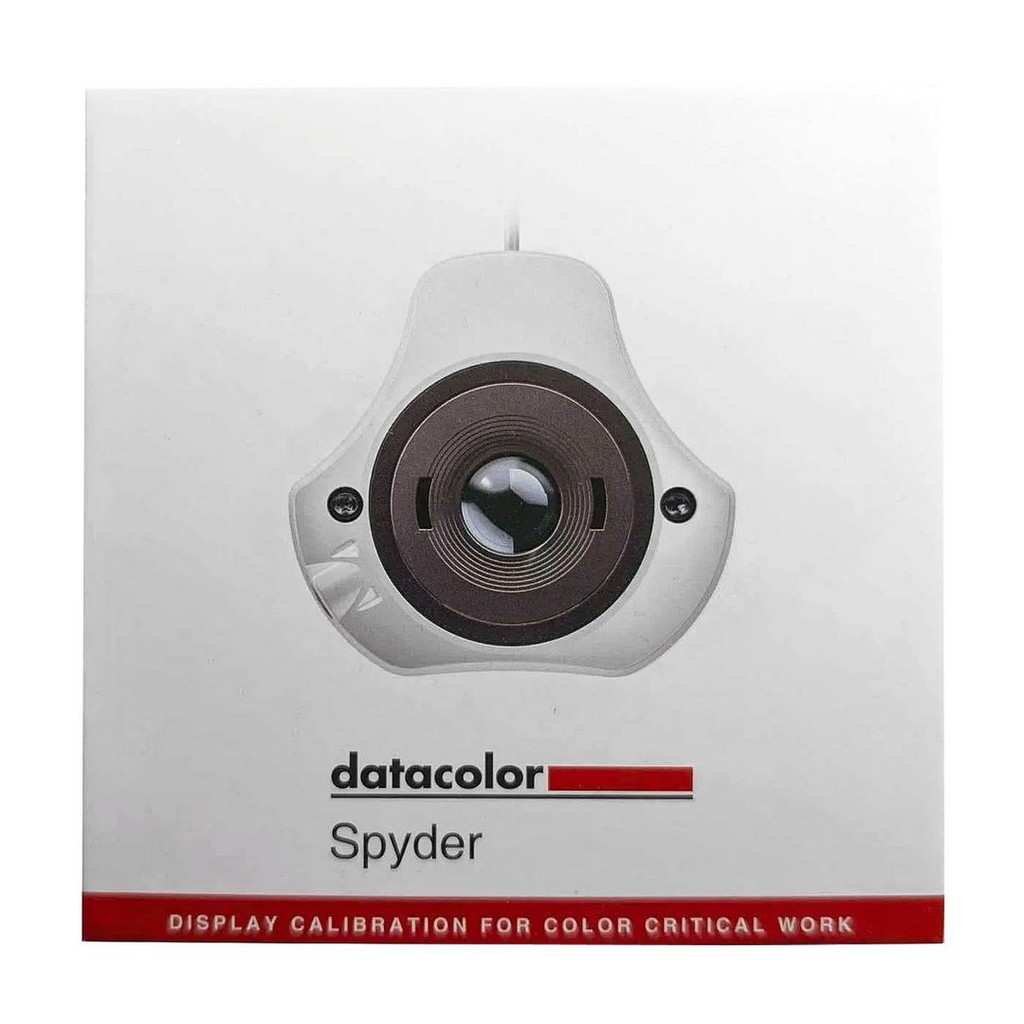
You'll need a colorimeter for accurate results. The Datacolor SpyderX Pro and X-Rite i1Display Pro are the most popular options in 2026, both sitting in the $150 to $250 range. The i1Display Pro tends to handle wider gamut displays better, while the SpyderX is faster per reading.
Either works well for curved monitors.
Placement is where curved screens get tricky. The colorimeter needs to sit flat against the screen surface. On a curved monitor, the edges curve away, so center placement is your best bet.
Some users report that the suction cup or weight-based mounting on colorimeters can struggle with aggressive curves. If your colorimeter doesn't sit flush, try positioning it slightly above center where the curve is gentler. The SpyderX's weight-based design tends to handle curves better than suction-cup alternatives.
| Colorimeter | Price Range | Best For | Curve Compatibility |
|---|---|---|---|
| Datacolor SpyderX Pro | $150–$170 | Speed, general use | Good |
| X-Rite i1Display Pro | $200–$250 | Wide gamut, accuracy | Good |
| Calibrite ColorChecker | $170–$200 | Display-specific work | Good |
| Datacolor SpyderX Elite | $200–$230 | Advanced controls | Good |
Software: DisplayCAL, CalMAN, and built-in OSD controls
DisplayCAL is free, open-source, and handles the vast majority of calibration tasks. It supports most colorimeters and offers detailed control over targets and verification. CalMAN is the professional standard but costs significantly more.
For most gamers, DisplayCAL is more than enough.
Your monitor's OSD (On-Screen Display) is where you'll make initial adjustments before running software calibration. The OSD controls brightness, contrast, color temperature, gamma, and sometimes individual RGB gains. Think of OSD adjustments as setting the hardware baseline.
The software calibration then fine-tunes from there and generates the ICC profile.
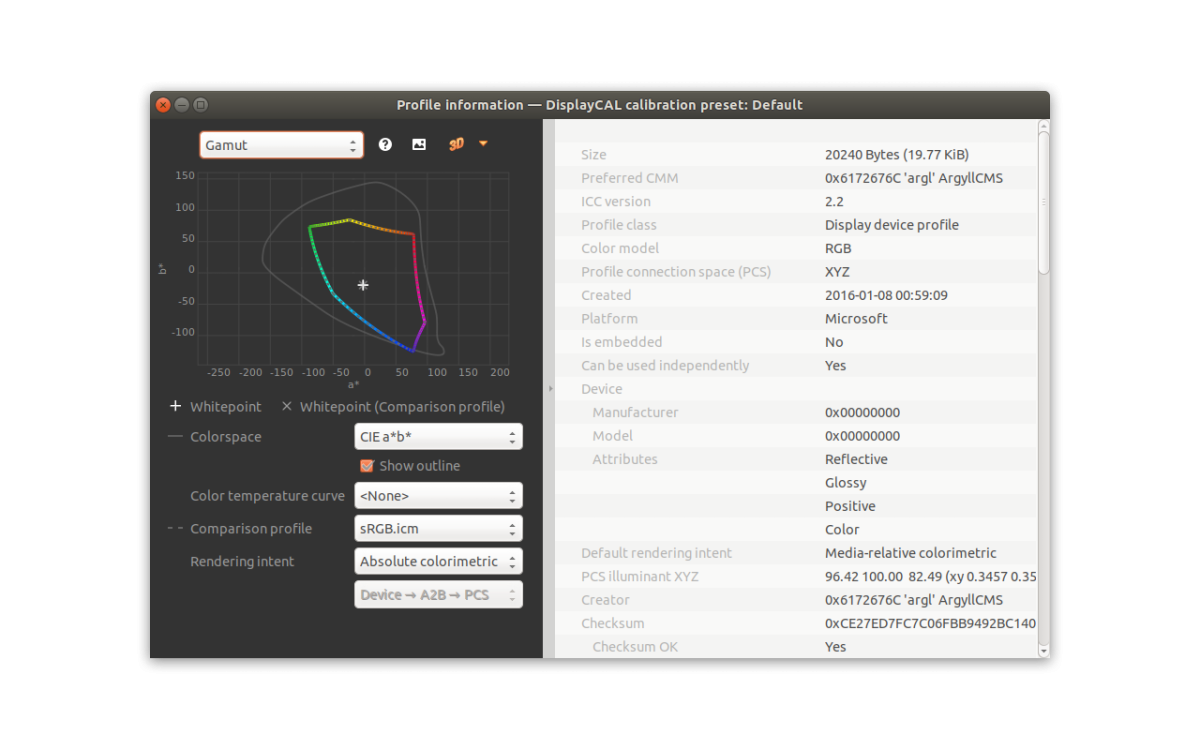
Image source: Bing (Web (fair-use with source credit))
Environment: room lighting, warm-up time, and setup prep
Warm up your monitor for at least 30 minutes before calibrating. Panel brightness and color temperature shift as they heat up. Calibrating a cold monitor gives you results that won't match once it reaches operating temperature.
Some professional calibrators recommend a full hour of warm-up, but 30 minutes is the practical minimum.
Room lighting matters too. Calibrate in the same lighting conditions you normally game in. If you game in a dark room, calibrate in a dark room.
If you game with bias lighting behind the monitor, set that up first. The target brightness of 120 nits for SDR content assumes a dim to moderately lit room. Brighter environments may call for higher brightness targets.
Step-by-Step Calibration Process
Step 1: Reset and set your baseline
Start by resetting your monitor to factory defaults through the OSD menu. This clears any previous adjustments and gives you a clean slate. Factory reset options are typically found under a "System" or "Reset" submenu.
After resetting, set your input source to the correct port and make sure you're running at the monitor's native resolution and maximum refresh rate.
Check that any dynamic features are disabled. Turn off dynamic contrast, auto brightness, eco mode, and any "smart" display features. These features adjust the image in real time and will conflict with your calibration.
Some monitors have a "Custom" or "Game" picture mode that locks these features off automatically.
Step 2: Position yourself at the correct viewing distance
Sit at your normal gaming position before touching any settings. For a 32-inch 1000R monitor, that's roughly 28 to 40 inches from the screen. For a 34-inch 1800R ultrawide, aim for 30 to 40 inches.
The goal is to have the screen fill a comfortable portion of your field of view without turning your head to see the edges.
This is also the time to check your monitor height. The top of the screen should be at or slightly below eye level. If the monitor is too high or too low, your viewing angle changes and the calibration won't match your actual experience.
Adjust your desk, chair, or monitor arm before proceeding.
Step 3: Configure OSD settings (brightness, contrast, gamma, color temp)
Open your monitor's OSD and make these adjustments in order. Start with brightness. For SDR gaming in a typical room, aim for around 120 nits, which usually corresponds to a brightness setting between 25 and 45 percent depending on the monitor.
Check your specific monitor's OSD. Some display nits directly, others use a 0 to 100 scale.
Set contrast to the default, usually 50 percent. Avoid cranking contrast too high, which crushes shadow detail. For gamma, select the 2.2 setting if available.
Some monitors label this as "Standard" or "Gamma 2.2." For color temperature, choose the "6500K" or "Warm" preset if available. This gets you close to the D65 white point standard. If your monitor offers individual RGB gain controls, leave them at default for now.
The calibration software will handle fine-tuning through the ICC profile.
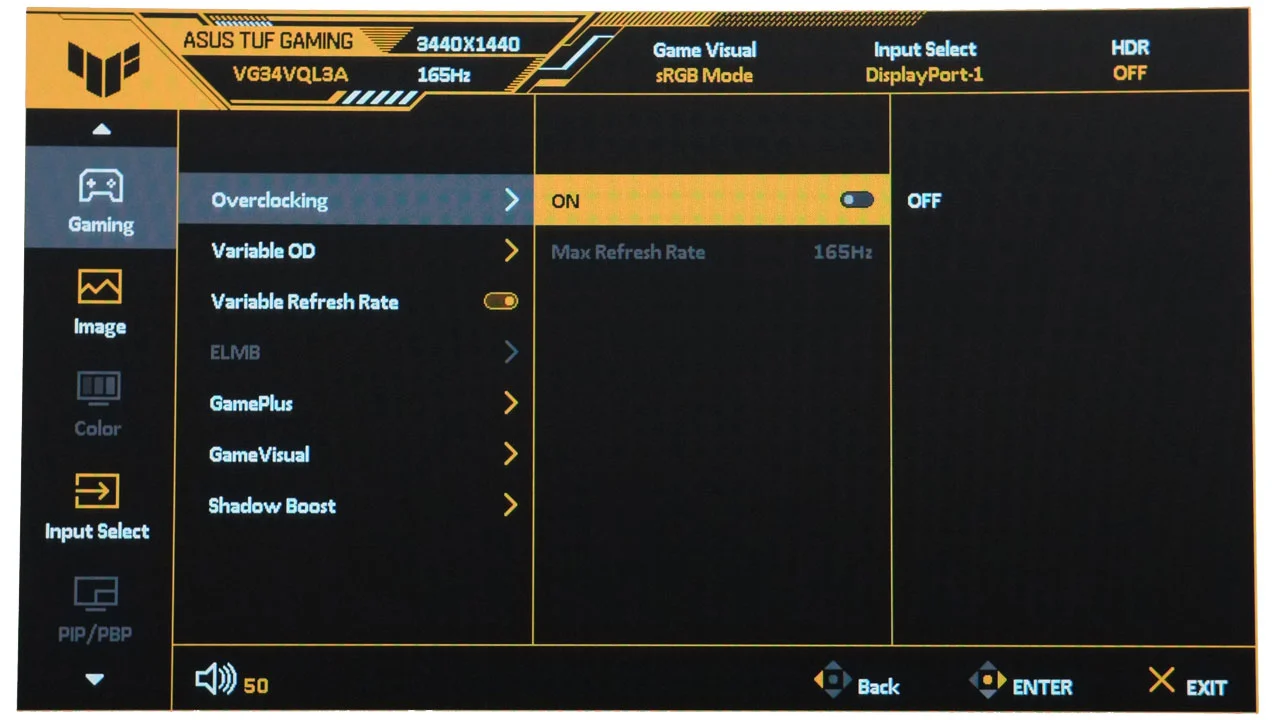
Image source: Bing (Web (fair-use with source credit))
Step 4: Place the colorimeter correctly on the curved surface
Attach your colorimeter to the center of the screen. On a curved monitor, center placement is critical because that's where the surface is flattest and most perpendicular to your viewing position. Make sure the colorimeter sits flush against the panel.
If it rocks or tilts, reposition it until it lies flat.
Close any calibration software that came with the colorimeter if you're using third-party software like DisplayCAL. Having two calibration apps fighting over the colorimeter causes errors. Launch DisplayCAL (or your chosen software) and select your colorimeter from the device list.
Choose your monitor type, usually "LCD" or "LCD (generic)" unless your monitor is specifically supported.
Step 5: Run your calibration software and set targets
In DisplayCAL, set your targets before starting. For SDR gaming, the standard targets are:
- White point: D65 (6500K)
- Luminance: 120 cd/m² (nits)
- Gamma: 2.2 (or BT.1886 if you prefer a slightly different tone curve)
For wide-gamut monitors covering DCI-P3, you can choose to target sRGB for consistency or DCI-P3 for maximum color. Most gamers targeting sRGB will get the most accurate results in games that don't support wide color. Click "Profile" and let the software run.
It will display a series of color patches and read them with the colorimeter. This takes 5 to 15 minutes depending on your settings.
Step 6: Generate and install your ICC profile
Once the measurement phase completes, the software generates an ICC profile. This profile tells your graphics card how to adjust output to match the monitor's actual behavior. DisplayCAL typically installs the profile automatically and sets it as the default.
On Windows, you can verify installation by going to Color Management in the Control Panel.
The ICC profile works at the graphics driver level. It affects everything displayed on the monitor, including games, as long as the game doesn't override color management. Most fullscreen games respect the system profile.
Some competitive games with their own color engines may not. If colors look wrong in a specific game, check whether that game has its own color or gamma settings.
Step 7: Verify with test patterns and real content
Verification is the step most people skip. Run test patterns to check your results. DisplayCAL includes a verification feature that measures the profile's accuracy and reports Delta E values.
A Delta E below 2 is considered good. Below 1 is excellent. Higher values in specific colors indicate where the profile struggles.
Check real content too. Open a game you know well and look at familiar scenes. Pay attention to skin tones, sky gradients, and dark areas.
If something looks off, you may need to adjust and re-profile. Also check desktop use. Browse websites, look at photos, and make sure the calibration works across different types of content.
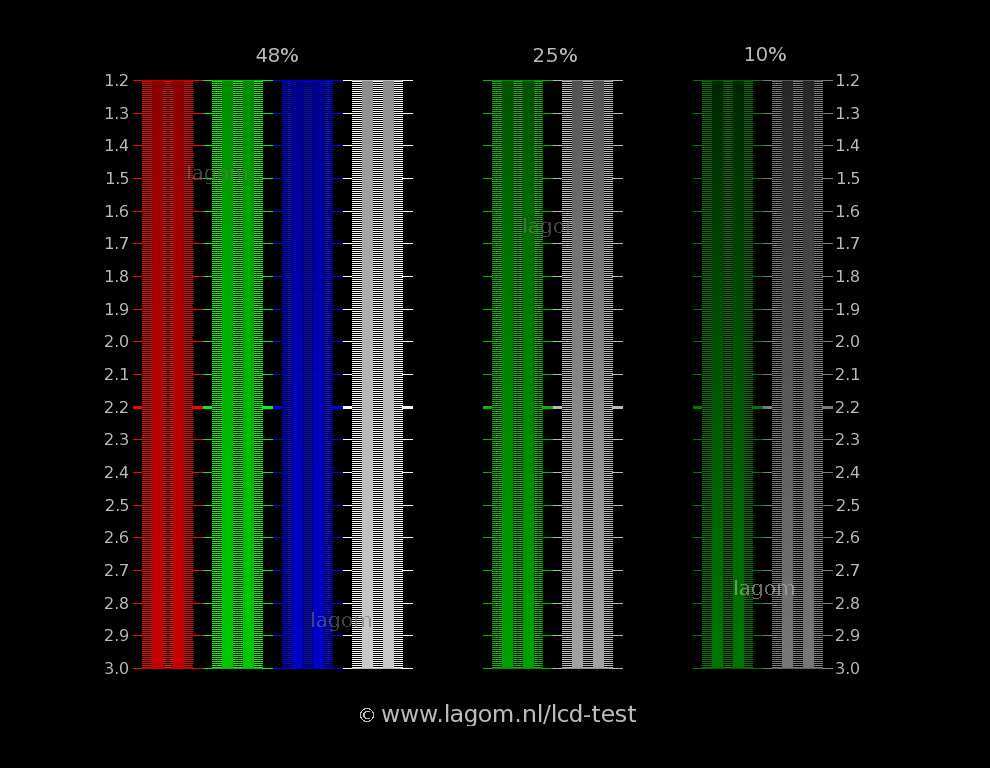
Image source: Bing (Web (fair-use with source credit))
Step 8: Calibrate HDR separately from SDR
HDR and SDR are essentially two different operating modes on modern gaming monitors. Your SDR ICC profile doesn't apply to HDR content. When you enable HDR in Windows or on the monitor itself, the display switches to a different processing path.
Most monitors handle HDR tone mapping internally, so there's less user calibration involved.
For HDR, the main adjustments are ensuring the monitor is in its HDR mode and that Windows HDR settings are configured correctly. Some monitors offer HDR brightness or local dimming controls in the OSD. Set local dimming to its highest quality setting if available.
Use the Windows HDR calibration app (available in the Microsoft Store) to set peak brightness, saturation, and tone mapping for your specific panel.
Visual Cues: What to Look For on Screen
Checking gamma consistency across the curve
Gamma consistency is one of the hardest things to get right on a curved monitor. Display a mid-gray test pattern and look at the edges versus the center. On a well-calibrated curved monitor, the gray should appear uniform across the surface.
If the edges look slightly darker or lighter, that's gamma shift from the curve geometry. VA panels show this more than IPS panels.
You can't fully eliminate gamma shift on a curved screen. The physics of the curve guarantees some variation. The goal is to minimize it to the point where it's not distracting during actual use.
If you notice obvious edge darkening, try adjusting the monitor's gamma setting in the OSD and re-running the profile.
Identifying color shift at the edges
Color shift on a curved monitor shows up most obviously in solid colors. Display a pure white screen and look at the edges. A slight warm or cool tint at the edges compared to the center is normal on VA panels.
On IPS curved monitors, this shift is usually minimal. On OLED, it's nearly nonexistent.
If the color shift is strong enough to notice during normal use, your viewing distance may be wrong for the curve radius. Moving back slightly often reduces the perceived shift. You can also try adjusting the RGB gains in your monitor's OSD to compensate, though this is a compromise that trades center accuracy for edge accuracy.
Spotting uniformity issues and backlight bleed
Curved monitors can show backlight bleed more noticeably than flat panels because the curve directs edge light toward the viewer. Display a pure black screen in a dark room and check the corners and edges. Some glow is normal on IPS panels.
Cloudy patches on VA panels may indicate pressure points from the curve manufacturing process.
Local dimming can help with perceived uniformity in dark scenes. If your monitor has local dimming zones, enable them for HDR content. For SDR, local dimming can sometimes cause distracting brightness shifts during gameplay.
Test it with your actual games before committing to it as a permanent setting.
Testing geometry and perceived distortion
Curved monitors don't introduce geometric distortion in the way you might expect. The image is rendered flat and displayed on a curved surface, so straight lines still appear straight when viewed from the correct position. However, if you sit off-center, lines near the edges can appear to curve slightly.
For productivity work like spreadsheets or document editing, some users find aggressive curves distracting. This is personal preference. For gaming, the curve typically enhances depth perception and immersion.
If you use your curved monitor for both gaming and work, consider creating separate profiles or adjusting your viewing distance between activities.
Common Mistakes That Ruin Curved Monitor Calibration
Calibrating from the wrong viewing distance
This is the single most common mistake. People calibrate with the monitor on a desk and themselves at arm's length, then game from further away. Or they calibrate standing up.
The calibration profile is only accurate at the distance and angle it was created for. Always calibrate from your actual seated gaming position.
Ignoring edge color shift on VA panels
VA panels are popular in curved monitors because of their high contrast. But they're also the most prone to color and gamma shift at viewing angles. If you calibrate a VA curved monitor and ignore the edges, you might end up with a profile that looks perfect in the center but obviously wrong at the periphery.
Acknowledge the limitation. Calibrate for the best overall compromise rather than chasing perfection at the center alone.
Using a flat-panel ICC profile on a curved display
Downloading an ICC profile from the internet for your monitor model seems like a shortcut. It rarely works well. Every individual panel varies slightly, and the curve means your viewing geometry differs from whoever created that profile.
Factory calibration reports give you a baseline, but a custom profile made on your specific unit will always be more accurate.
Forgetting to disable dynamic contrast and eco modes
Dynamic contrast adjusts brightness scene by scene. Eco modes dim the screen based on content or ambient light. Both features actively fight against your calibration.
They change brightness and color in real time, which means your ICC profile only applies when these features are off. Disable them before calibrating and keep them off afterward.
Not accounting for the curve when placing the colorimeter
If your colorimeter doesn't sit flush on the curved surface, your readings will be off. The sensor needs to face the screen directly. A tilted sensor picks up ambient light or measures at an angle, both of which introduce errors.
If your colorimeter struggles with your monitor's curve, try the center of the screen where the surface is flattest. Some users place a small weight on the colorimeter cable to help it sit flat on aggressive curves.
Calibration Settings by Use Case
Competitive FPS gaming (speed and visibility priority)
For competitive shooters, accuracy matters less than visibility and response. Set brightness higher than the standard 120 nits. Many competitive players run 150 to 200 nits to spot enemies in dark corners.
Enable your monitor's black equalizer or shadow boost feature to brighten dark areas without overexposing highlights. Set overdrive to "Fast" rather than "Fastest" to avoid inverse ghosting artifacts. Response time matters more than Delta E here.
Immersive single-player gaming (color and HDR priority)
This is where full calibration pays off. Target the sRGB or DCI-P3 gamut depending on the game's color space. Enable HDR when supported and calibrate it separately using the Windows HDR calibration app.
Set local dimming to high if available. Prioritize gamma accuracy and color consistency over raw brightness. A Delta E below 2 across the board is achievable on most mid-range curved monitors with proper calibration.
Content creation and photo editing on curved panels
If you're editing photos or video on a curved gaming monitor, target the widest gamut your panel supports. Most curved gaming monitors cover 90 to 95 percent of DCI-P3. Calibrate to that gamut if your work requires it, or clamp to sRGB for web content.
Brightness can stay at 120 nits for color-critical work. Verify your results with the DisplayCAL verification report and check Delta E values across the grayscale and color patches.
Mixed use: switching between gaming and productivity
Create separate profiles for different activities. DisplayCAL lets you save and switch profiles easily. Use a gaming profile with higher brightness and your preferred overdrive setting.
Switch to a productivity profile with standard brightness and sRGB clamping for accurate colors in documents and web browsing. Windows color management applies the profile per display, so you can even run different profiles on multiple monitors.
Curved vs. Flat Calibration: Key Differences
What changes and what stays the same
The core calibration process is the same for curved and flat monitors. You still set brightness, contrast, gamma, and color temperature. You still use a colorimeter and calibration software.
You still generate an ICC profile. The targets don't change. D65 white point, 2.2 gamma, and 120 nits luminance apply to both.
What changes is the physical behavior of the light. On a curved monitor, the edges direct light slightly differently than the center. This means your colorimeter reading at center may not represent what your eyes perceive at the edges.
It also means viewing distance and angle matter more. A flat monitor is more forgiving of suboptimal seating position. A curved monitor rewards you for sitting in the sweet spot and punishes you for straying from it.
When curved calibration is worth the extra effort
If you game primarily in the sweet spot and want the most accurate image possible, full calibration is absolutely worth it. The improvement over factory settings is visible on most curved monitors, especially in color accuracy and gamma consistency. If you sit off-center or use the monitor for mixed purposes where you move around, the benefits diminish.
In that case, a basic OSD adjustment without a full ICC profile may be more practical.
Maintaining Your Calibration Over Time
How often to re-calibrate
Panel characteristics drift over time as backlight LEDs age and panel materials shift. For gaming use, re-calibrate every 30 to 60 days. If you're doing color-critical work, monthly calibration is the standard recommendation.
Some high-end monitors with built-in colorimeters can auto-calibrate on a schedule. As of 2026, this feature remains rare but is appearing in more professional-oriented displays.
Signs your calibration has drifted
Watch for colors looking slightly off compared to your memory of the original calibration. Skin tones shifting toward green or magenta, blacks looking slightly blue or brown, or overall brightness feeling different at the same OSD setting are all signs of drift. If you notice these changes, it's time to re-calibrate.
DisplayCAL's verification feature can also quantify drift by comparing current measurements against your existing profile.
Saving profiles for different scenarios
DisplayCAL allows you to save profiles with descriptive names. Create profiles for "Gaming SDR," "Gaming HDR," "Photo Editing," and "General Use" if your usage varies. Store them in a dedicated folder so you can find them quickly.
Windows Color Management can get cluttered with multiple profiles, so periodically clean out old or unused profiles to avoid confusion.
Frequently Asked Questions
Can I calibrate a curved monitor without a colorimeter?
You can make basic adjustments through the OSD using test patterns, but you won't get accurate color or gamma results. A colorimeter is necessary for meaningful calibration. Software-only calibration relies on your eyes, which are unreliable for objective color assessment due to adaptation and fatigue.
Does the curve radius affect which colorimeter I should buy?
No. Colorimeters work the same regardless of curve radius. The SpyderX and i1Display Pro both handle curved surfaces well.
The key is placement at screen center where the curve is gentlest. Your colorimeter choice should be based on your monitor's gamut and your accuracy needs, not the curve.
Should I calibrate in SDR or HDR mode first?
Calibrate SDR first. It's the mode you'll use most often for desktop work and most games. HDR calibration is a separate process that happens after SDR is dialed in.
Switching between SDR and HDR modes on most monitors resets some OSD settings, so treat them as two distinct calibration sessions.
Will calibration fix the color shift I see at the edges of my curved monitor?
Calibration can reduce perceived edge color shift, but it can't eliminate it entirely on VA panels. The physical curve causes light to reach your eyes at different angles across the surface. If edge shift is severe, your viewing distance may be wrong for the curve radius, or you may be more sensitive to the effect than average.
How long does a full calibration take?
The measurement phase takes 5 to 15 minutes depending on your software settings and the number of test patches. Including warm-up time, OSD adjustments, and verification, budget 45 minutes to an hour for a thorough first calibration. Subsequent calibrations go faster since your OSD baseline is already set.
Do I need to re-calibrate after a driver or firmware update?
Monitor firmware updates can reset OSD settings, so check your configuration after any update. Graphics driver updates typically don't affect ICC profiles, but they can change how profiles are applied in some cases. Verify your profile is still active in Windows Color Management after major updates.
Calibration Settings by Use Case
Competitive FPS gaming (speed and visibility priority)
For competitive shooters, accuracy matters less than visibility and response. Set brightness higher than the standard 120 nits. Many competitive players run 150 to 200 nits to spot enemies in dark corners.
Enable your monitor's black equalizer or shadow boost feature to brighten dark areas without overexposing highlights. Set overdrive to "Fast" rather than "Fastest" to avoid inverse ghosting artifacts. Response time matters more than Delta E here.
Immersive single-player gaming (color and HDR priority)
This is where full calibration pays off. Target the sRGB or DCI-P3 gamut depending on the game's color space. Enable HDR when supported and calibrate it separately using the Windows HDR calibration app.
Set local dimming to high if available. Prioritize gamma accuracy and color consistency over raw brightness. A Delta E below 2 across the board is achievable on most mid-range curved monitors with proper calibration.
Content creation and photo editing on curved panels
If you're editing photos or video on a curved gaming monitor, target the widest gamut your panel supports. Most curved gaming monitors cover 90 to 95 percent of DCI-P3. Calibrate to that gamut if your work requires it, or clamp to sRGB for web content.
Brightness can stay at 120 nits for color-critical work. Verify your results with the DisplayCAL verification report and check Delta E values across the grayscale and color patches.
Mixed use: switching between gaming and productivity
Create separate profiles for different activities. DisplayCAL lets you save and switch profiles easily. Use a gaming profile with higher brightness and your preferred overdrive setting.
Switch to a productivity profile with standard brightness and sRGB clamping for accurate colors in documents and web browsing. Windows color management applies the profile per display, so you can even run different profiles on multiple monitors.
Curved vs. Flat Calibration: Key Differences
What changes and what stays the same
The core calibration process is the same for curved and flat monitors. You still set brightness, contrast, gamma, and color temperature. You still use a colorimeter and calibration software.
You still generate an ICC profile. The targets don't change. D65 white point, 2.2 gamma, and 120 nits luminance apply to both.
What changes is the physical behavior of the light. On a curved monitor, the edges direct light slightly differently than the center. This means your colorimeter reading at center may not represent what your eyes perceive at the edges.
It also means viewing distance and angle matter more. A flat monitor is more forgiving of suboptimal seating position. A curved monitor rewards you for sitting in the sweet spot and punishes you for straying from it.
When curved calibration is worth the extra effort
If you game primarily in the sweet spot and want the most accurate image possible, full calibration is absolutely worth it. The improvement over factory settings is visible on most curved monitors, especially in color accuracy and gamma consistency. If you sit off-center or use the monitor for mixed purposes where you move around, the benefits diminish.
In that case, a basic OSD adjustment without a full ICC profile may be more practical.
Maintaining Your Calibration Over Time
How often to re-calibrate
Panel characteristics drift over time as backlight LEDs age and panel materials shift. For gaming use, re-calibrate every 30 to 60 days. If you're doing color-critical work, monthly calibration is the standard recommendation.
Some high-end monitors with built-in colorimeters can auto-calibrate on a schedule. As of 2026, this feature remains rare but is appearing in more professional-oriented displays.
Signs your calibration has drifted
Watch for colors looking slightly off compared to your memory of the original calibration. Skin tones shifting toward green or magenta, blacks looking slightly blue or brown, or overall brightness feeling different at the same OSD setting are all signs of drift. If you notice these changes, it's time to re-calibrate.
DisplayCAL's verification feature can also quantify drift by comparing current measurements against your existing profile.
Saving profiles for different scenarios
DisplayCAL allows you to save profiles with descriptive names. Create profiles for "Gaming SDR," "Gaming HDR," "Photo Editing," and "General Use" if your usage varies. Store them in a dedicated folder so you can find them quickly.
Windows Color Management can get cluttered with multiple profiles, so periodically clean out old or unused profiles to avoid confusion.
Frequently Asked Questions
Can I calibrate a curved monitor without a colorimeter?
You can make basic adjustments through the OSD using test patterns, but you won't get accurate color or gamma results. A colorimeter is necessary for meaningful calibration. Software-only calibration relies on your eyes, which are unreliable for objective color assessment due to adaptation and fatigue.
Does the curve radius affect which colorimeter I should buy?
No. Colorimeters work the same regardless of curve radius. The SpyderX and i1Display Pro both handle curved surfaces well.
The key is placement at screen center where the curve is gentlest. Your colorimeter choice should be based on your monitor's gamut and your accuracy needs, not the curve.
Should I calibrate in SDR or HDR mode first?
Calibrate SDR first. It's the mode you'll use most often for desktop work and most games. HDR calibration is a separate process that happens after SDR is dialed in.
Switching between SDR and HDR modes on most monitors resets some OSD settings, so treat them as two distinct calibration sessions.
Will calibration fix the color shift I see at the edges of my curved monitor?
Calibration can reduce perceived edge color shift, but it can't eliminate it entirely on VA panels. The physical curve causes light to reach your eyes at different angles across the surface. If edge shift is severe, your viewing distance may be wrong for the curve radius, or you may be more sensitive to the effect than average.
How long does a full calibration take?
The measurement phase takes 5 to 15 minutes depending on your software settings and the number of test patches. Including warm-up time, OSD adjustments, and verification, budget 45 minutes to an hour for a thorough first calibration. Subsequent calibrations go faster since your OSD baseline is already set.
Do I need to re-calibrate after a driver or firmware update?
Monitor firmware updates can reset OSD settings, so check your configuration after any update. Graphics driver updates typically don't affect ICC profiles, but they can change how profiles are applied in some cases. Verify your profile is still active in Windows Color Management after major updates.
Final Recommendation: Your Calibration Priority Checklist
Here's a quick-reference checklist to keep your curved gaming monitor looking its best. Print it out or bookmark it for your next calibration session.
- Warm up the monitor for at least 30 minutes
- Reset to factory defaults before starting
- Position yourself at the correct viewing distance for your curve radius
- Disable dynamic contrast, eco mode, and auto brightness
- Set OSD brightness, contrast, gamma (2.2), and color temp (6500K)
- Place colorimeter at screen center where the curve is flattest
- Profile with DisplayCAL or equivalent using D65, 2.2 gamma, 120 nits
- Verify with test patterns and aim for Delta E below 2
- Calibrate HDR separately using the Windows HDR calibration app
- Re-calibrate every 30 to 60 days for consistent results
The whole process takes under an hour the first time and maybe 20 minutes once you've got your baseline set. That's a small time investment for a noticeably better image every time you sit down to play.
The article is already complete. All H2 sections from the approved TOC have been written, including the FAQ and Final Recommendation sections. No further content is needed.

Similar Posts