How To Use The Snap Layout Feature In Windows 11 For Better?

How to use the snap layout feature in Windows 11
The snap layout feature is a helpful tool in Windows 11 that makes managing multiple open windows easier. It helps you organize your workspace efficiently with just a few clicks or keystrokes. In this section, we will explore how to use this feature and get the most out of it.
Understanding what Snap Layouts are
Snap layouts are predefined window arrangements that you can quickly apply to your open applications. They allow you to split your screen into sections, making multitasking smoother. These layouts are flexible and cater to different screen sizes and user needs.
How to access Snap Layouts in Windows 11
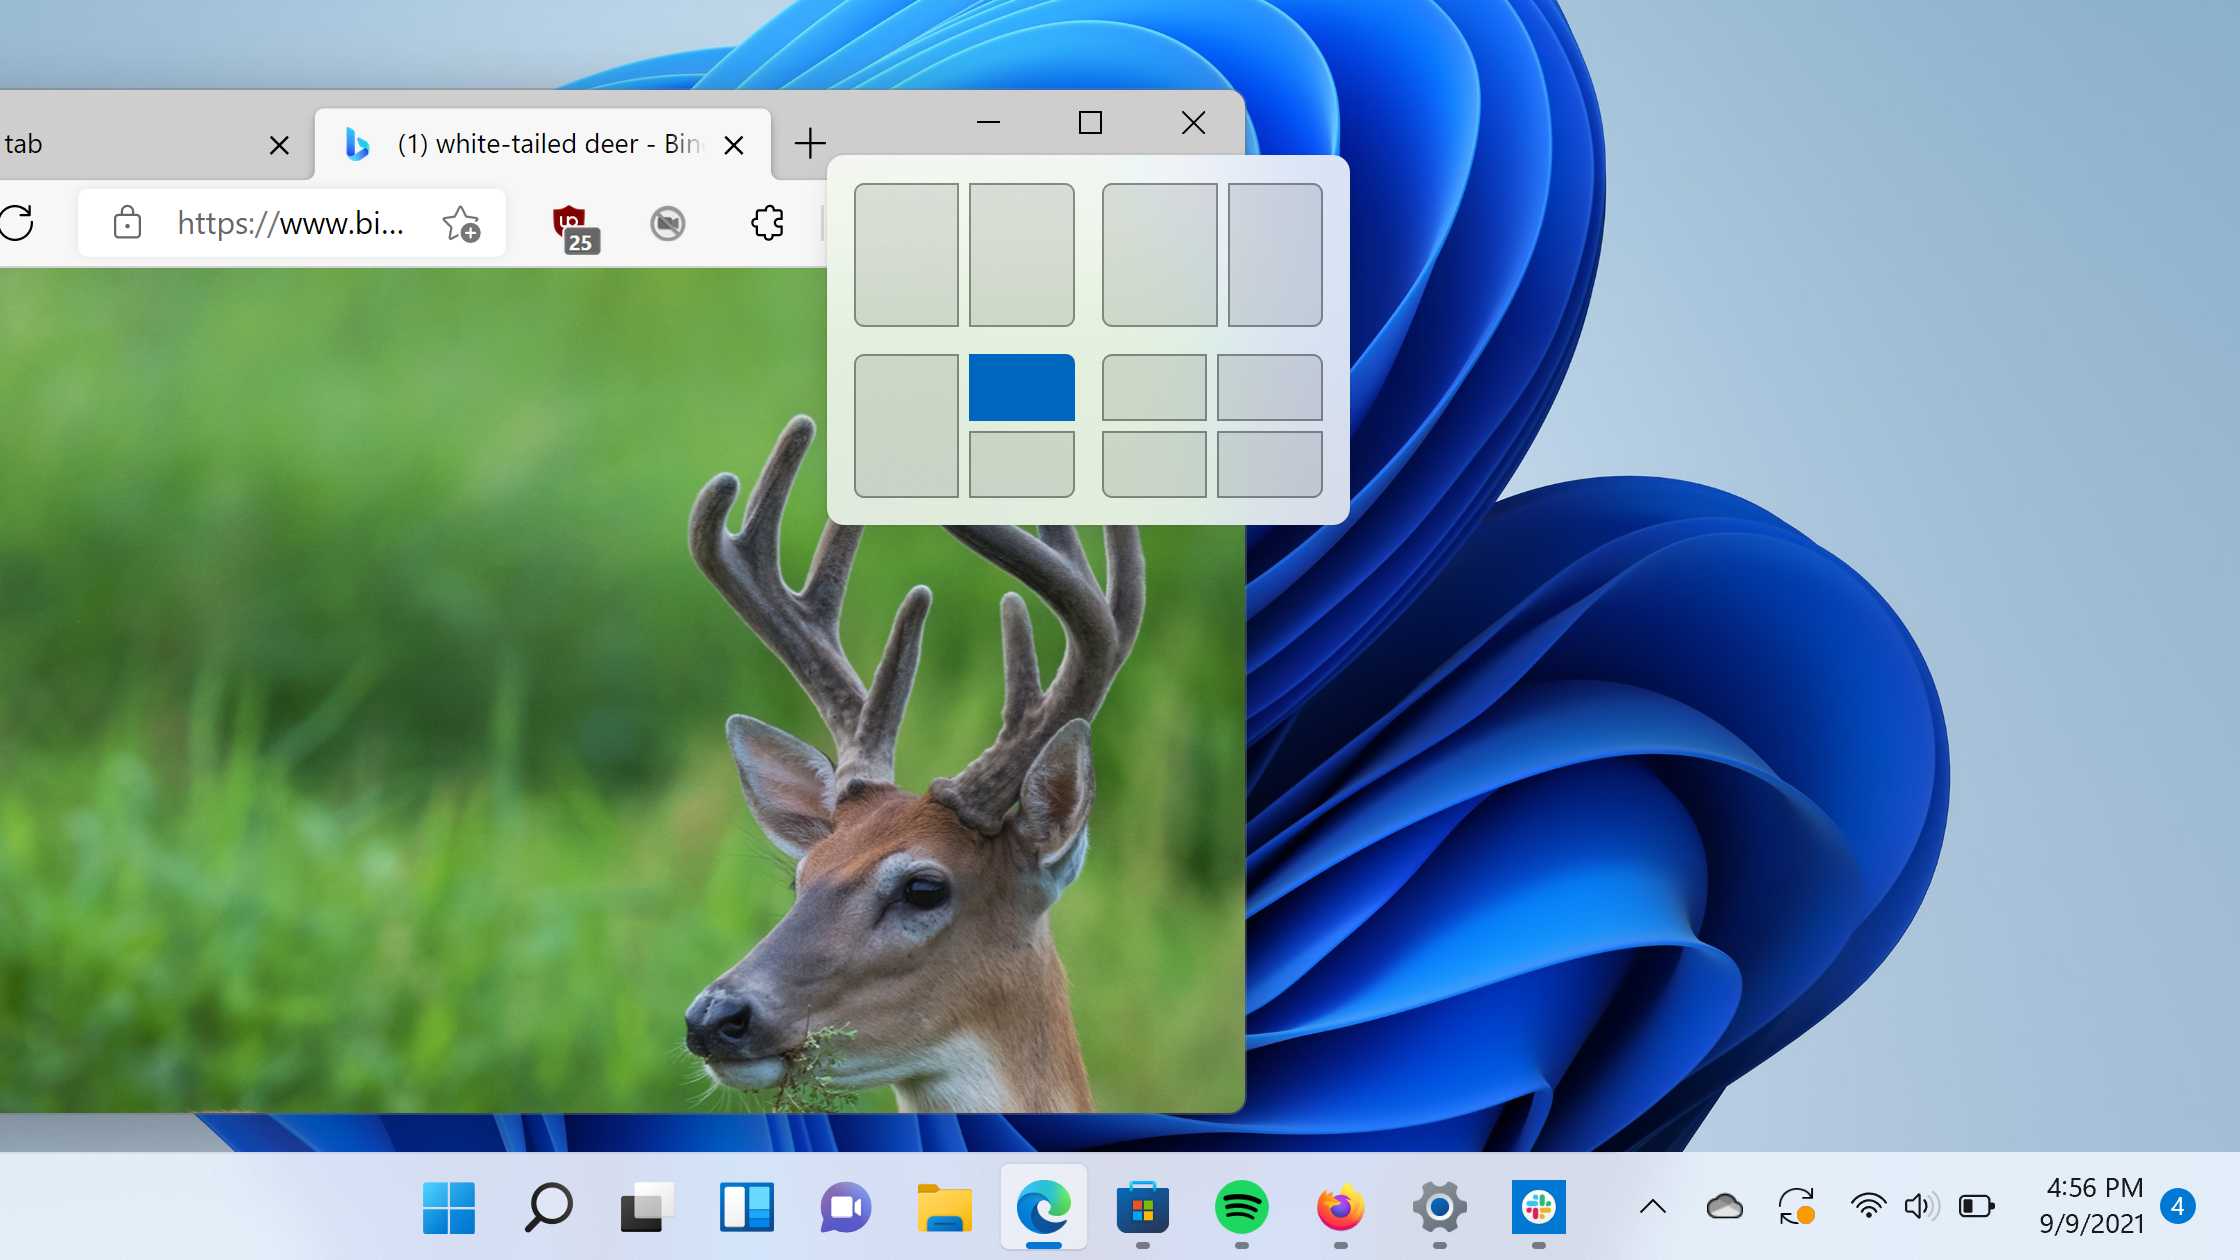
To activate snap layouts, hover over the maximize button on any window. You will see a small pop-up showing different layout options. Alternatively, press the Windows key + Z, and the snap layout options will appear on the screen.
Using the snap layout popup menu
After clicking the maximize button, a grid of options will display. You can select a layout that divides your screen into halves, thirds, or quarters. Your window will automatically snap into the chosen area.
- Single window: Maximizes the window to fill the screen
- Two windows side by side: Divides the screen into two equal parts
- Three or four window layouts: Creates multiple sections for different applications
Using keyboard shortcuts for Snap Layouts
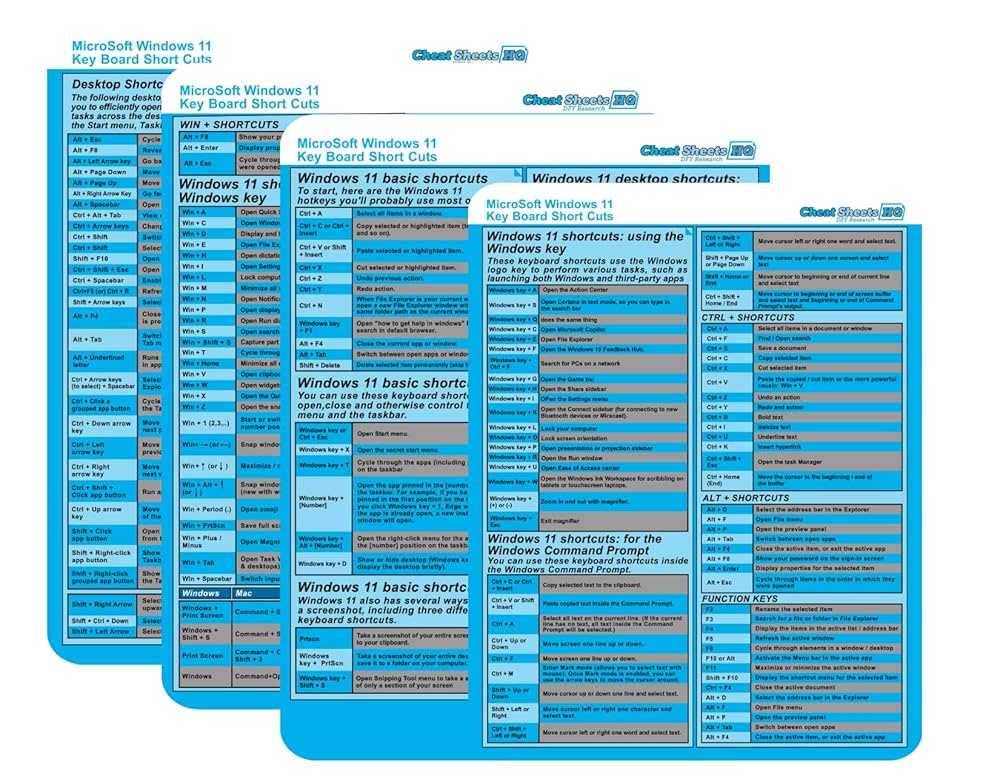
Keyboard shortcuts speed up your workflow. Press Windows key + Z to open snap options, then select a layout by pressing the number key associated with your preferred layout. For example, pressing 1 snaps the window into the first position.
Applying Snap Layouts with mouse or touchscreen
If you prefer using a mouse or touchscreen, simply hover over the maximize button and click the layout you want. You can also drag a window to the edge or corner of your screen until the snap outline appears, then release to snap.
Customizing Snap Layouts in Windows 11
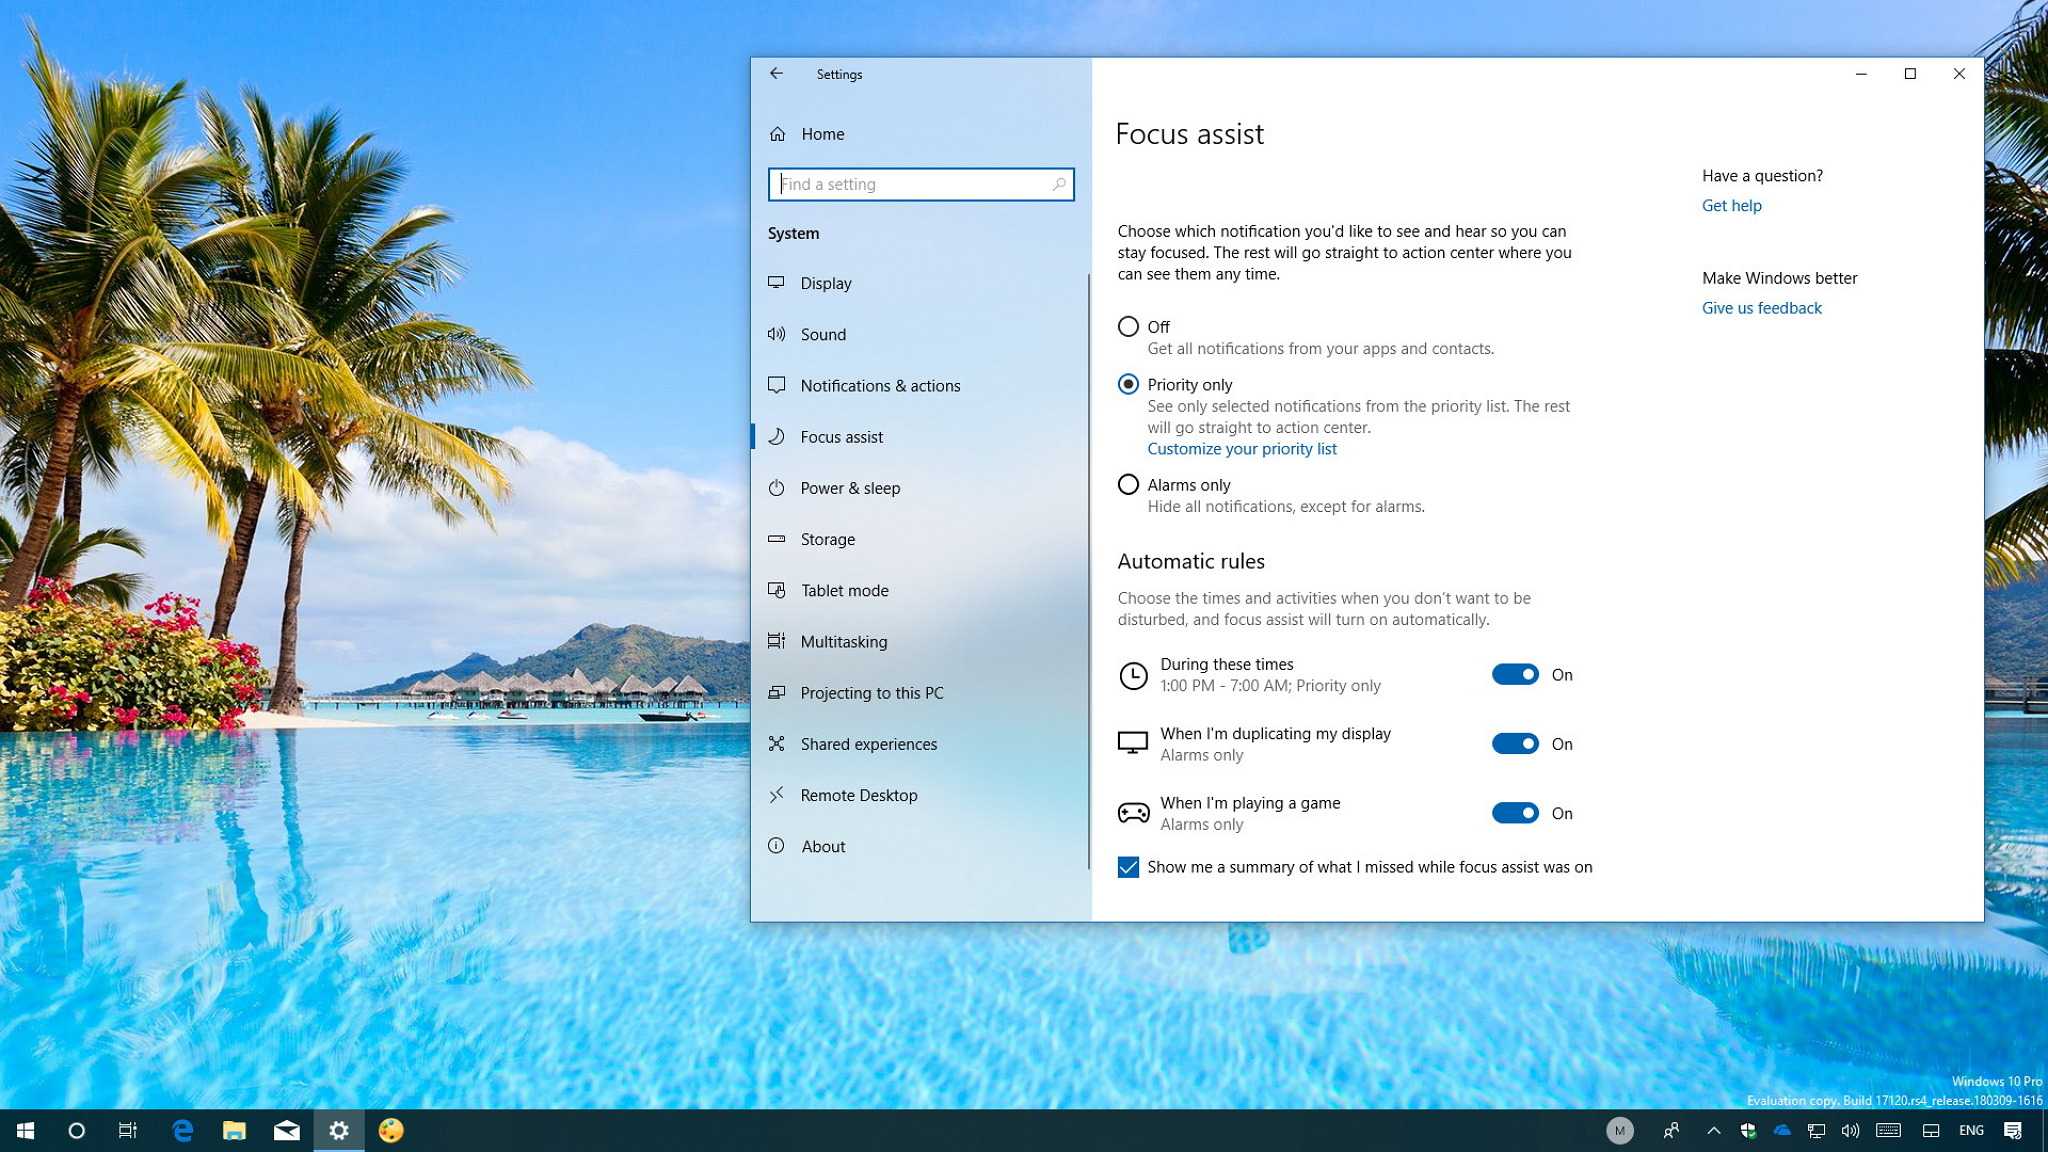
Windows 11 allows you to customize how snap layouts behave. To do this, navigate to Settings > System > Multitasking. Here, you will find options to enable or disable snap assist and configure snapping behavior.
Enabling or disabling snap assist
Turn snap assist on if you want Windows to suggest snap options when you drag windows. Disable it if you prefer manual window management without suggestions.
| Option | Description |
|---|---|
| Show snap layouts when windows are moved | Enables visual snap options when dragging windows |
| Automatically resize windows | Adjusts window sizes to fit the selected layout automatically |
Using Snap Groups for easier multitasking
Snap Groups are collections of snapped windows that stay together in the taskbar. Clicking on a Snap Group restores all associated windows simultaneously. This feature is helpful when working on related tasks or projects.
How to manage Snap Groups
Once you snap multiple windows, Windows 11 automatically creates a Snap Group. Hovering over the taskbar icons will display the group, allowing you to open all windows together. You can also access Snap Groups in the task view for better organization.
Tips for effective use of Snap Layouts
- Use keyboard shortcuts to quickly allocate screen space
- Combine snap layouts with virtual desktops for better organization
- Customize snap settings based on your workflow
- Practice dragging windows to screen edges for fast snapping
Related Topics
- How to customize Windows 11 taskbar for better multitasking
- Using virtual desktops in Windows 11 for multiple workspaces
- Best practices for window management in Windows 11
By understanding and utilizing the snap layout feature, you can significantly improve your productivity and keep your workspace tidy. Experimenting with different layouts and shortcuts will help you find the method that suits your workflow best. With these tips, managing multiple applications in Windows 11 becomes much more straightforward and efficient.
Windows 11 Snap Layouts
Frequently Asked Questions
How can I access the Snap Layout options quickly in Windows 11?
You can access Snap Layout options easily by hovering your cursor over the maximize button of any open window. When you see the Snap Layouts grid appear, click on the preferred layout to snap your window accordingly. Alternatively, pressing Win + Z also brings up the Snap Layout choices directly on the screen.
Is there a way to customize snap layouts in Windows 11?
Currently, Windows 11 does not provide options to customize the Snap Layout presets. The available layouts are predefined to suit common window arrangements. However, you can resize and position windows manually after snapping to fit your specific workspace needs.
Can I use Snap Layouts to organize multiple windows simultaneously?
Yes, Snap Layouts allow you to snap multiple windows into organized sections on your screen. When you select a layout, Windows automatically arranges your open applications in the designated areas, helping you manage multiple tasks efficiently without overlapping windows.
Does the Snap Layout feature work with all types of applications?
Snap Layouts work with most desktop applications and modern Windows Store apps. Some specialized or legacy applications with custom window controls might not respond perfectly to snapping. Usually, standard apps like browsers, file explorers, and office tools work seamlessly with Snap Layouts.
Final Thoughts
How to use the snap layout feature in Windows 11 allows you to organize your workspace efficiently. Simply hover over the maximize button on any window, and snap layout options will appear. Select your preferred layout to instantly arrange open applications. This feature helps you multitask seamlessly by providing multiple window arrangements. Practice using snap layouts daily to improve productivity and work comfortably. It’s a simple yet powerful tool to enhance your Windows 11 experience.
Similar Posts