How To Make Time Lapse Video From Photos On Android
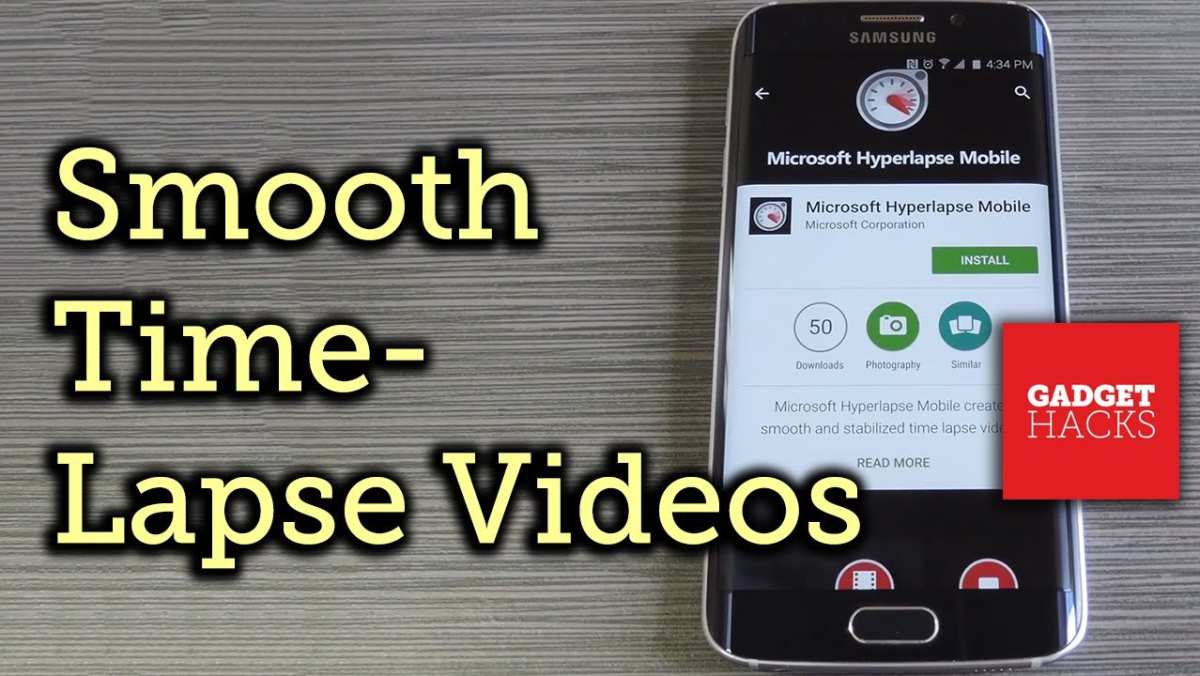
To make a time lapse video from photos on Android, you simply need a reliable app that combines your images into a smooth video. **You can do this easily using dedicated photo-to-video apps available on the Play Store.** Just select your photos, set the interval, and export your video.
Knowing how to make time lapse video from photos on Android is straightforward with the right tools. Choose an app that offers simple editing options and export your project in high quality. It’s a quick way to create stunning time lapses right from your phone.

How to Make a Time Lapse Video from Photos on Android
Creating a captivating time lapse video from your photos on an Android device is a fun and rewarding process. It allows you to showcase long periods of time in a short, engaging video, perfect for capturing beautiful sunsets, busy cityscapes, or growing plants. In this guide, we’ll walk you through each step in detail, ensuring you can craft stunning time lapse videos with ease. Whether you’re a beginner or have some experience with video editing, this tutorial will help you produce professional-looking results using free or affordable tools on your Android phone.
Why Make a Time Lapse Video from Photos?
Before diving into the how-to, it’s helpful to understand why creating time lapse videos from your photos is a popular activity. Here are some reasons:
- Showcase the passage of time, like the movement of clouds or the blooming of flowers.
- Create engaging content for social media platforms such as Instagram, TikTok, or YouTube.
- Preserve memories of events or trips in a condensed, beautiful format.
- Enjoy a creative way to combine multiple photos into a dynamic video.
This process turns a sequence of static photos into a lively video that captures the essence of time passing in just minutes.
Preparing Your Photos for Time Lapse Creation
The quality of your final video depends heavily on the photos you select. Here are some tips to prepare your images effectively:
Consistent Camera Settings
– Use the same camera settings (ISO, focus, exposure) for all photos to keep the video smooth and professional-looking.
– If your phone allows manual adjustments, lock the focus and exposure to prevent flickering.
Photo Sequence and Organization
– Keep your photos in chronological order.
– Name your files sequentially (e.g., photo001, photo002) to make it easier to import and arrange.
– Store all photos in one folder dedicated to your project.
Resolution and Size
– Use high-resolution images for clearer videos.
– Avoid resizing photos outside their original dimensions to maintain quality.
Selecting the Right App for Making Time Lapse Videos on Android
Android users have several options to create time lapse videos from photos. Picking the right app depends on features, ease of use, and whether it’s free or paid. Here are some top choices:
Google Photos
– Built into many Android devices.
– Allows simple creation of movies from selected photos.
– Limited editing features but straightforward for basic projects.
InShot
– Very popular video editor.
– Supports importing multiple photos and exporting as a video.
– Offers additional editing features like filters, music, and text.
Pixlr Video
– Offers a simple interface for creating slideshows and time lapses.
– Supports adding music and transitions.
Dedicated Time Lapse Apps
– Apps like “Lapse It” or “Framelapse” are specifically designed for time lapse creation.
– Often include features for adjusting frame rates, adding effects, and more.
While some apps are free, others offer premium features. Choose an app based on your needs and comfort level.
Steps to Create a Time Lapse Video from Photos on Android
Once you’ve selected your app, follow these steps to make your time lapse:
Importing Photos
– Open your chosen app.
– Locate the import or create section.
– Select all the photos you want to include in the video.
– Import photos in the correct chronological order to ensure smooth motion.
Adjusting Frame Rate and Duration
– Frame rate (frames per second, FPS) determines how smoothly your video plays.
– For a natural look, set the frame rate between 24 and 30 FPS.
– If your app allows, adjust the interval between each photo during import to control how fast the video plays:
- Less interval (more photos): slower, more detailed movement.
- More interval (fewer photos): faster, more condensed motion.
– Experiment with different settings to find the best speed for your scene.
Adding Music and Transitions
– Most apps enable you to add background music.
– Choose a track that complements your video’s mood.
– You can also add transitions between photos for a seamless flow or keep it simple for a straightforward time lapse.
Editing and Finalizing the Video
– Trim unwanted sections.
– Adjust brightness, contrast, or apply filters if needed.
– Preview your video before exporting to ensure smooth playback.
– Save your project and export the final video in high quality.
Tips for Better Time Lapse Videos from Photos
Creating visually appealing time lapse videos involves some planning and attention to detail. Here are some practical tips:
Keep Your Camera Steady
– Use a tripod or stable surface when capturing photos.
– Avoid moving the camera between shots unless intentional for a panoramic effect.
Lighting Matters
– Take photos during the best lighting conditions, such as early morning or late afternoon.
– Consistent lighting prevents flickering or flickering effects in your video.
Plan Your Shots
– Decide what scene or subject to focus on.
– Time your photos accordingly; for example, capture a growing plant every 10 seconds over several hours.
Use Manual Mode
– Manual mode helps keep settings consistent.
– Lock focus, exposure, and white balance to prevent changes between shots.
Experiment with Different Frame Rates
– Use lower frame rates for a more dramatic, slow effect.
– Higher frame rates produce a smoother, more natural look.
Additional Editing and Enhancing Your Final Video
After creating your basic time lapse, consider adding final touches:
Applying Filters or Effects
– Use editing apps to enhance colors or add artistic effects.
– Be cautious not to overdo it; subtle enhancements often look better.
Adding Text or Captions
– Include titles, dates, or descriptions to provide context.
– Keep text minimal and easy to read.
Compressing or Sharing Your Video
– Save the video in formats suitable for sharing on social media (like MP4).
– Use compression tools if file size is large but maintain quality.
Common Challenges and How to Overcome Them
Sometimes, the process might not go smoothly. Here are common issues and solutions:
Flickering or Jitter in the Video
– Caused by inconsistent lighting or camera settings.
– Use manual mode to keep settings stable.
– Avoid taking photos in changing lighting conditions.
Low-Quality Output
– Use high-resolution images.
– Export the video in the highest available quality settings.
Time-Consuming Process
– Organize your photos beforehand.
– Use batch import features.
– Keep your project organized to avoid confusion.
App Compatibility or Crashes
– Ensure your app is updated.
– Close background apps to free device resources.
– Restart your phone if needed.
Making a time lapse video from photos on Android is a straightforward process when you have the right tools and know-how. By carefully organizing your photos, selecting the appropriate app, and tweaking settings like frame rate, you can produce stunning videos that beautifully showcase the passage of time. Remember to keep your camera steady during shooting, use consistent settings, and explore creative options like music and effects to enhance your project. With patience and practice, you will develop an eye for capturing compelling scenes and turning them into engaging time lapse videos that impress friends and followers alike.
Frequently Asked Questions
What is the best app to compile photos into a time lapse video on Android?
Several apps are available on the Google Play Store for creating time lapse videos from photos. Popular choices include “Google Photos,” “Microsoft Photos,” and dedicated video editing apps like “InShot” or “KineMaster.” Choose an app that supports importing multiple photos, offers editing features, and allows you to export videos in high quality.
How can I organize my photos for a smoother time lapse video on Android?
Start by sorting your photos in chronological order to ensure the video flows naturally. Use your phone’s gallery or file manager to rename photos with sequential numbers or dates. This organization helps the app stitch images seamlessly and produces a cohesive time lapse effect.
What settings should I consider when exporting my time lapse video from Android?
Focus on selecting the appropriate resolution, frame rate, and quality settings before exporting. Usually, a higher resolution and frame rate (such as 30 fps) provide smoother playback. Make sure the video file size aligns with your storage capacity and sharing preferences. Review export options within your chosen app to customize these settings.
Can I add music or effects to my time lapse video on Android?
Yes, most video editing apps for Android allow you to add background music, sound effects, or transitions. Import your photos into the app, create the time lapse, and then incorporate audio tracks or visual effects to enhance the final video. Preview your project before saving to ensure all elements sync perfectly.
How long will it take to generate a time lapse video from a set of photos?
The processing time depends on the number of photos, their resolution, and your device’s performance. Typically, creating a short time lapse with a few hundred images takes just a few minutes. For larger projects, it may take longer, but most apps process videos efficiently on recent Android devices.
Final Thoughts
To make time lapse video from photos on Android, select your best images and use a dedicated app like Google Photos or a specialized video editor. Arrange the photos in chronological order and set the desired frame rate. Export the project as a video file, and you will have a stunning time lapse.
Practicing these steps helps you create smooth, captivating videos directly from your Android device. Remember, the key is organizing your photos well and choosing the right app. Overall, following these tips ensures you can easily make time lapse video from photos on Android.

Similar Posts