How To Make An Android App: Step-By-Step Guide
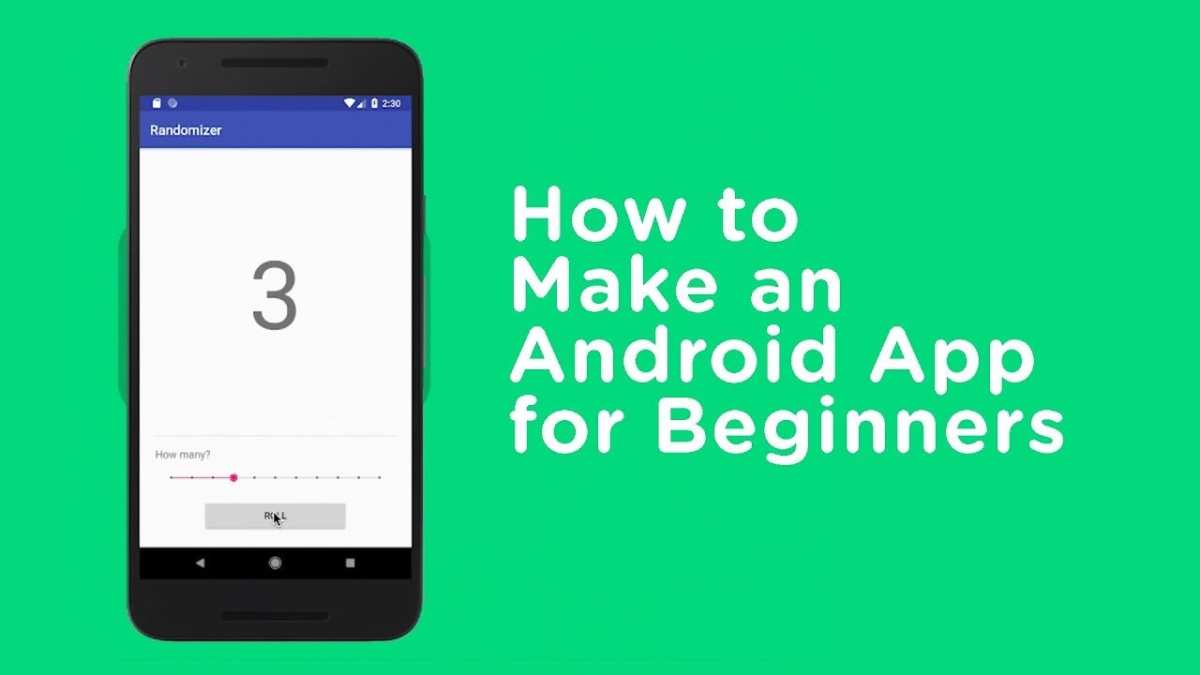
How to Make an Android App: A Step-by-Step Guide for Beginners
Creating your own Android app might sound challenging at first, but with the right approach, anyone can do it. This guide walks you through each step with clear explanations, making the process simple and enjoyable. Whether you want to develop a fun game, a helpful tool, or a useful service, understanding how to make an Android app opens many doors in the world of technology. Let’s get started on this exciting journey!Understanding the Basics of Android App Development
Before jumping into coding, it’s helpful to understand what Android app development involves. Android apps are software programs built specifically for devices running on the Android operating system. They are usually written in Java or Kotlin programming languages. The development process includes designing the interface, writing the code, testing the app, and finally publishing it on platforms like Google Play. Here are some key concepts to familiarize yourself with:- Android Studio: The official software used to create Android apps. It provides tools for designing, coding, and testing your app.
- Activities: Think of activities as screens within your app. Each activity displays different information or features.
- Layouts: These are the structures that arrange buttons, images, text, and other elements on the screen.
- Resources: External files like images, strings, and styles that help customize the app’s appearance and functionality.
Setting Up Your Development Environment
The first practical step to making an Android app is setting up your workspace. Here’s what you need:Installing Android Studio
Android Studio is a free, powerful environment created by Google. Follow these steps:- Go to the official Android Studio website and download the latest version suitable for your operating system.
- Open the downloaded file and follow the installation instructions.
- During setup, ensure the Android SDK (Software Development Kit) is installed as it contains all the necessary tools.
- Once installed, open Android Studio to begin your app development journey.
Creating Your First Project
After installing Android Studio, create a new project:- Click on “Start a new Android Studio project.”
- Select a project template, such as “Empty Activity,” which provides a blank slate for you.
- Enter your project name, package name, and save location.
- Choose the language (Java or Kotlin). For beginners, Java is more commonly used.
- Set the minimum SDK version—the lowest Android version your app will support.
- Click “Finish” to generate your project files.
Designing the User Interface
The user interface (UI) is what your users see and interact with. Designing a simple, clean UI is essential for an enjoyable app experience.Using XML Layout Files
Android Studio uses XML files to define layouts. These files specify the position and appearance of buttons, text, images, and other elements. Here’s how to start designing:- Open the res/layout/activity_main.xml file.
- Use the visual editor to drag and drop components or write XML code directly.
- Examples of common UI elements include Button, TextView, EditText, and ImageView.
Sample Layout Structure
“`xml “` This layout creates a simple screen with a welcoming message and a button.Writing the Core Logic
The next step is adding functionality to your app by writing code that responds to user actions.Connecting UI Elements with Java/Kotlin Code
In the main activity file (e.g., MainActivity.java), you need to:- Find the UI elements by their IDs.
- Attach event listeners such as button clicks.
- Define what happens when users interact.
 Button clickButton = findViewById(R.id.clickButton);

  clickButton.setOnClickListener(new View.OnClickListener() {
      @Override
      public void onClick(View v) {
          // Code to run when button is clicked
          Toast.makeText(MainActivity.this, "Button clicked!", Toast.LENGTH_SHORT).show();
      }
  });
Adding Features and Functionality
Once the basic UI and interactions are working, you can add more features:- Navigating between screens: Use intents to move from one activity to another.
- Saving data: Store user info locally using SharedPreferences, databases, or files.
- Fetching data from the internet: Use APIs and network calls to access live data.
Testing Your App
Testing helps catch bugs before releasing your app:Using the Emulator
Android Studio provides virtual devices mimicking real phones:- Create a new Virtual Device in the AVD Manager.
- Select device specifications like screen size and Android version.
- Run your app on the emulator to see how it performs.
Testing on Real Devices
Connecting your actual phone offers a real-world test:- Enable developer options on your device.
- Connect your device via USB and authorize debugging permission.
- Run your app directly from Android Studio onto your phone.
Publishing Your Android App
After developing and testing, it’s time to share your app:Creating a Signed APK
Build a signed APK file that can be uploaded to the Google Play Store:- Generate a signing key (keep it safe).
- Build a signed APK through Android Studio.
- Test the APK to ensure it installs correctly.
Uploading to Google Play
Follow these steps:- Create a developer account on Google Play Console (requires a fee).
- Prepare app details: description, screenshots, icons, and privacy policy.
- Upload your signed APK file.
- Set your app’s pricing and distribution options.
- Publish your app and monitor its performance.
Maintaining and Updating Your App
Publishing is just the beginning. Keep your app updated:- Respond to user reviews and feedback.
- Fix bugs and improve features based on testing.
- Update the app regularly to stay compatible with new Android versions.
- Introduce new features to keep users engaged.
Useful Tips for Beginners
- Start small: develop simple apps first to build your skills.
- Use online tutorials and forums when you’re stuck.
- Organize your code and resources for easier management.
- Test your app on different screen sizes and devices.
- Be patient and enjoy the learning process.
Frequently Asked Questions
What are the essential tools needed to create an Android application?
To develop an Android application, you need several key tools. First, install Android Studio, the official IDE for Android development, which provides all necessary features such as code editing, debugging, and testing. You should also have the Java Development Kit (JDK) or the Android SDK installed, as they are essential for coding and building your app. Familiarity with programming languages like Java or Kotlin is important, as these are the primary languages used for Android development. Additionally, a testing device or emulator helps you run and debug your app effectively.
How can I set up my development environment for Android app creation?
Start by downloading and installing Android Studio from the official website. Once installed, launch Android Studio and set up a new project by choosing a template that suits your app idea. Configure your project settings, such as naming your app and selecting the programming language (Java or Kotlin). Make sure to set up an emulator or connect an Android device for testing. Familiarize yourself with the IDE’s layout, including the code editor, layout designer, and logcat window. This setup process ensures you have a smooth environment to write, test, and refine your app.
What are the best practices for designing user interfaces in Android apps?
Design user interfaces that are intuitive and easy to navigate. Use Android Studio’s layout editor to visually arrange UI components, making sure they are aligned and proportioned correctly for various screen sizes. Follow the Material Design guidelines, which emphasize clean, consistent visuals and interactive elements. Keep the UI simple, with clear labels and accessible buttons, to improve user experience. Test the interface on different device types to ensure adaptability and responsiveness, making adjustments as needed for a seamless experience across devices.
How do I debug and test my Android application effectively?
Use Android Studio’s built-in debugging tools to identify and fix issues in your code. Set breakpoints to pause execution at critical points and examine variable states. Utilize the logcat window to view real-time logs, helping you trace errors or unexpected behaviors. Test your app on both physical devices and emulators with various configuration settings to catch device-specific issues. Perform user interface testing to check for usability problems. Conduct thorough testing to ensure your app runs smoothly, performs well, and provides a reliable experience for users.
Final Thoughts
To conclude, understanding how to make and android app involves choosing the right tools and following a structured development process. Start by planning your app’s features and design. Use Android Studio to build and test your app efficiently. By practicing these steps, you can create a functional Android app that meets your goals.
Similar Posts