How to Change Windows 11 Language
How to Change Windows 11 Language: A Comprehensive Guide
Windows 11, the latest operating system from Microsoft, offers a wide range of features and customization options to enhance the user experience. One such customization option is the ability to change the language of the operating system. Whether you prefer to use Windows 11 in your native language or want to explore a new language, changing the language settings can be done easily. In this article, we will provide a step-by-step guide on how to change the language in Windows 11, along with some useful tips and tricks to make the process smoother.
Why Change the Language in Windows 11?
Before we dive into the process of changing the language in Windows 11, let’s explore why you might want to do so. Here are a few reasons:
- Preference: Changing the language allows you to use Windows 11 in your preferred language, making it more comfortable and familiar.
- Accessibility: For non-native English speakers, using Windows 11 in their native language can improve accessibility and ease of use.
- Learning: Changing the language to a new one can be a great way to learn and practice a foreign language.
- Localization: If you are using Windows 11 in a multilingual environment, changing the language can help ensure consistency and ease of communication.
Now that we understand the benefits of changing the language in Windows 11, let’s move on to the step-by-step process.
Step-by-Step Guide: How to Change the Language in Windows 11
Changing the language in Windows 11 involves a few simple steps. Follow the guide below to change the language settings:
Step 1: Open the Settings App
The first step is to open the Settings app in Windows 11. You can do this by clicking on the Start button in the taskbar and selecting the gear icon, which represents the Settings app.
Step 2: Go to the Language Settings
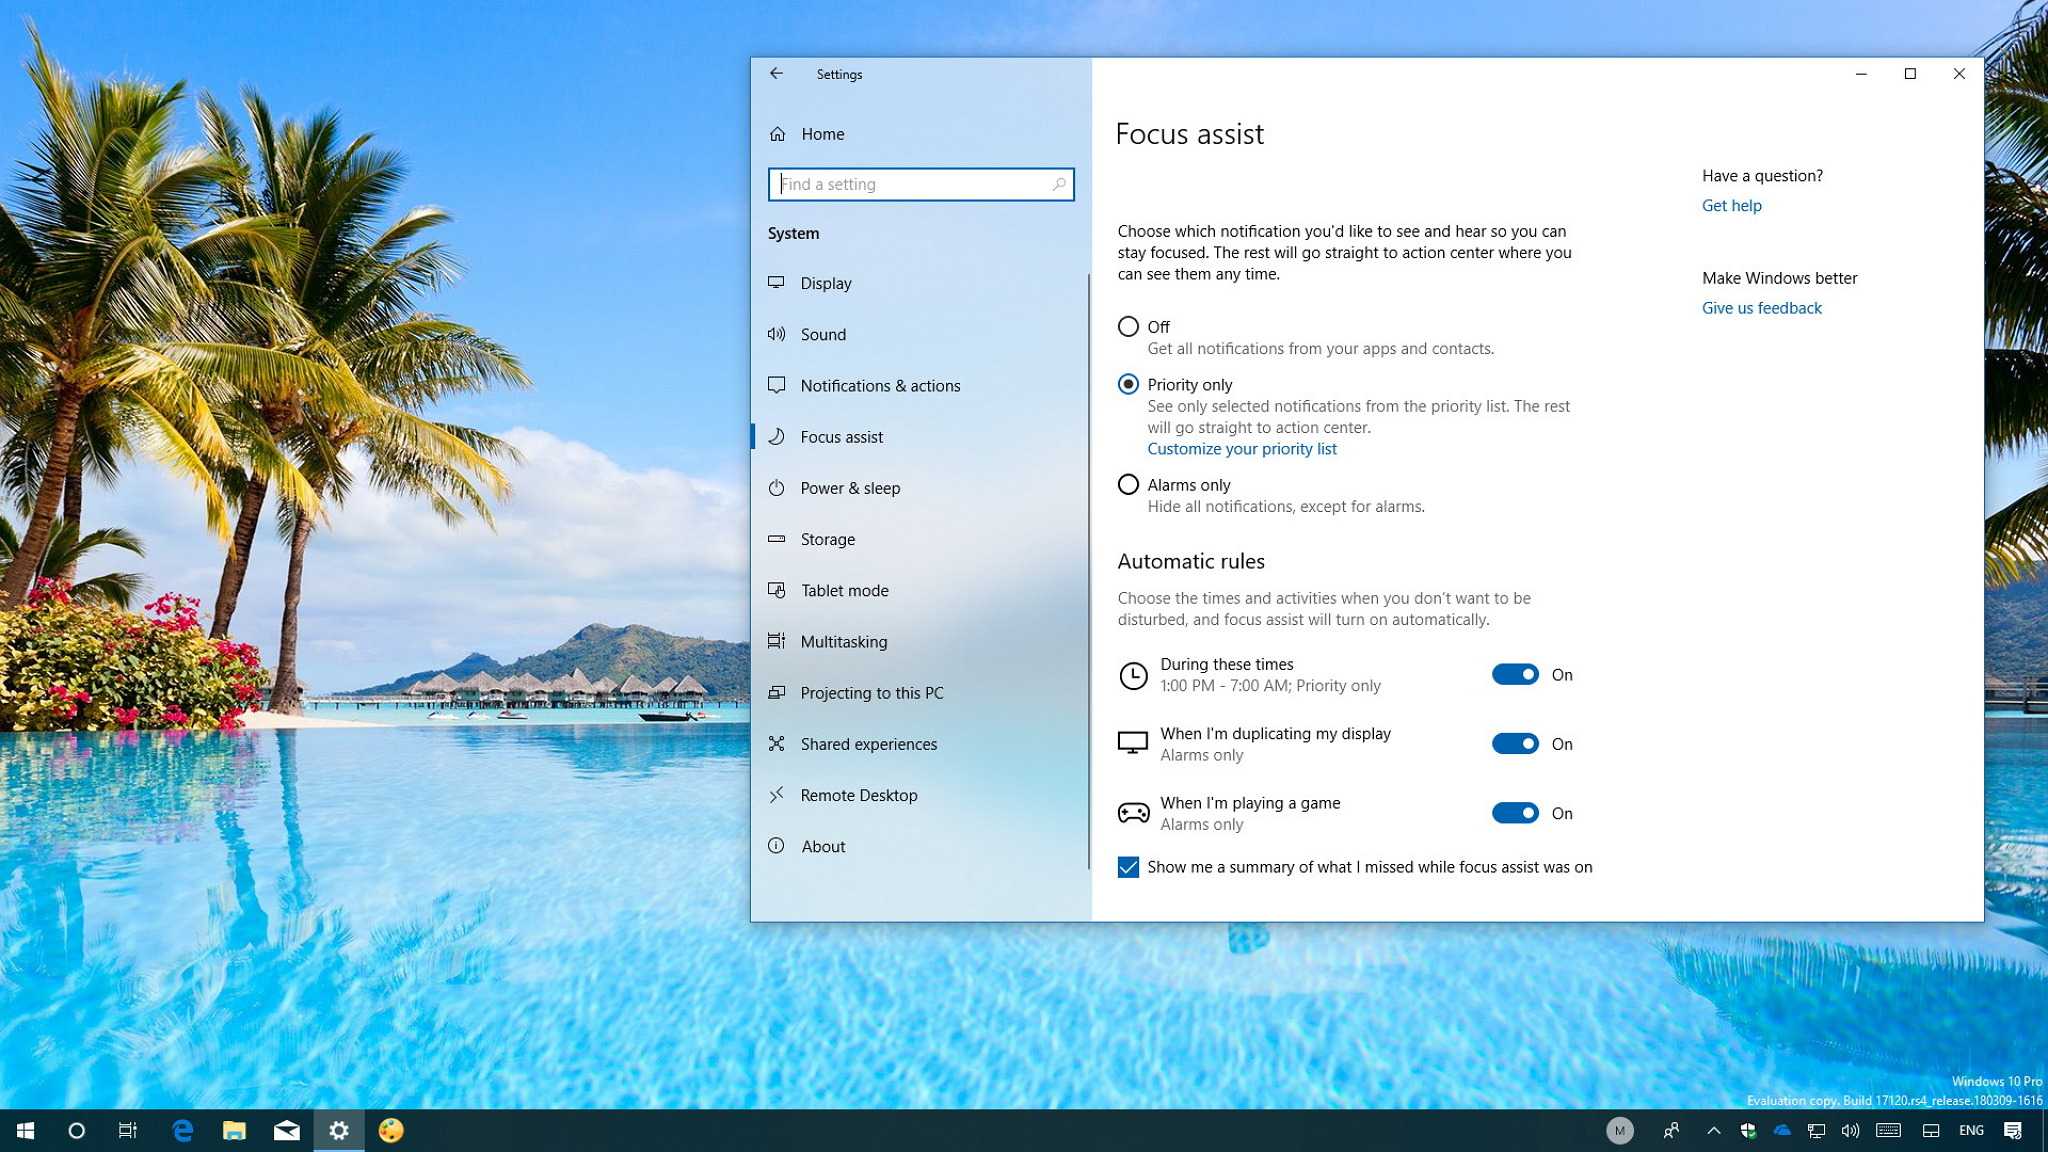
Once the Settings app is open, navigate to the “System” category by clicking on it. In the left sidebar, you will find the “Language & region” option. Click on it to access the language settings.
Step 3: Add a Language
In the Language & region settings, you will see the currently installed languages. To add a new language, click on the “Add a language” button. A list of available languages will appear.
Windows 11 offers a wide range of languages to choose from. You can search for a specific language using the search bar or browse through the list to find the language you want to add.
Once you have found the language you want to add, click on it and then click on the “Next” button. Windows 11 will start downloading the language pack, which may take a few minutes depending on your internet connection speed.
Step 4: Set the New Language as the Default
After the language pack is downloaded and installed, you will be taken back to the Language & region settings. Here, you will see the newly added language in the list of installed languages.
To set the new language as the default, click on it and then click on the “Set as default” button. Windows 11 will prompt you to sign out and sign back in for the changes to take effect. Save any unsaved work and click on the “Sign out now” button.
Step 5: Sign Back In
After signing out, Windows 11 will take you to the sign-in screen. Enter your password and sign back in to your account. Once you are signed in, Windows 11 will load with the new language settings.
Congratulations! You have successfully changed the language in Windows 11. You can now enjoy using Windows 11 in your preferred language.
Tips and Tricks for Changing the Language in Windows 11
While the above steps cover the basic process of changing the language in Windows 11, here are some additional tips and tricks to make the process smoother:
1. Language Pack Availability
Not all languages are available as language packs in Windows 11. If you cannot find the language you want to add in the list of available languages, it may not be supported. In such cases, you can try searching for third-party language packs or consider using a different language that is available.
2. Language Switching
Windows 11 allows you to switch between installed languages easily. Once you have added multiple languages, you can switch between them by clicking on the language icon in the taskbar. This will display a list of installed languages, and you can select the one you want to use.
3. Keyboard Layout
When you change the language in Windows 11, the keyboard layout may also change to match the selected language. If you prefer to use a different keyboard layout, you can customize it in the Language & region settings. Click on the language you want to customize, and then click on the “Options” button. In the Keyboard layout section, you can add or remove keyboard layouts according to your preference.
4. Language Display Order
If you have multiple languages installed, you can change the display order to prioritize a specific language. In the Language & region settings, click on the “More language preferences” link. This will open the Language preferences window. Here, you can drag and drop languages to change their display order.
Frequently Asked Questions (FAQ)
Q: Can I change the language in Windows 11 Home edition?
A: Yes, you can change the language in Windows 11 Home edition. The process is the same as described in this article.
Q: Will changing the language in Windows 11 affect my files and applications?
A: Changing the language in Windows 11 will not affect your files and applications. However, some applications may not support the new language, and their interface may remain in the original language.
Q: Can I change the language back to English after changing it to a different language?
A: Yes, you can change the language back to English or any other language at any time. Simply follow the same steps described in this article and select the desired language.
Q: Can I use a language that is not officially supported by Windows 11?
A: While Windows 11 offers a wide range of languages to choose from, it may not support all languages. However, you can try searching for third-party language packs or consider using a different language that is available.
Conclusion
Changing the language in Windows 11 is a simple process that can greatly enhance your user experience. Whether you prefer to use Windows 11 in your native language or want to explore a new language, the step-by-step guide provided in this article will help you change the language settings with ease. Remember to consider the availability of language packs, customize keyboard layouts, and prioritize display order to further personalize your Windows 11 experience. Enjoy using Windows 11 in your preferred language!

Similar Posts