Guide To Iphone Setting Up Email For Easy Access
**Setting up email on your iPhone is quick and straightforward.** Once you open the Mail app and enter your email credentials, your account syncs automatically. If you’re wondering how to do it, follow a few simple steps that ensure your emails are accessible anytime.
Navigating ‘iPhone setting up email’ can seem daunting at first, but the process is designed to be user-friendly. Just input your account details, and your device takes care of the rest. Soon, you’ll be ready to send and receive emails seamlessly.

Setting Up Your Email on iPhone: A Complete Guide
Getting your email up and running on your iPhone might sound tricky at first, but with clear steps and helpful tips, it becomes a simple task. Whether you want to check your work emails, personal messages, or manage multiple accounts, setting up email on your iPhone is straightforward once you know what to do. In this guide, we will walk through each stage clearly and thoroughly, ensuring you understand every detail of the process.
Understanding Email Setup on iPhone
Before diving into the setup steps, it helps to understand what setting up email on your iPhone involves. Your iPhone connects to your email provider’s servers to send, receive, and manage your emails. You can add different types of email accounts, including Gmail, Yahoo, Outlook, or even work email accounts from your company.
When you set up an email account on your iPhone, you’re effectively telling your device where to look for your emails and how to send messages from your account. Depending on the email type (IMAP, POP3, or Exchange), your setup steps might vary slightly. The most common and recommended way is using IMAP, which keeps your emails synced across devices.
Preparing for Email Setup
Before you begin, gather some essential details:
- Email address (e.g., yourname@example.com)
- Password for your email account
- Name of incoming mail server (IMAP or POP3)
- Name of outgoing mail server (SMTP)
- Server addresses for incoming and outgoing servers
- Port numbers for both incoming and outgoing servers
- Security type (SSL or TLS)
Most email providers supply this information on their support pages. Having these ready saves time and avoids errors during setup.
Adding Your Email Account on iPhone
Follow these steps to set up your email:
Accessing Mail Settings
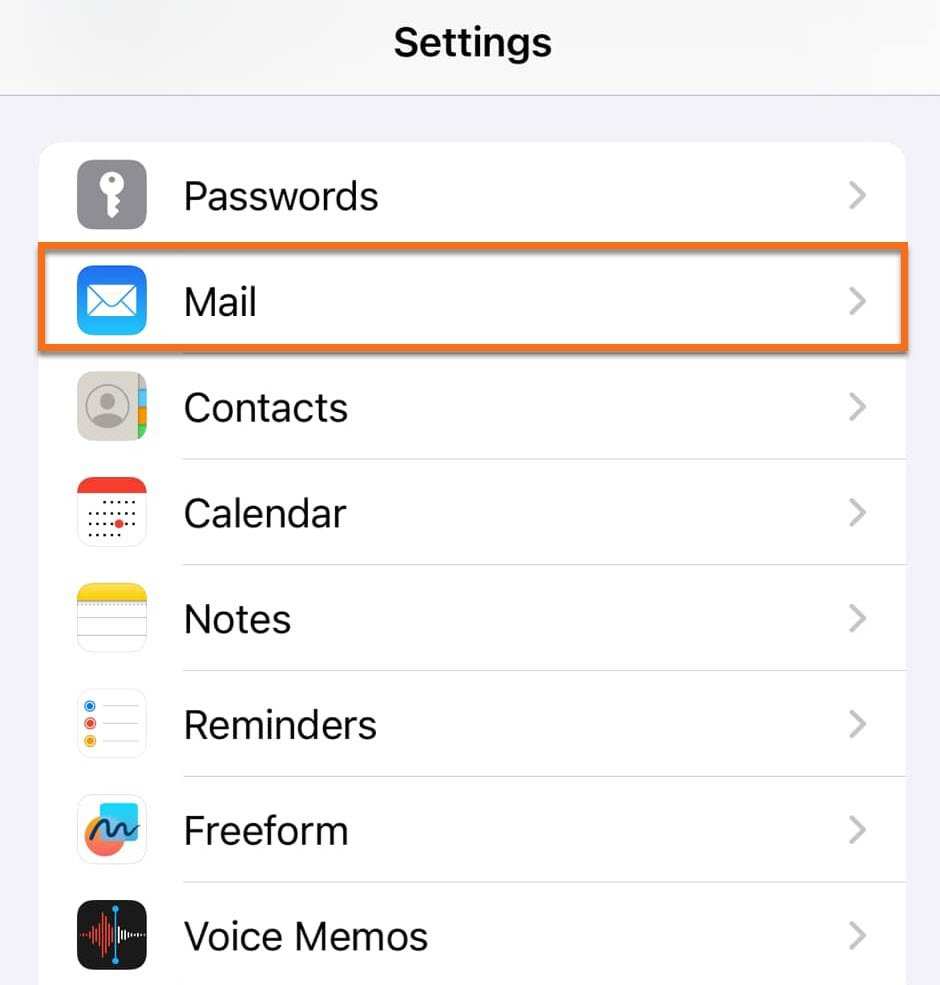
1. Unlock your iPhone and go to the **Settings** app.
2. Scroll down and find **Mail**.
3. Tap on **Accounts**.
4. Select **Add Account**.
Choosing Your Email Provider
You’ll see a list of popular email services such as Google, Yahoo, Outlook, and others. Select your provider if it appears. For providers like Gmail or Yahoo, setup is quick because the iPhone has built-in support.
If your provider isn’t listed, choose **Other** to manually enter your account details.
Entering Account Details
– For popular providers:
– Log in with your credentials when prompted.
– Grant permission if asked to allow the phone to access your email.
– For manual setup (clicking **Other**):
– Tap **Add Mail Account**.
– Enter your name, email address, password, and a description (like “Work Email” or “Personal Account”).
– Tap **Next**.
Configuring Server Settings Manually
If you selected **Other**, you must input server details:
- Incoming Mail Server
- Host Name: (e.g., imap.example.com or pop3.example.com)
- Username: your full email address
- Password: your email password
- Outgoing Mail Server (SMTP)
- Host Name: smtp.example.com
- Username: your full email address (sometimes optional)
- Password: your email password
Once you input all details, tap **Next**. Your iPhone will verify the settings. If everything is correct, the account setup completes successfully.
Adjusting Your Email Settings for Optimal Use
After adding your account, you can customize how your emails work best for you.
Sync Frequency and Fetch Settings
Your iPhone allows you to decide how often it checks for new emails:
- Push: Emails are sent instantly when received (best if your provider supports push)
- Fetch: Your device checks for new emails at intervals (every 15 minutes, 30 minutes, hourly)
- Manual: Your iPhone only checks when you open the Mail app and refresh manually
To adjust these:
1. Go to **Settings** > **Mail** > **Accounts** > **Fetch New Data**.
2. Choose your preferred method and set intervals if using Fetch.
Managing Notifications and Alerts
Customize how you are notified of new emails:
– Open **Settings** > **Notifications**.
– Tap **Mail**.
– Choose alert styles, sounds, and whether to display banners or sounds for new messages.
Handling Multiple Email Accounts
If you have more than one email account, you can add them all to your iPhone. Here’s how:
– Repeat the setup process for each account.
– Organize your inboxes for easier management.
– Use the Mailboxes view to access all accounts or specific accounts.
Troubleshooting Common Email Setup Issues
Sometimes, setup won’t go smoothly. Here are common problems and solutions:
Incorrect Server Settings
– Double-check server addresses, ports, and security types.
– Confirm details with your email provider.
Authentication Errors
– Verify your username and password.
– Ensure your account allows access from third-party apps (some providers require app-specific passwords).
Connection Problems
– Ensure your iPhone has internet access.
– Turn Wi-Fi off and on, or switch to cellular data.
– Restart your iPhone.
Account Not Syncing
– Check your fetch settings.
– Remove the account and add it again if necessary.
Additional Tips for Managing Email on iPhone
– Use **Mail Notifications** to stay updated without opening the app constantly.
– Create **VIP contacts** to prioritize important emails.
– Use **Mail Folders** for better organization.
– Regularly update your iPhone to keep security and features up-to-date.
Adding Multiple Email Accounts for Seamless Experience
Having all your emails in one place makes managing messages easier and quicker. Setting up multiple accounts involves:
– Repeating the setup steps for each email.
– Customizing notification settings for each account.
– Organizing inboxes using folders or the Mailboxes view for quick access.
Security and Privacy Considerations
Always prioritize your security:
– Use strong, unique passwords for each email account.
– Enable two-factor authentication if supported.
– Keep your iPhone updated to the latest iOS version.
– Be cautious when entering server details and passwords, especially on public Wi-Fi.
Setting up email on your iPhone can seem overwhelming at first, but once you understand the steps and gather the necessary information, it becomes a quick and easy process. Remember to check your account details, input server settings correctly if required, and customize your preferences for notifications and syncing. With your email properly configured, you’ll stay connected, organized, and ready to manage your messages on the go. Keep your device secure and your email settings updated to enjoy a smooth experience every time you check your inbox.
Frequently Asked Questions
How do I add a new email account to my iPhone?
To add a new email account, open the Settings app and tap on ‘Mail’ or ‘Passwords & Accounts’. Select ‘Add Account’ and choose your email provider from the list or select ‘Other’ if your provider isn’t listed. Enter your email address and password, then follow the prompts to complete the setup. Your iPhone will verify your account information and sync your emails, calendars, and contacts as needed.
What should I do if my email account isn’t sending or receiving messages?
If your email isn’t working properly, start by checking your internet connection to ensure it’s stable. Navigate to Settings > Mail > Accounts, then select the affected account. Verify that your login details are correct and update them if necessary. You can also try toggling the account off and then back on, or removing and re-adding it. Additionally, check for any available iOS updates, as these can fix bugs related to email performance.
How can I customize my email notification preferences on iPhone?
To adjust your email notifications, go to Settings > Notifications > Mail. Choose your desired account or select ‘All Accounts’ to modify settings for each. You can toggle notifications on or off, change alert styles, sounds, and set whether to show previews on your lock screen or in banners. Customizing these options helps you stay informed without overwhelming you with alerts.
Is it possible to sync multiple email accounts on my iPhone effectively?
Yes, you can sync multiple email accounts on your iPhone seamlessly. In Settings > Mail > Accounts, tap ‘Add Account’ for each new account you want to include. Choose the appropriate email service or select ‘Other’ for custom setups. Once added, your Mail app organizes emails from all accounts, allowing you to view and manage your messages efficiently. Adjust notification and sync settings individually for each account to suit your preferences.
How do I troubleshoot login issues with my email on iPhone?
If you encounter login problems, double-check your email address and password for typos. Ensure your account is active and that there are no service outages from your email provider. You can also try logging into your email account through a web browser to verify access. Restart your iPhone and attempt to re-enter your credentials. If problems persist, remove the account from your device and add it again, or consult your email provider’s support resources for additional guidance.
Final Thoughts
In summary, setting up email on your iPhone simplifies your communication. Following the straightforward steps for ‘iphone setting up email’ ensures quick access to your inbox. With the correct credentials and server details, you can stay connected effortlessly. Remember, a smooth setup enhances your overall user experience and keeps you organized.
Related posts

New Iphone Setting Up: A Complete Guide For Beginners
**To set up a new iPhone quickly, follow a few simple steps to get started right away.** When…
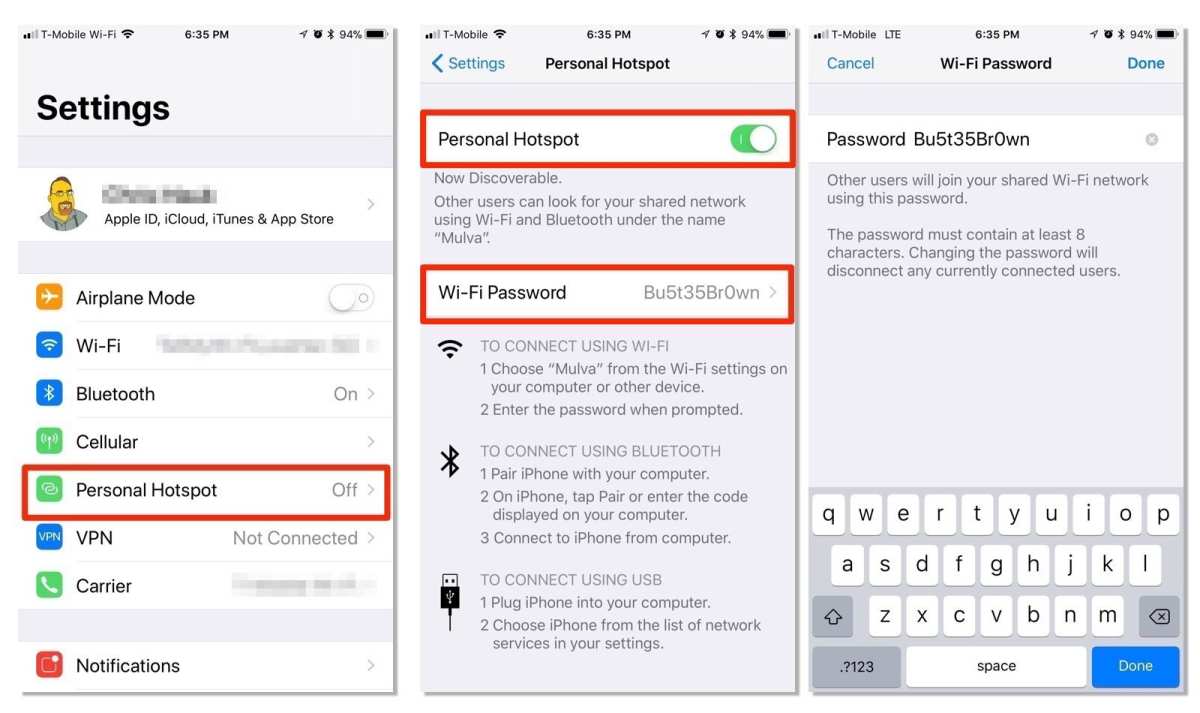
Iphone Setting Up Hotspot: Easy Steps To Connect Your Device
**To set up your iPhone as a hotspot, simply turn on Personal Hotspot in your settings.** If you’re…
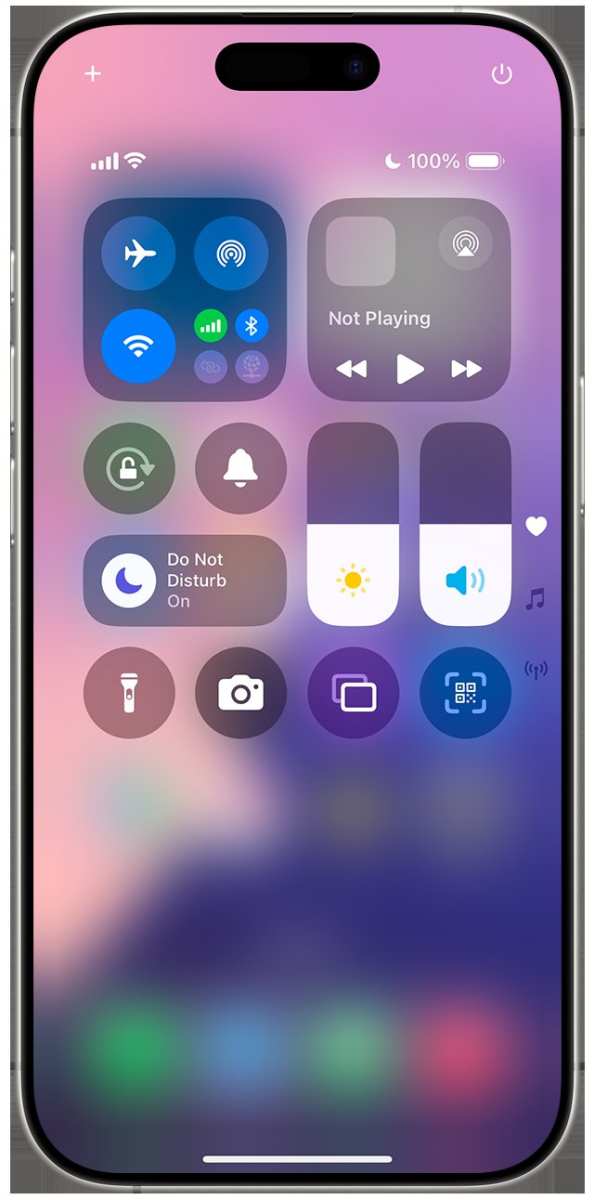
Effective Guide To The Do Not Disturb Iphone Setting
The ‘do not disturb iPhone setting’ instantly silences notifications, giving you peace when needed. If you want your…