

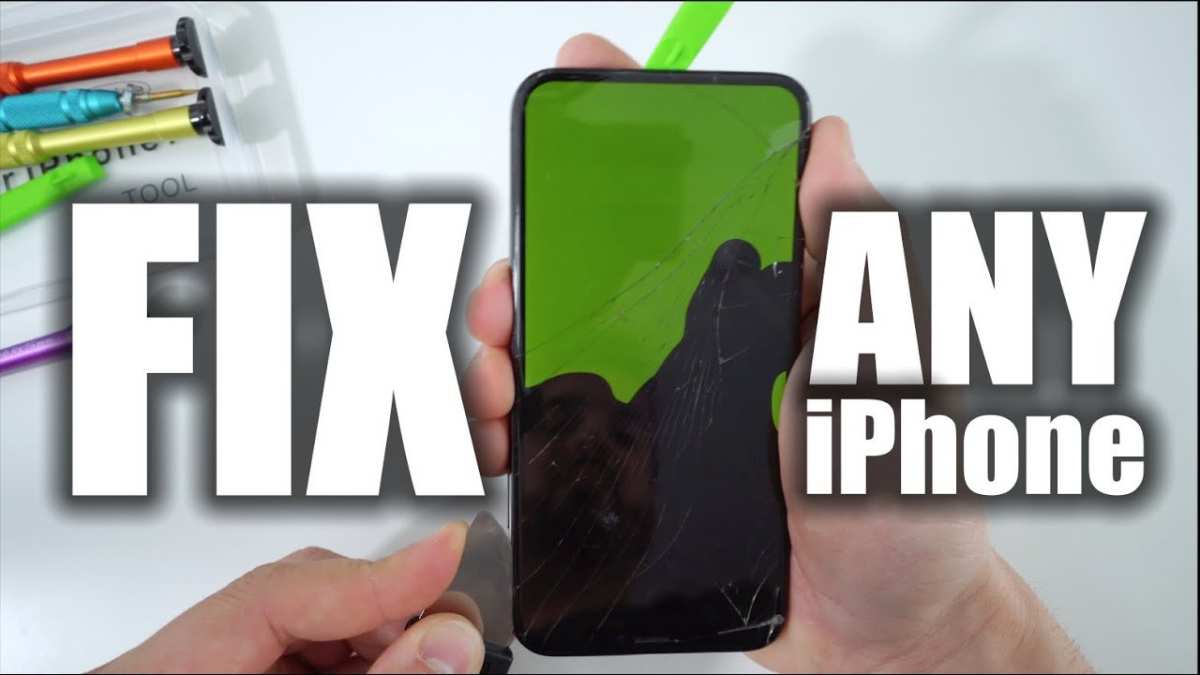
If your iPhone screen breaks, the quickest fix is replacing it either yourself or through a repair shop. **Knowing how to repair iPhone broken screen efficiently can save you time and money.** Many people hesitate because they fear causing more damage, but with the right tools and instructions, this task becomes manageable.
Understanding the steps involved makes the process less intimidating and ensures a successful repair.

How to Repair iPhone Broken Screen
When your iPhone screen cracks or gets damaged, it can be frustrating. The good news is that repairing a broken iPhone screen is something you can do yourself if you have the right tools, patience, and some basic knowledge. In this guide, we will walk you through everything you need to know about fixing your iPhone screen, from understanding the types of damage to choosing the right repair method. Whether you’re a beginner or someone with a bit of DIY experience, this article will help you make informed decisions to get your device looking and functioning like new again.
Understanding the Types of iPhone Screen Damage
Before starting any repair, it’s important to assess what type of damage your screen has sustained. The kind of damage determines the repair process, the tools you’ll need, and whether you should attempt fixing it yourself or seek professional help.
Cracked or Shattered Screen
This is the most common damage, often caused by accidental drops or knocks. The glass looks cracked, shattered, or spiderwebbed, but the LCD underneath might still be functional. Sometimes, only the glass is broken, and the LCD remains intact, which means the touch functionality might still work, but the visual clarity is reduced.
Unresponsive Touch Screen
Sometimes, even if the glass isn’t visibly damaged, the touch feature stops working correctly. This could be due to internal damage to the digitizer, the component responsible for touch sensitivity. Fixing this will generally involve replacing the digitizer assembly.
Black or Frozen Screen
If your screen shows a black display or freezes, it might be a problem with the LCD or display connector. In some cases, a simple restart can fix the issue, but persistent problems usually mean a screen replacement is necessary.
Tools and Supplies Needed for Repair
Having the right tools makes the repair process smoother and safer. Below is a list of essential tools and materials:
- Precision screwdriver set (including P2 Pentalobe and Phillips screwdrivers)
- Plastic opening tools and spudgers
- Suctions cup or screen removal tool
- Tweezers
- Adhesive strips or glue (for re-sealing)
- Replacement screen assembly (original or high-quality aftermarket)
- Antistatic wrist strap (optional but recommended)
- Small container for screws and tiny parts
Make sure to buy quality replacement parts from reputable suppliers to ensure the longevity and performance of your repair.
Step-by-Step Guide to Repair Your iPhone Screen
Performing your own screen repair can be straightforward if you follow the correct steps carefully. Here’s a detailed process you can follow:
Preparation and Safety
Before beginning, power off your iPhone completely to avoid any electrical issues. Work in a clean, well-lit area with a static-free environment. Gather all tools and parts beforehand to avoid interruptions during the process. Wearing an anti-static wrist strap can prevent static damage to internal components.
Removing the Broken Screen
- Remove the Pentalobe screws at the bottom of the device, near the charging port.
- Use a suction cup near the bottom edge of the screen and gently pull to create a small gap.
- Insert a plastic opening tool into the gap and carefully slide around the edges to loosen the adhesive. Be gentle to avoid damaging internal parts.
- Once the screen begins to lift, keep hold of the display cables connected at the top. Do not pull the screen away entirely yet.
- Disconnect the screen cables using a spudger or pry tool, typically located under the battery connector shield. This will free the broken screen from the device.
Replacing the Screen Assembly
- If your new screen comes with pre-installed components, you can skip to the next step. Otherwise, transfer necessary parts from the old screen, such as the home button, earpiece, or front camera, to the new assembly carefully.
- Reconnect the display cables securely to ensure proper functionality.
- Test the new screen before sealing everything back to check for proper display and touch response.
Reassembling Your iPhone
- Carefully align the new screen with the body of your iPhone, ensuring that all cables are tucked properly and not pinched.
- Press the display gently into place, and make sure the adhesive seals the device properly.
- Replace the Pentalobe screws at the bottom of the device.
- Power on your iPhone to verify that the display and touch functions work correctly.
Tips and Tricks for a Smooth Repair Process
– Always keep your screws organized, using a small container or magnetic mat, so you don’t lose any tiny parts.
– Handle the display cables with care; they are fragile and can tear easily.
– Use an anti-static wrist strap or work in a static-free environment to prevent damage.
– If you’re unsure about any step, watch tutorial videos or refer to detailed guides specific to your iPhone model.
– Consider practicing on an old or spare device if you’re new to DIY repairs.
When to Seek Professional Help
While DIY repair is rewarding, some situations call for professional assistance:
- If your screen is severely shattered, and small glass shards pose a risk.
- If the LCD or other internal components seem damaged beyond a simple screen replacement.
- After multiple DIY attempts, if your iPhone isn’t functioning properly.
- If you are uncomfortable performing delicate work or lack the necessary tools.
Opting for authorized service centers or professional repair shops ensures that your device gets the proper care and reduces the risk of further damage.
Preventing Future Screen Damage
To minimize the chances of your screen breaking again:
- Use a tempered glass screen protector for extra durability.
- Invest in a sturdy, shock-absorbent case.
- Avoid placing your phone somewhere it can fall or get knocked off easily, such as on the edge of tables.
- Handle your device carefully, especially when in crowded or unstable environments.
Taking these precautions helps extend the life of your iPhone and keeps your screen safe.
Cost Considerations and DIY Vs. Professional Repair
When deciding whether to repair your iPhone screen yourself or go to a professional, consider these factors:
| DIY Repair | Professional Repair |
|---|---|
| Lower cost, usually between $50-$150 depending on the model and parts | Higher cost, typically $100-$300 depending on the repair shop and warranty |
| Requires time, patience, and careful handling | Quick and reliable, ongoing warranty options available |
| Risk of accidental damage if not careful | Less risk, as technicians are experienced |
Deciding depends on your comfort level, experience, and available time.
By understanding each aspect of the repair process, from identifying damage to completing the fix, you can confidently tackle your iPhone screen repair. Remember, patience and attention to detail matter most—taking your time ensures the best results and helps keep your device in top shape.
Frequently Asked Questions
What are the key tools needed to replace an iPhone screen at home?
Replacing an iPhone screen requires several essential tools. You will need a small Phillips or P2 Pentalobe screwdriver, a plastic opening tool or pry tool, a suction cup, tweezers, and a Y-shaped or tri-point screwdriver for some models. Additionally, having a magnetic mat to organize small parts and a heat gun or iOpener can help soften adhesive. Using quality tools ensures safe removal of the broken screen and prevents further damage during the repair process.
Can I repair a cracked iPhone screen without professional help?
It is possible to fix a cracked iPhone screen on your own if you have patience and the right tools. Many repair kits include detailed step-by-step instructions. However, DIY repairs carry risks, such as damaging internal components or damaging the new screen during installation. If your phone is still under warranty or if you’re unsure about handling delicate parts, seeking professional repair services is often the safer choice to ensure the repair is done properly without voiding your warranty.
What should I do to prepare my iPhone before starting the screen replacement?
Before beginning the repair, back up all your important data to iCloud or a computer. Turn off your device completely to prevent short circuits. Remove any case or screen protectors to access the device more easily. Gather all necessary tools and work in a clean, well-lit area. It’s also helpful to organize the small parts you remove to ensure easy reassembly. Taking these precautions minimizes the risk of losing parts or causing additional damage during the repair process.
How can I ensure the new screen stays securely attached after replacement?
Apply the correct amount of high-quality adhesive around the edges of the new screen. Press the display firmly into place and hold it for a few minutes to ensure proper adhesion. Some repairs may require using a specialized adhesive or sealing strip designed for iPhones. Afterward, connect the display carefully, and avoid pressing on the screen excessively until the adhesive has set fully. Proper bonding guarantees a secure fit and maintains the device’s water resistance, if applicable.
Final Thoughts
To repair iPhone broken screen, gather the necessary tools and follow a step-by-step guide carefully. Turn off your device and remove the SIM card to avoid damage. Carefully detach the screen and replace it with a new one, ensuring connections are secure.
Practicing patience and precision is essential for a successful repair. If unsure, consult professional repair services to prevent further damage. Knowing how to repair iPhone broken screen empowers you to fix your device efficiently and save costs.
