

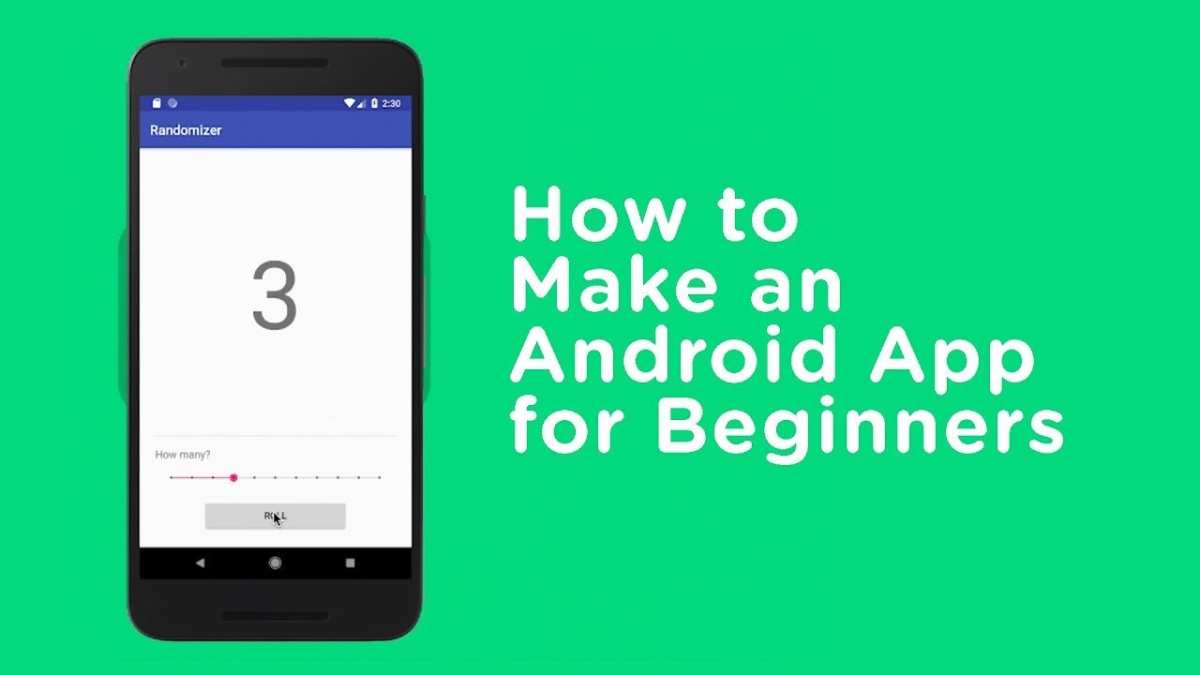
To make an app with Android, start by learning basic programming with Java or Kotlin. **Set up Android Studio, the official development environment, and follow tutorials to build simple projects.** Once you understand the foundation, design your app’s layout and add features gradually. With patience and practice, creating an app becomes an achievable goal.

How to Make an App with Android: A Complete Guide for Beginners
Creating an app on Android might seem complicated at first, but once you understand the steps involved, it becomes an exciting and manageable project. Whether you want to build a simple game, a useful tool, or a social app, this guide will walk you through each stage of making an Android app from scratch. We will cover everything from setting up your workspace to publishing your app on Google Play, all in a clear and easy-to-understand way.
Getting Started: Understanding Android App Development
Before diving into coding, it’s important to grasp some basic concepts about Android development.
What is Android Development?
Android development involves creating applications specifically for Android devices such as smartphones and tablets. These apps are built using programming languages like Java or Kotlin and run on Android’s operating system.
Why Choose Android?
Android powers a large percentage of mobile devices worldwide. Making apps for Android opens your work to a broad audience, and Google provides many tools and resources to assist developers.
Necessary Tools for Android App Development
To create an Android app, you’ll need the following:
- Android Studio: The official development environment for Android, available for free.
- Java or Kotlin: Programming languages used to write Android apps.
- Device or Emulator: A real Android device or an emulator to test your app.
Setting Up Your Development Environment
The first practical step is installing the right software.
Download and Install Android Studio
– Visit the official Android Developer website.
– Download the latest version compatible with your operating system.
– Follow the installation prompts to set up Android Studio on your computer.
– During installation, ensure you install SDK components, as they are necessary for app development and testing.
Configuring Android Studio
– Launch Android Studio.
– Create a new project by selecting “Start a new Android Studio project.”
– Choose a project template that suits your app idea (e.g., Empty Activity).
– Name your project, select a save location, and choose Kotlin or Java as your language.
– Set the minimum Android SDK version to define which devices can run your app.
Designing Your App: Planning and Layout
A well-designed app improves user experience and makes your app more appealing.
Define Your App’s Purpose and Features
– Write down what your app will do.
– Identify key features such as buttons, menus, and screens.
– Think about how users will navigate through the app.
Create a Wireframe or Sketch
– Draw rough sketches of each screen.
– Outline where buttons, text fields, and images will go.
– Use simple tools or pen and paper to visualize your app’s layout.
Design Your App Layouts with XML
Android uses XML files to define how screens look.
– Open the res/layout directory in Android Studio.
– Modify the activity_main.xml file.
– Use drag-and-drop tools or write XML code directly.
– Arrange elements like TextViews, Buttons, and ImageViews.
For example, a simple layout with a button and a text label might look like this:
“`xml
“`
Developing the Core Functionality
Now that your app layout is ready, it’s time to add behavior and make it interactive.
Writing Action Code in Kotlin or Java
– Open your MainActivity file.
– Find or create references to your UI elements.
– Attach listeners to respond when users interact.
For instance, in Kotlin:
“`kotlin
val button = findViewById
button.setOnClickListener {
textView.text = “Button clicked!”
}
“`
This code waits for the user to press the button, then updates the text label.
Implementing Basic Features
– Navigation between screens using intents.
– Showing messages or alerts.
– Using device features like camera or GPS, if needed.
Testing Your App Thoroughly
Before sharing your app, testing is crucial to find and fix issues.
Using the Android Emulator
– Create a virtual device with different configurations.
– Run your app on the emulator to see how it functions.
– Test on various screen sizes and Android versions.
Testing on a Real Device
– Enable developer options on your Android device.
– Connect your device via USB.
– Allow USB debugging.
– Run your app directly on your device for real-world testing.
Debugging Common Issues
– Look at logcat logs for errors.
– Use breakpoints to pause and examine your code.
– Fix layout or functionality bugs as they appear.
Finalizing and Publishing Your App
Once your app works well, it’s time to prepare it for release.
Building a Release Version
– Generate a signed APK or App Bundle through Android Studio.
– Create a keystore file and sign your app with it.
– Optimize your app’s size and performance.
Publishing on Google Play Store
– Set up a developer account on Google Play Console.
– Prepare app listing details: title, description, screenshots.
– Upload your APK or App Bundle.
– Submit your app for review.
Updating Your App
– Use version codes to manage updates.
– Address user feedback and fix bugs.
– Release new versions with improvements.
Additional Tips for Success
– Keep your code organized and comment your work.
– Follow Android design guidelines for better user experience.
– Regularly test your app on multiple devices.
– Stay updated with new Android features and best practices.
– Engage with developer communities for support and inspiration.
Making an Android app involves careful planning, designing, coding, and testing. With patience and practice, you can create an app that is not only functional but also enjoyable for users. Remember, each step teaches you something new, and the more you experiment, the better your skills will become. Happy coding!
Frequently Asked Questions
What are the initial steps to start developing an Android application?
Begin by setting up your development environment. Download and install Android Studio, which is the official IDE for Android development. Familiarize yourself with its interface and features. Next, create a new project by selecting a template that fits your app idea. Define your app’s structure, including layouts and essential components. Before coding, plan your app’s functionality and interface to streamline the development process.
How do I design the user interface for my Android app?
Use Android Studio’s layout editor to build your app’s interface visually or write the XML layout files directly. Focus on creating a clean, user-friendly design that aligns with your app’s purpose. Use various layout managers like ConstraintLayout for flexible arrangements. Incorporate interactive elements such as buttons, text fields, and images, ensuring they are accessible and easy to use. Continuously test your UI on different device screens to confirm compatibility.
What programming language should I use to develop my Android app?
You can choose between Java and Kotlin, with Kotlin now being the recommended language by Google for Android development. Kotlin offers modern syntax and improved safety features, making your coding process more efficient. Whichever language you select, ensure you understand the core concepts and best practices to write clean, maintainable code. Use official documentation and online tutorials to enhance your learning.
How can I test my Android app effectively?
Test your app on multiple physical devices and emulators to identify and fix issues early. Use Android Studio’s built-in testing tools, such as unit tests for individual components and instrumentation tests for UI interactions. Regularly run your app during development to check for bugs, and pay attention to performance and responsiveness. Incorporate user testing to gather feedback on usability, which helps refine the overall experience.
What steps should I follow to publish my Android app on the Google Play Store?
Prepare your app for release by creating a signed APK or App Bundle through Android Studio. Ensure your app complies with Google Play’s policies and guidelines. Write a clear and engaging app description, select appropriate keywords, and add high-quality screenshots. Set up your developer account on the Google Play Console, upload your app, and fill out all required information. Once submitted, monitor your app’s performance and respond to user reviews to foster growth and improvements.
Final Thoughts
To make an app with android, start by planning your app’s features and layout. Download Android Studio, set up your development environment, and learn basic coding in Java or Kotlin. Build your app’s user interface and connect it with your code through simple functionalities. Test your app on different devices to ensure smooth performance. By following these steps, you can efficiently create an app with android and bring your ideas to life.
