How To Remove Battery From Motorola Android Effectively
To remove the battery from a Motorola Android device, start by powering off the phone and carefully opening the back cover. **Gently lift the battery from the designated notch or edge.** Knowing how to remove battery from Motorola Android helps you perform maintenance or resolve issues safely.
Ensure you work on a clean, flat surface and avoid using excessive force. Once the battery is out, replace or service it as needed. This simple process keeps your device functioning smoothly.

How to Remove Battery from Motorola Android
Removing the battery from your Motorola Android device might seem intimidating, but with the right steps and tools, it’s a straightforward process. Whether you’re replacing a faulty battery, troubleshooting power issues, or upgrading to a new one, understanding how to safely remove the battery is essential. In this guide, we’ll cover everything you need to know, from preparing your device to completing the removal process safely.
Understanding Your Motorola Android Device
Before diving into the removal steps, it’s helpful to understand the type of Motorola Android you own. Different models have varying designs, with some featuring removable batteries and others designed with sealed, non-removable batteries.
- Removable Battery Models: Devices that allow users to easily take out and replace the battery without additional tools.
- Non-Removable Battery Models: Devices with sealed backs that require special tools or professional help for battery removal.
Knowing your device’s design will help determine the correct approach and whether you need additional tools or assistance.
Gathering the Necessary Tools
To safely remove the battery from your Motorola Android, you’ll need some basic tools. Having everything prepared before starting makes the process smoother.
- Small Phillips screwdriver: For removing screws if your device has a back cover secured by screws.
- Plastic opening tools or pry tools: To gently lift the back cover or battery without damaging the plastic or internals.
- Sim card ejection tool or a paperclip: To remove the SIM card tray if it obstructs the battery access.
- Anti-static wrist strap (optional): To prevent static electricity from damaging internal components.
Ensure you work on a clean, flat surface and have sufficient lighting to see small parts clearly.
Preparing Your Device for Battery Removal
Safety is a priority when handling electronic devices. Follow these steps to prepare your Motorola Android for battery removal:
- Power down your device completely. Press and hold the power button, then select “Power off” or “Shutdown.”
- Remove the SIM card tray using the ejector tool or paperclip. This step prevents any damage or interference during disassembly.
- Discharge residual electricity. If your device has been used recently, it’s good to wait a few minutes to let any remaining charge dissipate.
- Gather all necessary tools within reach to avoid unnecessary delays during the process.
Following these safety steps helps prevent damage and ensures your device remains in good condition throughout the process.
Removing the Back Cover
The method to access the battery depends heavily on whether your Motorola device has a removable back cover or a sealed one.
For Devices with Removable Back Covers
Many older Motorola models feature removable backs that can be taken off easily.
- Locate the small notch or indentation along the edge of the back cover.
- Insert your fingernail or a plastic opening tool into the notch gently.
- Carefully pry and lift the back cover away from the phone, working your way around the edges with the tool if needed.
- Set the back cover aside in a safe place.
For Devices with Sealed, Non-Removable Backs
Modern Motorola smartphones often feature sealed backs to maintain water resistance.
- Use a plastic pry tool or opening pick to create a gap between the back cover and the device frame at a corner or along an edge.
- Gently work your way around the edge, applying slight pressure to loosen the adhesive or clips holding the back in place.
- Be cautious to avoid damaging internal components or cracking the glass.
- In some cases, heating the device slightly can soften the adhesive, making it easier to lift the back cover. Use a heat gun or hairdryer on low settings, focusing on the edges for about 30 seconds.
Remember, if your device is under warranty or you feel uncomfortable with this step, it’s best to have it handled by a professional.
Accessing the Battery
Once you’ve removed the back cover, you’ll see the internal components of your Motorola device.
Locating the Battery
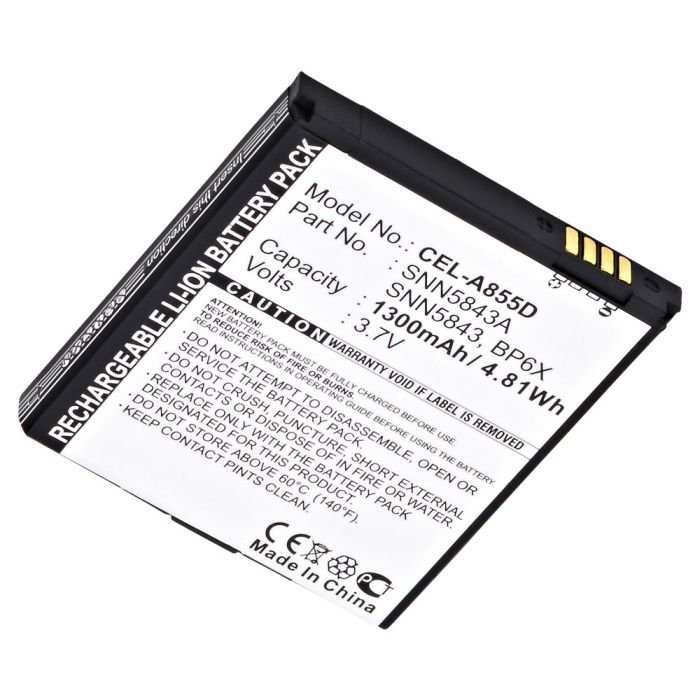
Typically, the battery is a large, rectangular component with connectors attached to the motherboard.
- Identify the battery, usually marked with voltage and capacity ratings.
- Check for any screws, clips, or adhesive holding the battery in place.
Disconnecting the Battery
Before removing the battery, you need to disconnect it from the device.
- Locate the battery connector, which links the battery to the motherboard.
- Use a plastic pry tool to gently lift the connector from its socket. Be cautious not to damage the socket or surrounding components.
- If the connector is secured with a clip, carefully release it without applying excessive force.
Handling Adhesives or Clips
Some batteries are secured with adhesive or clips.
- If adhesive is present, gently heat the area with a heat gun or hairdryer for a few seconds to soften it.
- Use a plastic pry tool to carefully lift the battery from the device. Work slowly to avoid puncturing or damaging the battery.
- For clip-secured batteries, gently unclip them using your pry tool or your fingers if accessible.
Remember, batteries contain chemicals that can be hazardous if punctured or damaged. Handle with care.
Removing the Battery Safely
After disconnecting, it’s time to remove the battery itself.
- Gently lift the battery from its compartment, starting from one corner and working across carefully.
- If the battery sticks, avoid forcing it. Instead, re-apply gentle heat or use a softer pry tool.
- Dispose of the old battery responsibly, following local regulations. Do not throw batteries in regular trash.
Replacing or Reinstalling the Battery
If you’re installing a new battery or reassembling your device:
- Place the new or existing battery into the compartment, ensuring it fits snugly and correctly aligned with contacts.
- Reconnect the battery connector securely to the motherboard socket.
- Check that all clips or adhesive strips are properly in place to prevent movement.
- If you heated the device earlier, ensure the area has cooled before sealing the back cover.
Reassembling Your Motorola Device
Put everything back together carefully:
- Align the back cover with the device frame.
- Press gently around the edges, ensuring clips snap into place or adhesive re-seals.
- If you removed screws initially, screw them back in securely but do not overtighten.
- Reinsert the SIM card tray.
- Power on your device to verify that it functions properly after reassembly.
Final Tips and Precautions
– Always handle internal components with care, avoiding static electricity by grounding yourself.
– Use the proper tools to prevent damage to your device.
– If you encounter resistance or are unsure about any step, consult a professional technician.
– Consider replacing the battery in a clean, dust-free environment to avoid debris inside your device.
– Properly dispose of your old or damaged battery according to local regulations to protect the environment.
Understanding how to remove the battery from your Motorola Android device empowers you to troubleshoot or upgrade your phone confidently. Whether your device has a removable or sealed battery, taking your time and following safety precautions guarantees the best outcome. Remember, patience and the right tools are key to completing this task safely and effectively.
Frequently Asked Questions
What tools do I need to remove the battery from my Motorola Android phone?
To remove the battery from your Motorola Android device, you’ll typically need a small Phillips-head screwdriver and a plastic opening tool or prying tool. These tools help you open the back cover safely without damaging the device. If your phone has a removable back cover, you might not need any tools; simply use your fingers to pry the cover off. Always make sure to power off your device before attempting to remove the battery.
How can I safely open the back cover of my Motorola Android phone?
Begin by turning off your phone and removing any SIM or memory cards. Use a plastic opening tool to gently work around the edges of the back cover, inserting it into the seam and carefully prying it open. Apply gentle pressure to avoid cracking the cover or damaging internal components. If your model has screws securing the back, remove them with a Phillips-head screwdriver before prying the cover off.
What steps should I follow after removing the back cover to take out the battery?
Once the back cover is removed, locate the battery. Look for any connectors or clips holding it in place. Carefully disconnect any visible cables or connectors attached to the battery using a plastic tool to avoid damaging them. If the battery is secured with adhesive, gently lift it from the bottom edge, applying even pressure. Handle the battery with care to prevent punctures or damage.
Are there any precautions I should take during battery removal?
Always ensure your device is powered off before starting. Use appropriate tools to avoid damaging the phone’s internal parts. Handle the battery carefully and avoid puncturing or bending it. If the battery is glued in, do not force it out excessively, as this could cause internal damage. Work in a clean, static-free environment and consider wearing an anti-static wrist strap for added safety.
How can I reinstall the battery and close my Motorola phone after removal?
Align the new or existing battery with the connectors and gently reconnect any cables. Place the battery back into its compartment, ensuring it sits securely. If you removed screws or clips, reassemble the back cover and tighten the screws appropriately. Power on the device to check if it recognizes the battery. Ensure all components are properly seated before finalizing the reassembly.
Final Thoughts
To remove the battery from a Motorola Android phone, begin by powering off the device. Use a small opening tool to carefully pry open the back cover, ensuring you do not damage the clips. Once the cover is off, gently disconnect the battery connector and lift the battery out.
Remember, patience is key during this process. Following these steps, you will learn how to remove battery from Motorola Android safely and efficiently.
Related posts

how do you text a gif android
If you've ever tapped around your Android keyboard looking for a way to send a GIF and ended…

how to enable wifi calling cricket on android
You’re staring at your Android settings, searching for the Wi‑Fi Calling toggle, and it’s just not there. If…

how to disable system update in android
So you want to stop those Android system update notifications, or maybe you're worried a new version will…