How To Make A Sticker From A Photo On Android Simplified
To make a sticker from a photo on Android, start by selecting a photo and using a photo editing app. **The process involves cropping and removing the background to create a clean, sticker-ready image.** Once you have your image prepared, you can add it to messaging apps as a custom sticker.
Many apps simplify this task, guiding you step-by-step. Just choose a photo, edit it, and save it as a sticker. Making your own stickers becomes quick and fun with these easy methods.

How to Make a Sticker from a Photo on Android
Creating your own stickers from photos on Android devices is a fun and creative way to personalize your chats and social media posts. Whether you want to turn a cute picture of your pet, a funny selfie, or a memorable moment into a sticker, this guide walks you through each step in detail. You can do this easily by using various apps and online tools right from your Android smartphone. Let’s explore how to make a sticker from a photo on Android, making sure every step is simple and clear.
Understanding Why Making Stickers from Photos Is Useful
Before diving into the process, it’s helpful to understand the benefits of creating custom stickers.
- Personalization: Use your own photos to make unique stickers that reflect your personality and style.
- Creativity: Design funny, cute, or meaningful stickers to share with friends and family.
- Cost-effective: No need to buy premade stickers; make your own for free or at a low cost.
- Fun activity: It’s an engaging way to spend time on your Android device while exploring design options.
Making stickers adds a special touch to your messaging experience, making conversations more lively and expressive.
Choosing the Right Photo for Your Sticker
The first step in creating a sticker is selecting a good photo. Here are some tips to pick the best image:
- Clear Background: Choose photos with simple or plain backgrounds for easier removal later.
- Focus on Subject: Make sure the main subject is centered and clearly visible.
- Good Lighting: Photos with bright, even lighting help define the subject better.
- High Resolution: Use high-quality images to avoid pixelation when resizing or editing.
You can either take a new photo or select one from your existing gallery. If the image has a complex background, don’t worry—there are ways to remove it easily in apps.
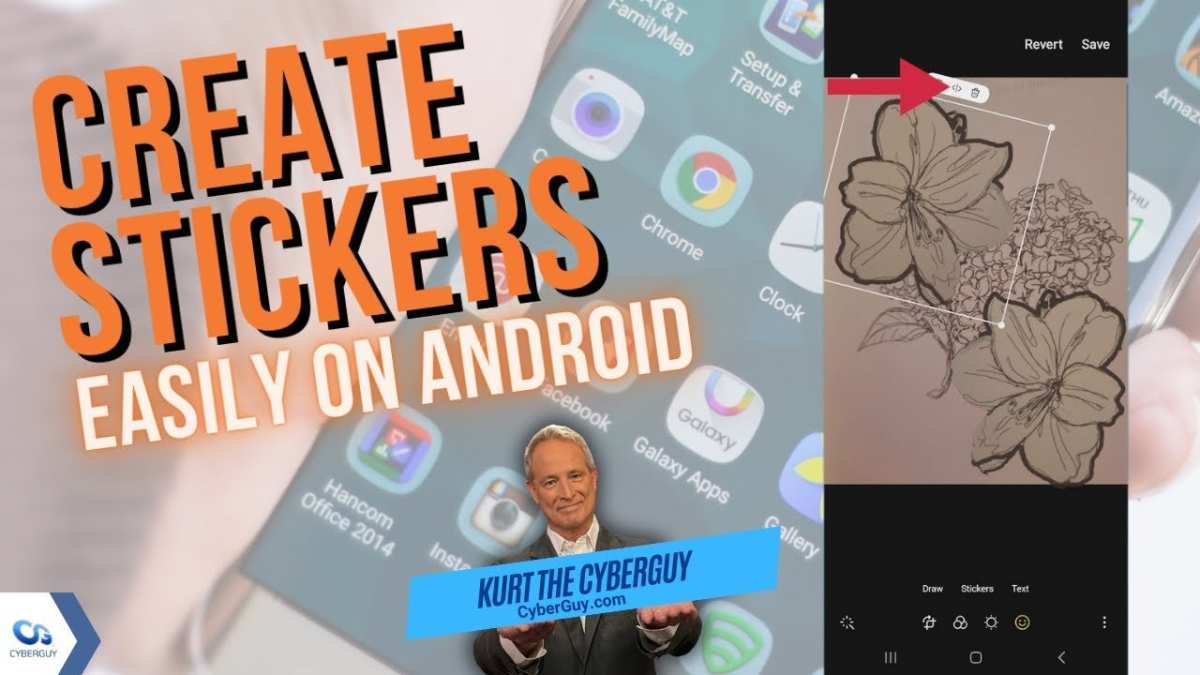
Using Apps to Create Stickers from Photos
There are several user-friendly apps compatible with Android devices that allow you to turn photos into stickers. Here are some of the popular options:
Sticker Maker for WhatsApp
This app is specifically designed to help you craft personalized stickers for WhatsApp. It offers an easy-to-use interface where you can cut out parts of your photo and save them as stickers.
- Download the app from Google Play Store.
- Open the app and create a new sticker pack.
- Select a photo from your gallery.
- Use the built-in tools to crop, erase, or cut out specific parts of the image.
- Save the sticker and add it to your pack.
- Repeat for other photos and share your custom stickers with friends.
Photo Editor Apps with Sticker Features
Apps like PicsArt, Adobe Photoshop Express, and Snapseed also support advanced editing tools to isolate your subject and turn it into a sticker. Here’s a general process:
- Download and open your preferred photo editor.
- Select your photo and use selection tools such as lasso, magic wand, or cutout feature to isolate the subject.
- Remove or erase the background to make your sticker transparent.
- Save the edited image in PNG format to preserve transparency.
- Use a sticker maker app or WhatsApp to import and organize these images as stickers.
Online Tools for Making Stickers
If you prefer working on a computer or want a quick solution, online tools like remove.bg or Canva can help:
- Visit remove.bg and upload your photo to remove the background automatically.
- Download the transparent PNG file.
- Transfer the image to your Android device via email or cloud storage.
- Use a sticker app to import the image and save it as a sticker.
Online tools are fast and effective, especially if you’re not comfortable with complex editing apps.
How to Cut Out and Remove Backgrounds from Photos on Android
Making a perfect sticker often involves removing the background to highlight the main subject. Here’s a detailed guide:
Using Background Removal Apps
Several apps specialize in background removal, such as Background Eraser, Magic Eraser, or PixCut.
- Download and open your preferred background removal app.
- Select the photo you want to edit.
- Use the auto or manual tools to erase the background. Auto tools detect edges and remove backgrounds quickly, while manual tools allow more control.
- Zoom in for detailed areas to get a clean cutout.
- Preview the result, then save the image in PNG format to keep transparency.
Tips for Perfect Background Removal
- Zoom in when erasing edges for precision.
- Use the undo feature frequently to correct mistakes.
- Save your work frequently to avoid losing progress.
- Adjust the contrast or brightness before removal for better edge detection.
Saving and Exporting Your Created Sticker
Once you’ve edited the photo and removed the background, it’s time to save your sticker:
- Ensure the image is saved in PNG format to preserve transparency.
- Name your sticker file for easy identification later.
- Transfer the PNG files to your preferred messaging app or sticker-making app.
Most sticker apps let you organize your stickers into packs for quick access during chats.
Adding Stickers to Messaging Apps
To use your custom stickers, follow these simple steps:
- Open the messaging app, such as WhatsApp or Telegram.
- Navigate to the stickers section or add a new sticker pack.
- Select the option to import or add new stickers.
- Locate your saved PNG files and import them into the app.
- Organize your stickers into packs for easy access.
Now, you can send your personalized stickers in conversations, making your chats more fun and expressive.
Additional Tips for Creating Stunning Stickers
To enhance your sticker-making experience, consider these tips:
- Use a plain background when taking photos to make editing easier.
- Experiment with different shapes and sizes for your stickers.
- Add text or effects to make your stickers more eye-catching.
- Keep stickers simple and recognizable for better visibility on small screens.
The more you play around with your images, the better your stickers will turn out.
Final Thoughts on Making Stickers from Photos on Android
Creating personalized stickers from your photos on Android is a straightforward process when you have the right tools and techniques. Remember to choose clear, high-quality images, remove the backgrounds carefully, and save your stickers in the correct format. With a little practice, you’ll be able to design fun, meaningful stickers that add a personal touch to your messaging. Whether you’re using dedicated sticker maker apps or online background removal tools, the possibilities are endless. Happy creating!
Frequently Asked Questions
What tools can I use on Android to create a sticker from a photo?
You can use various apps available on the Google Play Store, such as Sticker Maker, PicsArt, or Background Eraser. These tools allow you to cut out the main subject from your photo, resize it, and customize it to create a personalized sticker easily.
How do I remove the background from a photo on my Android device?
Most photo editing apps like Background Eraser or Pixlr let you manually or automatically delete backgrounds. Simply upload your photo, select the background removal tool, and carefully erase the unwanted areas. Save the transparent image to use as a sticker.
What is the best way to add text or decorations to a photo sticker on Android?
Apps like Canva or PicsArt offer editing features that include adding text, stickers, or drawing on your images. After isolating your photo as a sticker, open it in these apps and add your desired decorations or text to personalize your sticker further.
Can I create a sticker from a live photo or video on Android?
Yes, some apps support converting live photos or short videos into stickers. You typically select the frame or clip you want, extract the image, and then edit it to remove backgrounds or add effects. Check app instructions for specific features related to live content.
How do I save and use my custom-made stickers in messaging apps on Android?
After creating your sticker, save it as a PNG file with a transparent background. Many sticker maker apps allow exporting directly to your device’s gallery. Then, open your messaging app, access the sticker section, and import your new creations to use in chats.
Final Thoughts
In conclusion, making a sticker from a photo on Android is straightforward using various apps. Choose an app that suits your needs, crop your photo, and remove the background if necessary. Save your image as a sticker and enjoy customizing your messages. The process is simple, quick, and allows for creative expression. Whether for fun or personal projects, creating your own stickers enhances your communication.
Related posts

how to remove search bar from home screen android
So you just want the search bar gone. That little Google pill sitting on your home screen, taking…

how to send a gif in a text on android
Sending a GIF in a text on Android sounds simple, but the exact steps change depending on your…

how to enable push notifications android
You're staring at your Android phone, waiting for a notification that never comes. Maybe it's a message from…