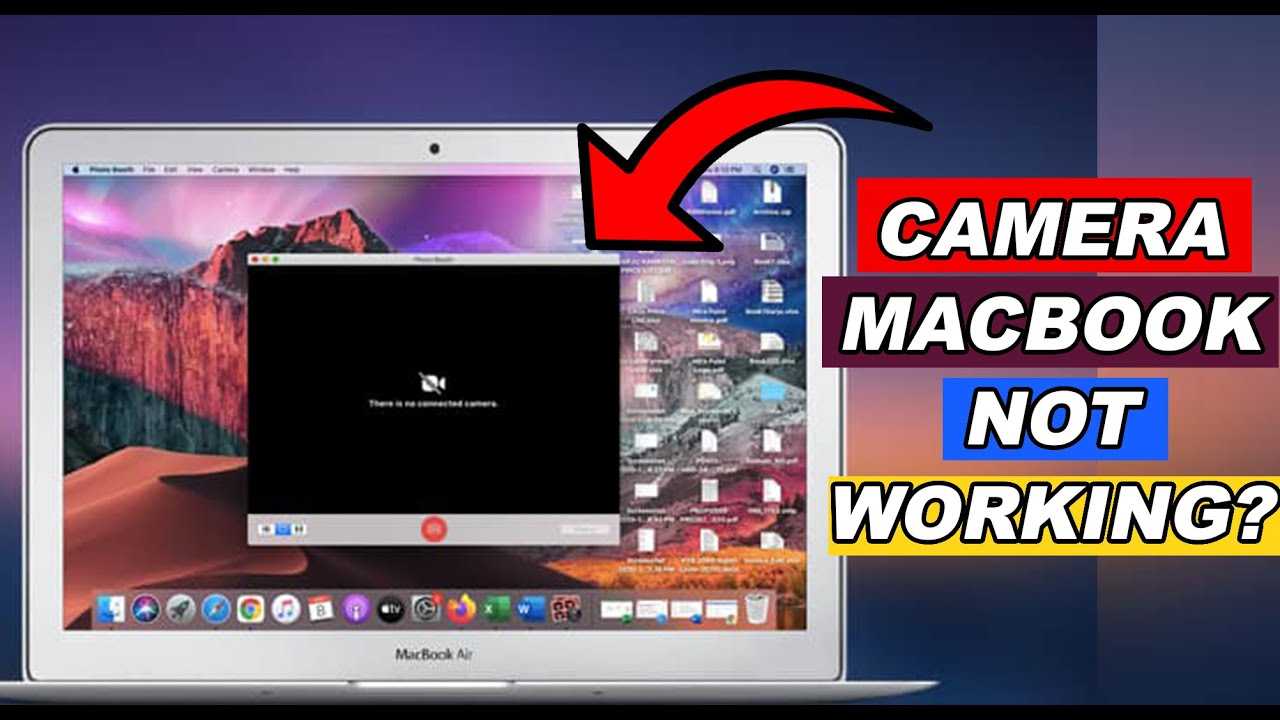
How To Fix Macbook Camera Not Working Effectively
If your MacBook camera suddenly stops working, don’t panic—you’re not alone, and there are simple steps to get it back in action quickly. A quick restart, checking permissions, or updating your software can often resolve the issue. If those don’t work, more in-depth troubleshooting like resetting the SMC or checking for hardware problems might be needed.
To fix a MacBook camera not working, start by closing all apps that use the camera and restarting your Mac. Ensure your system is up-to-date and check that camera permissions are correctly enabled for apps. If issues persist, resetting the SMC or PRAM, or consulting an Apple technician might be necessary.
A malfunctioning camera can be frustrating, especially when you rely on it for video calls or recording. Often, the problem is software-related and can be fixed with a few quick troubleshooting steps. Sometimes, hardware issues are to blame, but most problems are solvable without needing repairs. This guide will walk you through the best methods to diagnose and fix your MacBook’s camera, so you can get back to your calls and recordings without hassle.

How to Fix MacBook Camera Not Working
Identify the Reason Behind the Camera Issue
Before fixing your MacBook camera, understand why it’s not working. Common causes include software glitches, permission problems, outdated system software, or hardware malfunctions. Checking the root problem helps you choose the right solution quickly.
Check for Software Updates
Keeping your MacBook updated is essential for smooth camera performance. Navigate to the Apple menu and select System Preferences. Then click Software Update. Install any available updates to fix bugs that might be affecting your camera.
Restart Your MacBook
Sometimes, a simple restart can fix camera issues caused by temporary software hiccups. Save your work, click the Apple menu, and choose Restart. After rebooting, test your camera again to see if it works.
Close Conflicting Applications
Other apps might use the camera, causing conflicts. Check if any applications are running that could be preventing camera access. Quit all apps that may be using the camera, like FaceTime or Zoom, then reopen your desired app to test the camera.
Check Camera Permissions
Your MacBook controls which apps can access the camera. Go to System Preferences and select Security & Privacy. Click on the Privacy tab, then choose Camera. Ensure that the toggle next to your app is turned on so it can use the camera.
Reset the MacBook SMC (System Management Controller)
Resetting the SMC can fix hardware-related camera issues, especially if the camera indicator lights up unexpectedly or behaves abnormally. To reset the SMC:
- Shut down your MacBook.
- Connect your MacBook to a power source.
- Press and hold the Shift + Control + Option keys along with the Power button for about ten seconds.
- Release all keys and turn on your MacBook.
Test the camera to see if it functions properly.
Reset the MacBook NVRAM (Non-Volatile Random-Access Memory)
NVRAM stores settings related to hardware components, including the camera. Resetting NVRAM may resolve camera issues:
- Shut down your MacBook.
- Turn it back on and immediately press and hold Option + Command + P + R.
- Keep holding these keys for about twenty seconds, then release.
Check if the camera starts working after this reset.
Test the Camera in Different Apps
Verify whether the issue persists across various applications. Open apps like Photo Booth, FaceTime, or Skype to test the camera. If it works in some apps but not others, the problem may be app-specific.
Check for Hardware Problems
If none of the above steps work, there might be a hardware issue. Inspect your MacBook for physical damage around the camera area. If your MacBook is under warranty, contact Apple Support for repair options.
Use External Cameras as a Temporary Solution
In case your built-in camera is permanently malfunctioning, connect an external USB camera. This allows you to continue video calls and recordings until the internal camera is repaired.
Consult Apple Support or Visit a Service Center
If you’ve tried all the solutions without success, it may be time to seek professional help. Apple technicians can diagnose hardware problems that aren’t fixable through software troubleshooting. Schedule a repair appointment through the Apple Support website or visit an authorized service provider.
Prevent Future Camera Issues
To avoid future problems, keep your system updated regularly. Avoid installing untrusted applications that ask for camera access. Always shut down your MacBook properly and handle it carefully to prevent physical damage.
Additional Tips for Troubleshooting Camera Problems
- Disconnect any external devices that might interfere with camera functions.
- Check your internet connection if you’re experiencing issues with video calls.
- Ensure your MacBook has sufficient storage space, as low storage can affect system performance.
- Review recent software installs or updates that might have impacted camera functionality.
Summary: Key Steps to Fix Your MacBook Camera
| Step | Action |
|---|---|
| 1 | Update macOS to the latest version |
| 2 | Restart your MacBook |
| 3 | Close conflicting apps and check permissions |
| 4 | Reset SMC and NVRAM |
| 5 | Test in different applications |
| 6 | Consult Apple Support if hardware issues are suspected |
By following these detailed steps, you can identify and resolve most MacBook camera problems effectively, restoring your device’s ability to video chat, record, and take photos seamlessly.
Fix- Camera Not Working on MacBook Pro/Air M1 [macOS Monterey]
Frequently Asked Questions
How can I check if the camera driver is causing the issue?
Start by opening the System Report on your MacBook and selecting the Camera section to see if the system recognizes the device. If the camera driver is outdated or corrupted, updating macOS can often resolve the problem. You can also visit the App Store to look for any available updates that might improve hardware compatibility.
What steps should I take if the camera access permissions are restricted?
Navigate to System Preferences and select Security & Privacy. Click on the Privacy tab and then choose Camera from the sidebar. Ensure that the applications you want to use the camera with have the necessary permissions enabled. Adjust these settings if needed, then restart your MacBook to apply changes.
How do I determine if third-party software is interfering with my camera?
Check if any third-party apps running in the background might conflict with the camera. Boot your MacBook into Safe Mode by restarting and holding the Shift key until the login window appears. Test the camera in Safe Mode; if it works correctly, uninstall or disable recently added software to isolate the cause.
What can I do if the camera is physically blocked or damaged?
Inspect the camera lens for dirt, dust, or physical obstructions. Clean the lens gently with a microfiber cloth and ensure nothing is covering it. If you notice any physical damage or if cleaning doesn’t help, visit an authorized service center to have the camera inspected or replaced.
Are there any network-related issues that could affect the camera functionality?
Certain applications, especially video conferencing tools, rely on a stable internet connection. Make sure your Wi-Fi or Ethernet connection is active and strong. Restart your router if needed, and verify that no firewall or security software blocks camera access during online meetings or app usage.
Final Thoughts
To fix MacBook camera not working, start by restarting your device to resolve temporary glitches. Ensure your software is up to date, as updates often fix camera-related issues. Check app permissions and verify the camera is allowed access. If problems persist, reset the SMC or NVRAM to address hardware settings.
In summary, addressing software updates, permissions, and hardware resets provides practical solutions for fixing your MacBook camera not working. These steps help restore camera functionality quickly and effectively.
Related posts

New Iphone Setting Up: A Complete Guide For Beginners
**To set up a new iPhone quickly, follow a few simple steps to get started right away.** When…
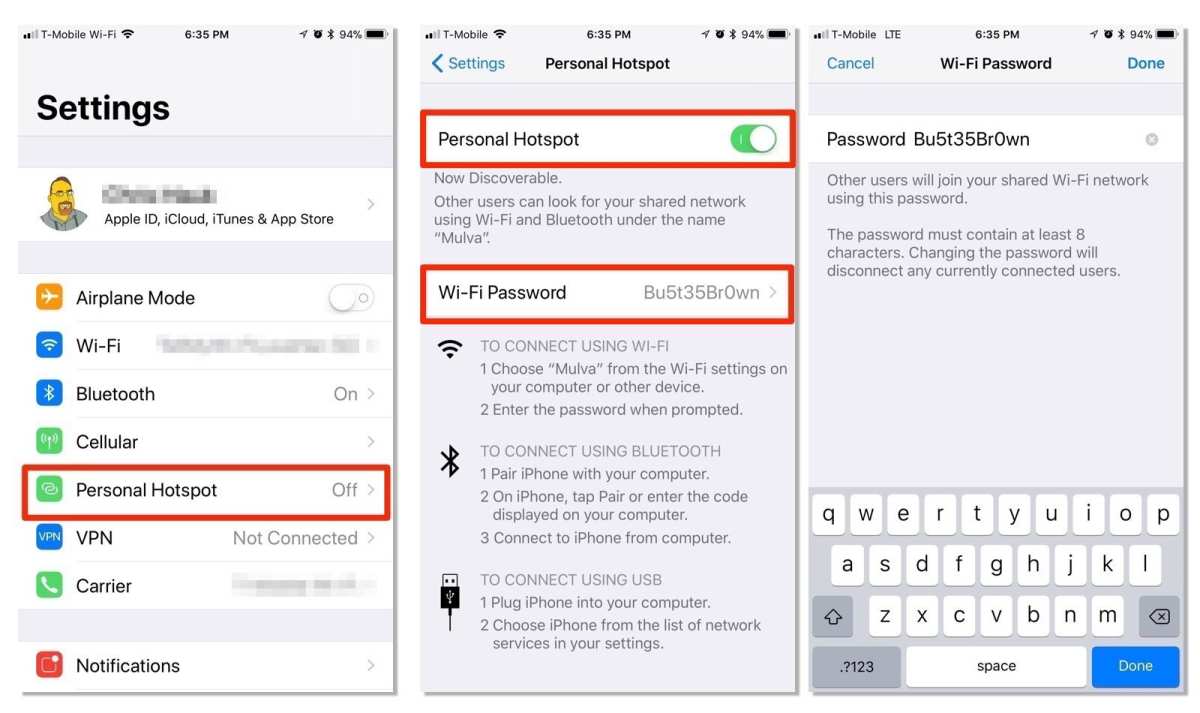
Iphone Setting Up Hotspot: Easy Steps To Connect Your Device
**To set up your iPhone as a hotspot, simply turn on Personal Hotspot in your settings.** If you’re…
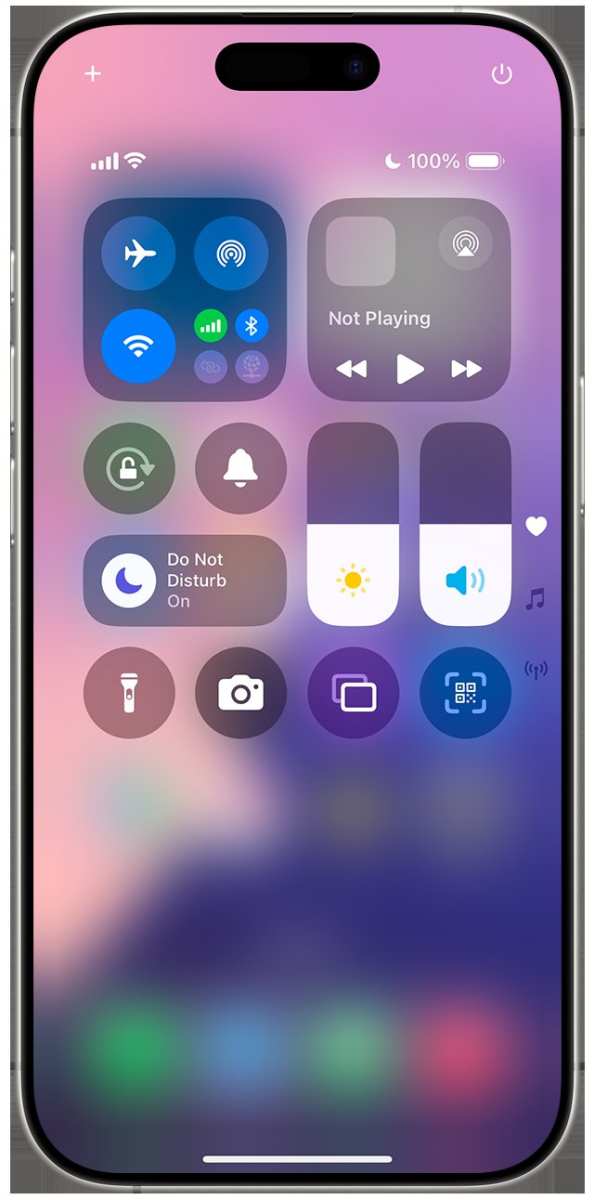
Effective Guide To The Do Not Disturb Iphone Setting
The ‘do not disturb iPhone setting’ instantly silences notifications, giving you peace when needed. If you want your…