How to Deploy Windows 11: A Comprehensive Guide

Deploying Windows 11 is more than a simple installation — it’s your gateway to a refined interface, improved security, and better productivity. Whether you’re upgrading a single home PC or rolling out the OS across an organization, a clear, step-by-step approach eliminates guesswork and reduces downtime. This guide walks through every critical phase: checking compatibility, preparing backups, choosing the best installation method, handling post-setup configuration, and troubleshooting common roadblocks.
 Image source: www.microsoft.com
Understanding Windows 11 System Requirements
Before you begin, your hardware must meet strict minimum specifications set by Microsoft. These go far beyond raw performance — they include firmware, security, and display features that protect your data and enable new experiences. For more on this, see our guide on domain research guide.
Minimum Hardware Specifications
| Component | Minimum Requirement |
|---|---|
| Processor | 1 GHz or faster with 2 or more cores on a compatible 64‑bit CPU or SoC (see Microsoft’s official CPU lists for Intel, AMD, and Qualcomm) |
| RAM | 4 GB |
| Storage | 64 GB or larger device |
| System firmware | UEFI, Secure Boot capable |
| TPM | Trusted Platform Module (TPM) version 2.0 |
| Graphics card | DirectX 12 or later with WDDM 2.0 driver |
| Display | High‑definition (720p) display, 9″ diagonal or larger, 8 bits per colour channel |
| Internet | Internet connectivity required for setup and updates; Microsoft account needed for Home edition initial setup |
In practice, many users find that 8 GB of RAM and a solid-state drive (SSD) deliver a noticeably smoother experience, even though 4 GB and a 64 GB storage are the floor. If you plan to run virtual machines, professional creative software, or heavy multitasking, aim higher. For those interested in high-refresh displays for gaming or fluid scrolling, it’s equally important to understand what your screen can achieve — confirming your monitor’s capabilities before deployment ensures you won’t miss out on that silky 144 Hz motion later.
TPM 2.0 and Secure Boot: Why They Matter
Windows 11 mandates TPM 2.0 as a hardware root of trust. The TPM handles cryptographic keys, protects credentials, and defends against firmware attacks. Secure Boot, meanwhile, verifies that only trusted software loads during startup. Both are typically enabled in your UEFI/BIOS settings under “Security” or “Boot” menus. If your PC is less than eight years old, the firmware likely supports them, but they may be disabled by default. A quick trip into the BIOS can often flip the switch — and in many cases, updating your BIOS to the latest version will unlock these options. For more on this, see our guide on how to connect 144hz monitor with hdmi 2.
Running the PC Health Check
Microsoft’s PC Health Check app is the fastest way to validate compatibility. Download it from the official Microsoft website, install it, and click Check Now. Within seconds it will tell you whether your CPU, TPM, RAM, storage, and Secure Boot status pass muster. If it reports a failure, the app pinpoints exactly what’s missing. Common fixes include enabling TPM or Secure Boot in BIOS, increasing disk space, or, in the case of older unsupported CPUs, reconsidering hardware upgrades.
Preparing Your PC for Deployment
Careful preparation prevents data loss and installation hiccups. Spend 20 minutes here to save hours later.
Comprehensive Backup Strategy
Even an in‑place upgrade that leaves personal files untouched can encounter unexpected issues. Always have a full backup before making major OS changes. For more on this, see our guide on how to fix 144hz monitor stuck at 60hz.
- Cloud backup: Sync critical files to OneDrive, Google Drive, or another cloud service. That way, your documents, photos, and settings are accessible anywhere — and safe if your local drive fails.
- External drive backup: Connect an external USB hard drive or SSD and use Windows’ built‑in File History or a third‑party tool to copy your entire user folder. For an extra layer, create a system image from the “Backup and Restore (Windows 7)” control panel.
- Recovery drive: Before you deploy Windows 11, create a Windows 10 or 11 recovery USB. This gives you a lifeline if the installation refuses to boot. Search for “Create a recovery drive” in the Start menu and follow the wizard.
Update Firmware and Drivers
Old BIOS versions sometimes cause Secure Boot or TPM detection issues. Visit your motherboard or laptop manufacturer’s support page and install the latest UEFI firmware. Similarly, ensure key drivers — especially chipset, storage controller, and graphics — are current. Updated drivers reduce the chance of a blue screen during setup.
Free Up Storage and Disable Conflicting Software
Windows 11 needs roughly 20 GB of free space for a smooth upgrade, even if the minimum is 64 GB total storage. Run Disk Cleanup as administrator, remove temporary files, and consider uninstalling programs you no longer use. Also, temporarily disable third‑party antivirus or encryption software; they can interfere with the installer’s file operations. You can re‑enable them immediately after deployment. For more on this, see our guide on how to set up ring light for youtube.
Methods to Deploy Windows 11
Microsoft offers several deployment paths, each suited to different scenarios. The table below helps you pick the right one.
| Method | Best For | Leaves Files & Apps Intact? | Internet Required? |
|---|---|---|---|
| Windows Update | Simple in‑place upgrade from Windows 10 | Yes | Yes |
| Installation Assistant | Immediate manual upgrade | Yes | Yes |
| Media Creation Tool | Creating bootable USB/DVD for upgrade or clean install | Upgrade: yes; Clean install: no | Yes for creation |
| Clean install via USB/DVD | Fresh start, new hard drive, or wiping all data | No | Some steps require it |
| Enterprise tools (MDT, WDS, Intune) | Large‑scale zero‑touch deployments | Configurable | Yes (typically) |
Using Windows Update
The simplest approach: open Settings > Update & Security > Windows Update and click Check for updates. If your device is eligible, you’ll see a “Feature update to Windows 11” offer. Download and install it like any other update. Your files, apps, and settings remain intact. This method requires your PC to meet all compatibility criteria and may be rolled out gradually, so if you don’t see it immediately, waiting a few days can help. For more on this, see our guide on how to use claude artifacts.
Using the Installation Assistant
The Windows 11 Installation Assistant forces the upgrade on demand. Download it from Microsoft’s official Windows 11 download page, run the executable, and follow the on‑screen instructions. It performs a compatibility check, downloads the requisite files (about 5 GB), and guides you through the upgrade with minimal interaction. This is ideal when you’re in a hurry and your system is absolutely ready. Keep in mind you cannot use the Assistant for a clean install — it only upgrades an existing Windows 10 installation.
Using the Media Creation Tool
The Media Creation Tool serves two purposes: upgrade the current PC or build installation media for another machine.
- Download the tool from Microsoft’s website and run it as administrator.
- Accept the licence terms, then choose Upgrade this PC now to perform an in‑place upgrade, or Create installation media (USB flash drive, DVD, or ISO file) for another PC.
- If creating media, select language, edition, and architecture (64‑bit). Choose USB flash drive (at least 8 GB in size) and let the tool format and write the files. Alternatively, you can save an ISO to burn to DVD later.
- On the target computer, boot from the USB or DVD. This launches the Windows Setup interface where you can perform a clean install or an in‑place upgrade.
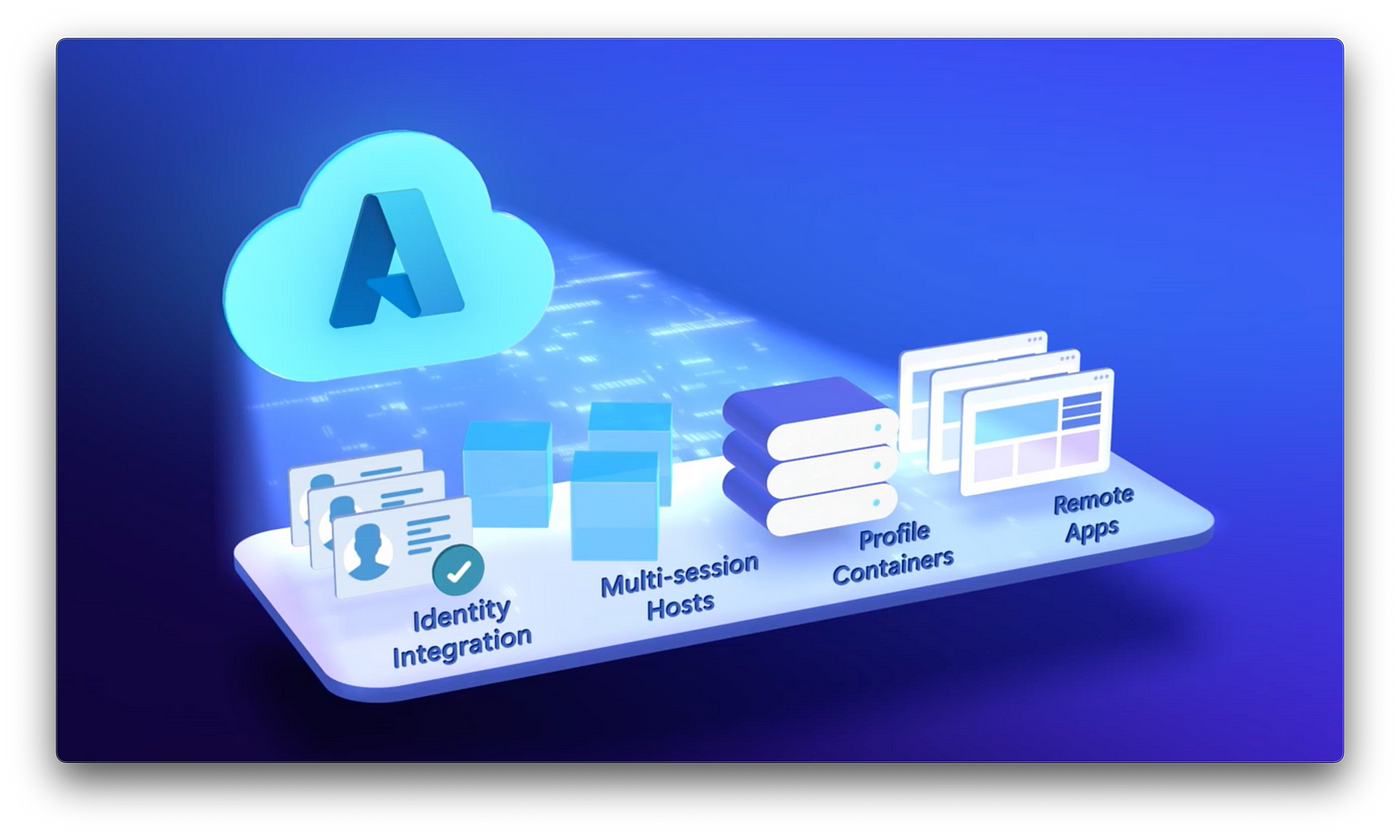 Image source: officegarageitpro.medium.com
Clean Install from USB: Step‑by‑Step
A clean install wipes everything and delivers a fresh Windows 11 environment. It’s the go‑to choice when you’re installing on a new SSD or want to eliminate bloat.
- Create installation media with the Media Creation Tool as described above.
- Boot from USB: Insert the drive, restart your PC, and press the key (often F2, F12, DEL, or ESC) to enter the boot menu. Select the UEFI USB drive.
- Start Setup: On the Windows Setup screen, choose your language, time, and keyboard, then click Next.
- Enter product key or skip: If you’re reinstalling on the same hardware, a digital licence will activate automatically; you can choose I don’t have a product key and continue.
- Select edition and accept licence terms.
- Choose “Custom: Install Windows only (advanced)”. This is the critical point — you’ll see a list of partitions. Delete all partitions on the target drive (carefully, if you have multiple drives) to create unallocated space. Then select the unallocated space and click Next. Windows Setup will create the necessary partitions automatically.
- Wait: The installer copies files, installs features and drivers, and restarts several times.
- Out‑of‑box experience (OOBE): Once finished, you’ll set up your region, keyboard, Microsoft account (Home edition), privacy settings, and a PIN. Cortana will guide you through the final steps.
If you later connect a secondary monitor for a multi‑screen workflow, properly setting up a high‑refresh external panel prevents desk clutter without sacrificing performance. This is especially useful for creators and developers who need extra screen real estate.
Enterprise Deployment at Scale
For organisations, Windows 11 supports zero‑touch deployment through Microsoft Intune, Windows Deployment Services (WDS), and the Microsoft Deployment Toolkit (MDT). MDT allows you to create a fully automated task sequence that installs Windows 11, injects drivers, joins a domain, and installs applications — all with one network boot. Intune and Autopilot go a step further, provisioning devices directly from the cloud without IT having to touch the hardware. While these tools are beyond the scope of individual users, small businesses with a dozen PCs can leverage MDT for consistent, repeatable setups.
Post‑Deployment Configuration
Once Windows 11 is installed, a series of deliberate tweaks transforms the base install into a polished, secure workstation.
Activate Windows
Open Settings > System > Activation. If you performed an upgrade or re‑install on previously activated hardware, Windows should activate automatically. If not, enter your product key or use the troubleshooting wizard. An unactivated system loses personalisation options and will display a watermark; while functional, activation guarantees you receive all updates.
Install Drivers and System Updates
Windows Update fetches many drivers, but for optimal performance, install chipset, audio, networking, and GPU drivers from your manufacturer’s website. After deploying on a laptop that you frequently pair with an external monitor, adjusting the system’s refresh rate to the panel’s maximum ensures buttery‑smooth motion in everyday use and gaming. Run Windows Update repeatedly until no more updates remain — this can take two or three reboots.
Configure User Environment
- Display settings: Right‑click the desktop, choose Display settings, and set the appropriate scaling (125%/150% for high‑resolution screens). Turn on Night Light to reduce blue light in the evenings.
- Privacy and security: Under Settings > Privacy & security, review which apps can access your location, camera, microphone, and diagnostics data. For a tighter setup, disable advertising ID and tailored experiences.
- Start menu and taskbar: Pin your most‑used applications, tidy the recommendations section, and choose taskbar alignment (centre or left).
- File History and backup: Connect an external drive and turn on File History to automatically protect versions of your files.
Optimise for Content Creation
If you intend to record videos, stream, or produce podcasts on your new Windows 11 machine, a few hardware and software adjustments make a world of difference.
- Audio quality: Built‑in microphones often pick up fan noise and room echo. Investing in a dedicated microphone and cutting down on background noise with proper gain staging and acoustic treatment will elevate your recordings instantly.
- Lighting: Even the best camera looks mediocre without good light. Taking time to achieve flattering video lighting by positioning a key light at a 45‑degree angle eliminates harsh shadows and creates a professional appearance.
Beyond production, resolving any lingering display anomalies is equally important. Should you notice stuttering or tearing while scrolling or gaming in Windows 11, you can often eliminate tearing artifacts by enforcing vertical sync or adjusting the monitor’s overdrive settings.
Troubleshooting Common Deployment Issues
Even carefully planned deployments can hit snags. Here are the most frequent problems and how to solve them.
“This PC can’t run Windows 11” (PC Health Check fails)
- TPM 2.0 not detected: Restart into UEFI/BIOS, locate TPM settings (often under Advanced > Trusted Computing), and enable it. If your firmware lacks TPM 2.0 but the CPU supports it, a BIOS update may add the option.
- Secure Boot off: In the BIOS, find Secure Boot and enable it. You may first need to set “OS Type” to Windows UEFI mode. After saving changes, rerun the check.
- Unsupported CPU: If your processor is not on Microsoft’s list, the health check will flag it. While there are unofficial workarounds, they are not recommended for long‑term stability and may leave you without future updates.
Installation Error 0x8007007F or 0x80070002
These indicate file corruption or missing system files. Run sfc /scannow and DISM /Online /Cleanup-Image /RestoreHealth in an elevated Command Prompt on your current Windows installation before attempting the upgrade again. Also, temporarily disconnect any non‑essential USB devices — external drives, USB hubs, or even a printer can confuse the installer.
Setup Stuck at “Checking for updates”
The installer may hang while scanning for the latest patches. Force a restart, disconnect from the internet, and begin the installation offline. Once Windows is installed, reconnect and immediately run Windows Update.
Driver Crashes or Blue Screens After Deployment
A clean install may revert drivers to generic versions. Boot into Safe Mode if necessary, then install the latest graphics, chipset, and storage drivers from your manufacturer’s support page. If you recently swapped monitors, a new graphics driver can fix crashes related to high refresh signals — especially when you’re using a monitor that supports refresh rates beyond 60 Hz and needs proper detection.
Activation Issues After Clean Install
Ensure you selected the same Windows 11 edition (Home vs. Pro) that your digital licence covers. If the activation troubleshooter fails, use the slmgr.vbs command in an elevated Command Prompt to view your licence status. On previously activated hardware, Windows 11 will usually activate automatically as soon as you go online.
Frequently Asked Questions
How do I deploy Windows 11 via Windows Update?
Open Settings > Windows Update and click Check for updates. If your device is eligible, the feature update will appear. Download and install; your files and settings remain untouched.
Can I deploy Windows 11 with Windows Deployment Services (WDS)?
Yes. You need a Windows Server running WDS and a boot image that supports UEFI and Secure Boot. Import the Windows 11 install.wim, configure the multicast or unicast deployment settings, and network‑boot the target machines.
What is the difference between an in‑place upgrade and a clean install?
An in‑place upgrade preserves your personal files, apps, and settings. A clean install wipes everything and starts fresh — ideal when you want to resolve persistent system issues or repurpose a PC.
How much free space do I need to deploy Windows 11?
At least 64 GB total storage, but for a smooth upgrade you should have 20 GB or more of free space. The Media Creation Tool itself requires about 8 GB for the USB creation process.
How do I handle TPM 2.0 issues during deployment?
Enter your UEFI/BIOS and enable TPM under the Security or Advanced tab. If the option is absent, update your firmware. Some motherboards allow you to switch from discrete to firmware TPM.
Can I roll back to Windows 10 if I don’t like Windows 11?
After an in‑place upgrade, you have 10 days to roll back through Settings > System > Recovery. After that, you’d need to perform a clean install of Windows 10 using installation media.
Conclusion
Deploying Windows 11 doesn’t have to be intimidating. By verifying hardware compatibility, creating solid backups, and picking the right deployment method — whether it’s a one‑click Windows Update, the Installation Assistant, a clean USB install, or an enterprise MDT push — you can land on Microsoft’s newest platform with confidence. Post‑deployment, a modest investment in driver updates, system configuration, and a few targeted optimisations transforms the out‑of‑box experience into a truly personalised workspace. Keep this guide handy as a reference throughout the process, and you’ll navigate any hiccups with minimal friction, ready to enjoy everything Windows 11 has to offer.

Similar Posts